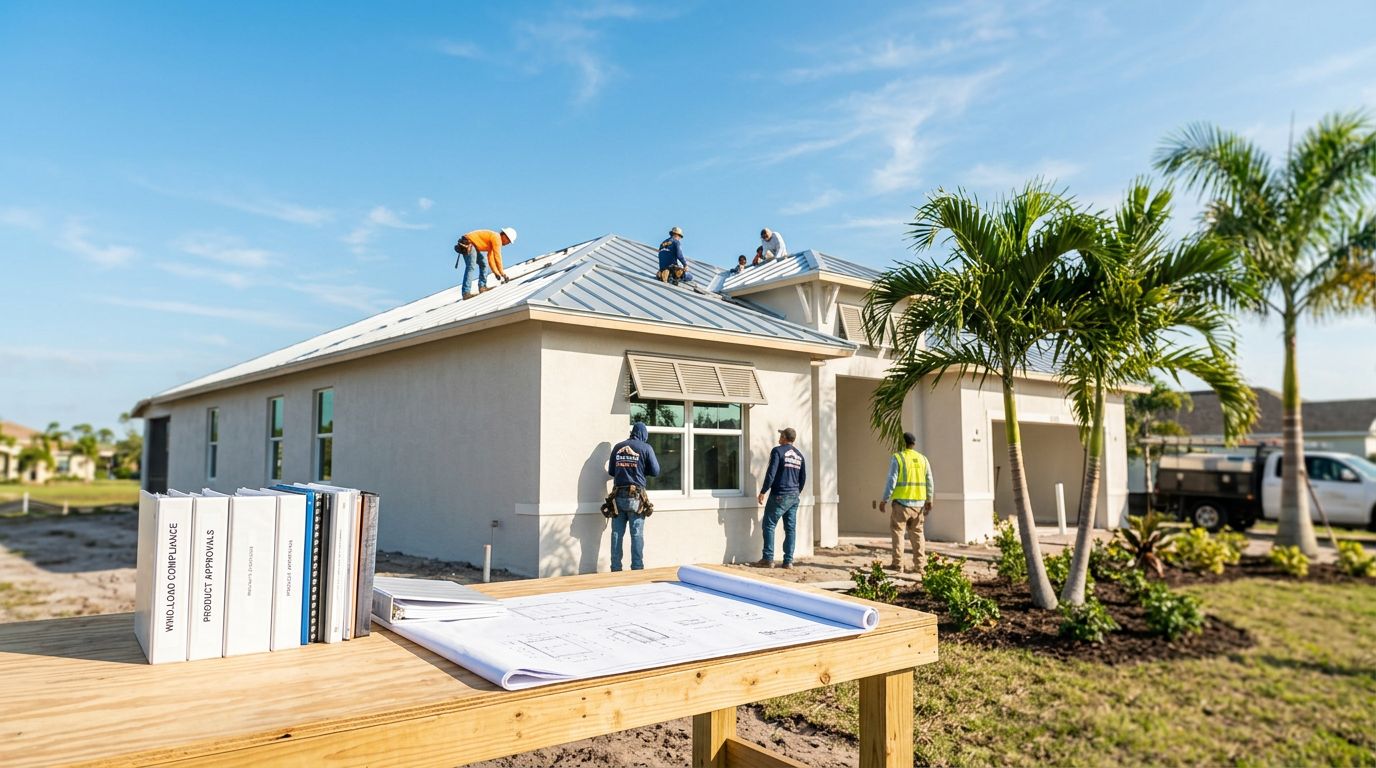


A new home inspection in Cape Coral should happen at several points, not only before closing. Once walls are covered and finishes are installed, many construction details become difficult or impossible to verify.
Cape Coral homes also face local conditions that deserve careful attention, including high humidity, heavy rain, salt air, flat lots, drainage concerns, and possible flood-zone requirements. The city's inspections confirm permit-related work, but a qualified independent inspector gives you a separate view of the home's condition.
Key Takeaways
- Schedule independent inspections before concrete, before insulation and drywall, before closing, and near the end of the warranty period.
- City inspections and buyer inspections have different purposes. One doesn't replace the other.
- Pay close attention to drainage, roof installation, window and door protection, electrical work, plumbing, HVAC, and moisture control.
- A cost-plus home builder should show inspection-related expenses, corrections, and contractor fees clearly.
- Confirm current 2026 requirements with the City of Cape Coral, your builder, and qualified inspection or engineering professionals.
Why Inspection Timing Matters in Cape Coral
A completed home can look excellent while important work remains hidden behind drywall, stucco, tile, or cabinets. That's why the inspection sequence follows the construction sequence. Each checkpoint gives the inspector access to a different part of the building.
The first major opportunity usually comes before concrete covers the foundation work. At that stage, an inspector may review visible reinforcing steel, footings, vapor barriers, plumbing penetrations, and other items shown in the plans. Once the slab is poured, those components are no longer easy to examine.
The next critical point comes after framing and rough mechanical work but before insulation and drywall. Plumbing supply lines, drain lines, electrical wiring, ductwork, roof framing, structural connections, and window installation are still visible. A pre-drywall inspection can identify problems while correction remains practical.
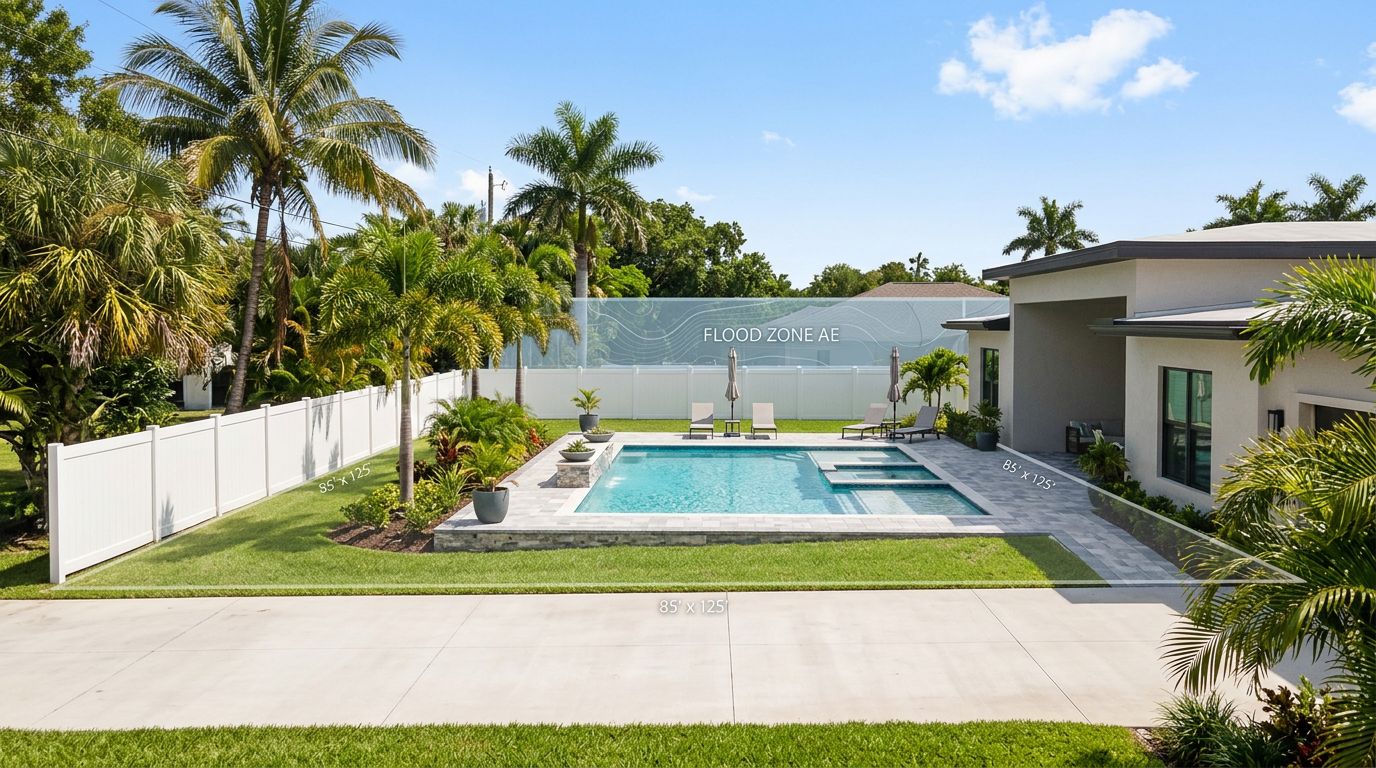
Cape Coral's site conditions add another layer. Water should move away from the structure instead of collecting beside walls, doors, or mechanical equipment. Lot grading, swales, driveway slopes, pool areas, and drainage systems need to match the approved plans and site design. A home inspector can identify visible concerns, but a surveyor or civil engineer may be needed for elevation, drainage design, seawalls, or other specialized questions.
The city's building inspections remain part of the permit process. However, city inspectors typically inspect for compliance with applicable construction requirements and approved plans. They don't provide the same detailed, buyer-focused review as an independent inspector who works for you.
A passed municipal inspection doesn't mean a home has no defects. It means the inspected work met the applicable approval standard at that stage.
The 2026 New Home Inspection Sequence
The exact schedule depends on the builder, permit type, construction method, and site. Ask for the planned milestones before work begins, then confirm each appointment as construction progresses.
| Construction stage | Best inspection timing | Main areas to review |
|---|---|---|
| Site and foundation | Before concrete covers key work | Grading, footing layout, reinforcing steel, plumbing penetrations, slab preparation |
| Framing and dry-in | After framing, roof decking, windows, and exterior doors are installed | Structural members, connections, roof details, flashing, openings |
| Rough systems | Before insulation and drywall | Electrical, plumbing, HVAC, ventilation, ductwork, and visible fire-blocking details |
| Pre-drywall | After rough approvals, before wall coverings | Hidden systems, insulation preparation, framing changes, penetrations, moisture concerns |
| Final inspection | Near completion, before closing | Safety systems, finishes, appliances, drainage, roof, HVAC, plumbing, electrical |
| Warranty inspection | Before the builder's warranty period ends | New settlement cracks, leaks, drainage changes, equipment issues, unfinished repairs |
1. Site and foundation review
Before the slab is poured, confirm that the inspector can access the lot and foundation area. The review may include visible site drainage, foundation placement, reinforcing steel, anchor points, plumbing lines beneath the slab, and moisture barriers.
This stage is also the right time to compare the work with the plans and survey. If the property includes a pool, retaining structure, seawall, or special drainage system, ask whether a separate qualified professional should inspect that work.
2. Framing and dry-in inspection
After the walls and roof structure are in place, the inspector can review the home's basic shell. Important areas include framing, roof decking, trusses, structural connectors, exterior sheathing, window installation, doors, and visible flashing.
Water intrusion often begins at transitions. Roof penetrations, wall openings, lanai connections, balconies, garage interfaces, and exterior doors deserve careful attention. A small flashing error can create a larger moisture problem after several months of rain.
In a coastal area, the inspector should also examine visible wind-resistance features and fastening patterns where accessible. The inspection doesn't replace an engineering review or a formal wind mitigation inspection, but it can identify items that need further evaluation.
3. Rough plumbing, electrical, and HVAC review
Before insulation hides the walls, inspect the rough systems. The review may cover pipe support, drain routing, electrical panel installation, wiring, outlet locations, HVAC ducts, refrigerant lines, ventilation, and equipment clearances.
Compare outlet and fixture locations with your contract and approved plans. A misplaced outlet behind cabinetry is harder to correct after drywall. The same applies to plumbing connections for refrigerators, sinks, outdoor kitchens, laundry equipment, and water treatment systems.
Make sure required rough inspections have been completed through the city's process. Your independent inspector should document visible concerns, but the licensed trade contractors and builder remain responsible for correcting their work.
4. Pre-drywall inspection
The pre-drywall checkpoint is often the most valuable independent inspection during construction. The inspector can see areas that will soon disappear, including wall penetrations, insulation cavities, pipe locations, wiring routes, duct connections, and framing adjustments.
Ask the inspector to document findings with photographs and clear descriptions. Send the report to the builder quickly. Corrections are easier when the affected wall is open and the responsible trade is still on site.
Do not allow drywall installation to move ahead if major questions remain unresolved. Your construction contract should explain who can authorize changes, how corrections are documented, and whether delays affect the project schedule.
The Final New Home Inspection Before Closing
The final inspection should occur when the home is substantially complete, utilities are operating, and major appliances and systems are installed. Ideally, the builder has already completed its internal punch list and obtained the required final approvals.
Walk through the home slowly. Test every accessible window, exterior door, plumbing fixture, appliance, outlet, light switch, ceiling fan, garage door, and HVAC control. Look for water stains, cracked tile, damaged cabinets, incomplete caulking, uneven flooring, missing screens, and doors that don't latch properly.
Exterior areas deserve equal attention. Check roof surfaces from accessible locations, gutters or drainage outlets, stucco, soffits, hose connections, pool equipment, lanai screens, driveway transitions, and grading around the structure. A home inspector may recommend a roof specialist, electrician, plumber, HVAC contractor, or engineer when the issue falls outside a general inspection.
Cape Coral buyers should also ask how the builder handled moisture management. Confirm that air-conditioning equipment operates correctly, bathrooms exhaust as designed, doors and windows close tightly, and areas around penetrations are sealed. High indoor humidity can damage finishes and encourage mold growth, so document unusual condensation or musty odors before closing.
A final inspection report doesn't automatically require a seller or builder to make every requested change. The contract controls many repair and completion obligations. Review disputed items with your real estate attorney or other appropriate professional instead of treating an inspection report as a legal decision.
Inspection Costs, Builders, and Transparent Pricing
Inspection costs should appear in the project budget before construction starts. With a cost-plus home builder, ask whether independent inspections are included as a construction cost, paid directly by you, or handled through another arrangement. The agreement should identify who schedules the inspector and who receives the reports.
Transparent pricing makes these details easier to track. Request itemized invoices for inspection fees, engineering reviews, testing, permit-related charges, repairs, and change orders. A clear contractor fee should remain separate from the actual third-party cost when the contract is structured that way.
The same approach applies when an inspection reveals a correction. Ask for the written finding, the proposed remedy, the trade responsible, and the cost treatment. Avoid relying on verbal promises, especially for concealed work that may affect the structure, roof, plumbing, or electrical system.
Before signing, ask these questions:
- Which inspection milestones does the builder expect?
- Can I hire my own qualified independent inspector?
- Will the builder provide access before concrete, insulation, or drywall covers work?
- How will corrections appear in the project records?
- Who pays for reinspection after a defect is corrected?
- What documents will I receive at completion?
A builder who welcomes clear records makes it easier to understand where project money goes and whether unfinished work remains.
Documents to Collect Before Closing
Keep the inspection reports with the contract, plans, change orders, receipts, and permit records. Also request available warranties, equipment manuals, product information, final approval records, and documentation for major repairs.
Insurance-related inspections are separate from a standard new home inspection. A wind mitigation inspection may review roof-to-wall connections, roof shape, opening protection, and other features used by an insurer. A 4-point inspection generally focuses on the roof, electrical, plumbing, and HVAC systems. Insurance companies set their own documentation rules, so confirm the needed forms before ordering an inspection.
If your home includes a pool, seawall, solar system, generator, well, water treatment equipment, or complex drainage, ask whether each item needs a separate specialist review. A general home inspection may identify visible concerns but won't replace every trade-specific inspection.
Schedule a warranty inspection before the builder's stated warranty period ends. Look for new cracks, leaks, door movement, drainage changes, HVAC performance problems, and repairs that didn't hold. The timing should follow your contract and warranty documents.
Conclusion
A Cape Coral home inspection sequence works best when it follows construction milestones. Inspect the foundation before it disappears, review rough systems before drywall, and complete a detailed final inspection before closing.
The city's approvals, the builder's quality-control process, and your independent inspection each have a different role. With clear records, itemized costs, and transparent pricing , you can address problems while access remains available and protect your understanding of the finished home.