Bathroom Lighting Plans for Estero Primary Baths
Explore Our Services
Contact Us Today!
(239) 322-9295
One poorly placed ceiling light can leave your face shadowed at the vanity and your shower too dim. Good bathroom lighting plans prevent that problem by giving each area the right type of light.
Estero homeowners also need to account for strong Florida daylight, humid conditions, reflective tile, and changing needs throughout the day. A practical plan combines comfortable ambient light with accurate vanity lighting, safe shower fixtures, and controls that let you adjust the mood. Start with the room's zones before choosing decorative fixtures.
Why a Primary Bathroom Needs Layered Lighting
A primary bathroom has several jobs. You may shave, apply makeup, shower, relax in the tub, clean the room, or get ready before sunrise. One bright ceiling fixture can't handle all those tasks well.
Layered lighting divides the room into useful zones:
- Ambient lighting provides general illumination for walking and cleaning.
- Task lighting brightens the vanity and mirror area.
- Accent lighting highlights tile, cabinetry, a tub, or architectural details.
- Natural light adds daytime brightness through windows or skylights.
The goal is even illumination without glare. Bright white light aimed directly at a mirror can feel harsh, while a decorative pendant alone may leave corners dark.
Start with the vanity
The vanity deserves the most careful placement because overhead light often creates shadows under the eyes, nose, and chin. Place sconces on both sides of the mirror when wall space allows. Position them near face level, then adjust the final height for the homeowners and the fixture design.
For a single-sink vanity, one sconce on each side usually produces balanced light. A wide vanity bar above the mirror can also work when side walls are narrow. For a double vanity, use two mirror-and-sconce groupings or a properly sized fixture that covers both sinks.
Keep recessed ceiling lights slightly forward of the user rather than directly above the sink. That position supports general lighting without competing with the face-level fixtures.
Account for windows, fans, and reflective surfaces
Estero bathrooms often receive strong daylight, but sunlight changes throughout the day. A window beside the vanity can create uneven brightness, especially when one side of the face faces the glass. Sconces still help balance the room in the morning and evening.
Tile, polished stone, glass shower doors, and large mirrors can reflect bare bulbs. Select fixtures with diffusers or shades, and use dimmers to reduce glare. Coordinate the ceiling layout with the exhaust fan, sprinkler components where applicable, and any skylights before rough-in begins.
A larger mirror doesn't replace good vanity lighting. It can multiply glare and shadows when the fixture placement is wrong.
How Bathroom Lighting Plans Should Layer Light
A useful plan shows more than fixture locations. It also identifies which lights operate together, where switches go, and whether each fixture is suitable for its location.
Use ambient light for safe movement
Ambient fixtures should illuminate the main walking paths without making the room feel overlit. Recessed LED fixtures can work well outside the direct wet area, especially when the ceiling has enough height and structure for installation.
Space the fixtures around the room instead of placing every light in a straight line down the center. Avoid positioning a downlight where it shines directly into the mirror. A flush-mount ceiling fixture can be a better choice in a compact bathroom or a room with limited ceiling access.
Put ambient lights on their own switch or dimmer. You may want full brightness for cleaning but softer light during a late-night visit.
Treat shower and tub areas as separate zones
A shower needs even illumination across the floor, controls, and shower bench. Use fixtures listed for the location, and confirm whether the product requires a damp-location or wet-location rating. A fixture exposed to direct spray needs the appropriate wet-location listing.
Place shower-safe recessed fixtures where they light the user without creating a sharp glare in the glass. A tub can use a decorative ceiling fixture or pendant if the fixture meets required clearances and location ratings. Decorative lighting should never reduce headroom or create a hazard near water.
Accent lighting under a floating vanity, inside a recessed niche, or beneath cabinetry can add a soft nighttime glow. Keep these lights on a separate low-voltage or properly designed circuit, as required by the installation.
Example Layouts for Small, Medium, and Spacious Bathrooms
The right fixture count depends on ceiling height, finishes, window placement, and the manufacturer's light output. These examples give Estero homeowners a starting point for a conversation with their contractor and electrician.
Small primary bathroom
For a compact bathroom with one vanity and a shower-tub combination, use two vanity sconces or one diffused vanity bar. Add one ceiling fixture for general illumination and one wet-location-rated shower light if the ceiling layout requires it.
Place the ceiling fixture between the vanity and shower rather than directly over the sink. Use two switch zones, one for the vanity and one for the ceiling and shower light. A dimmable mirror light or low toe-kick light can provide useful nighttime illumination without turning on every fixture.
Medium primary bathroom
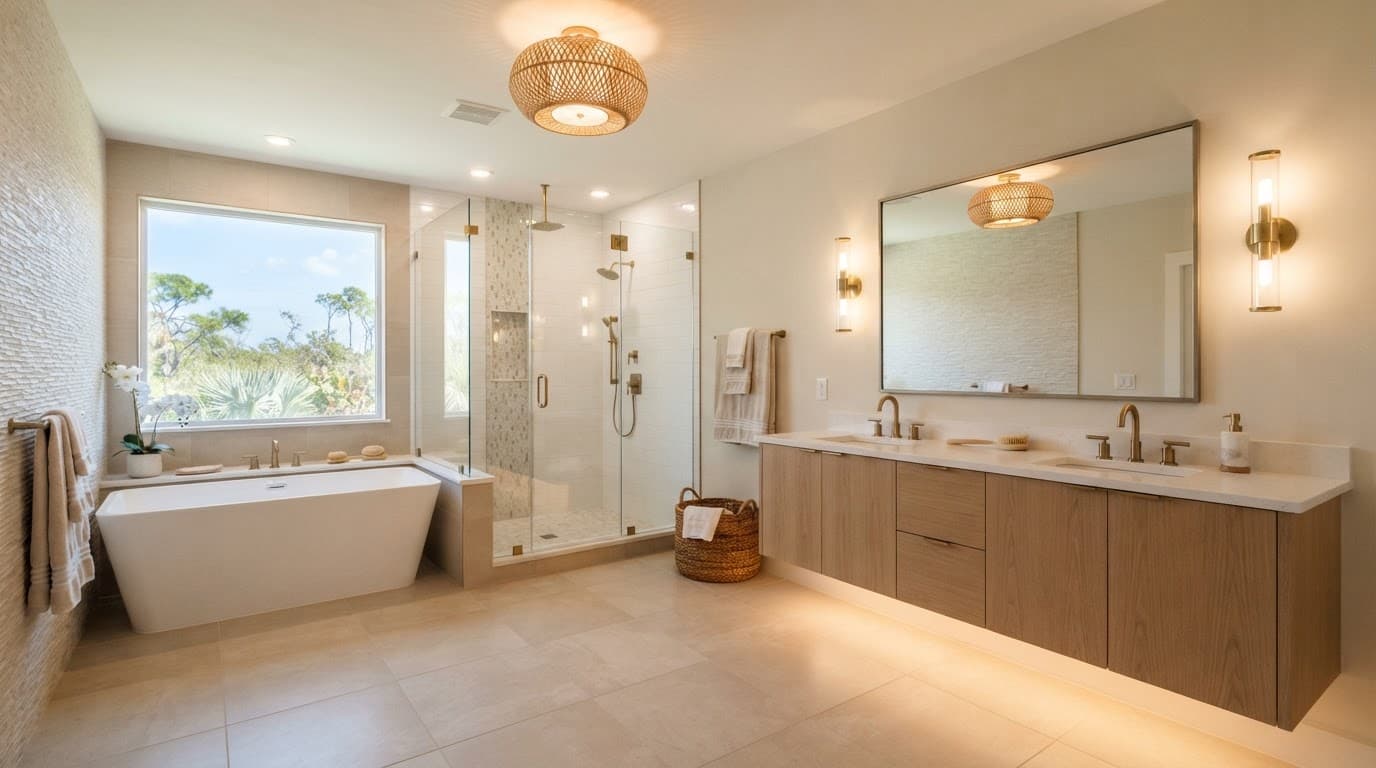
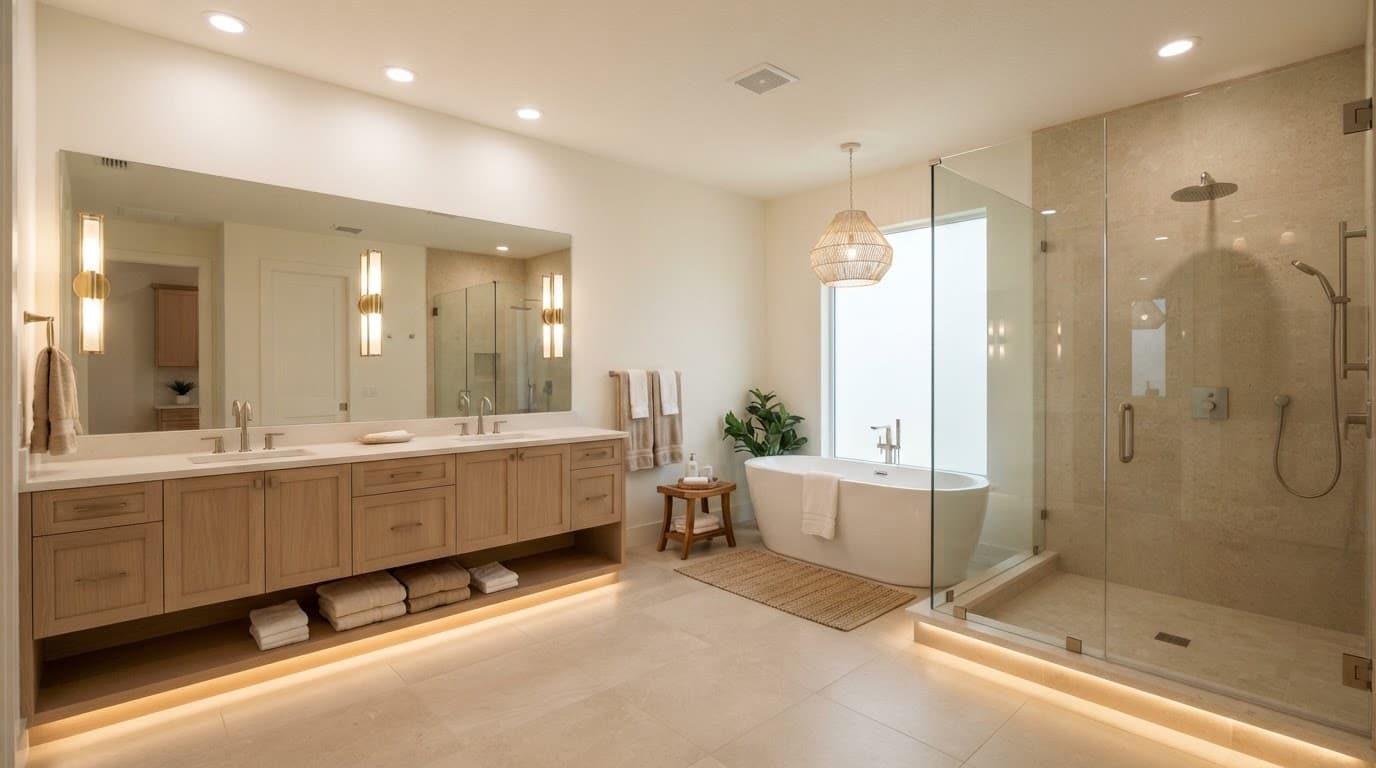
A medium bathroom may include a double vanity, a separate shower, and a freestanding tub. Give each sink balanced task lighting, then add evenly spaced ambient fixtures through the center of the room.
The shower should have its own wet-area fixture and switch zone. Use a decorative fixture near the tub only when the ceiling height, clearances, and location rating support it. A window can provide daytime brightness, but it shouldn't be the only light near the vanity.
Spacious primary bathroom
A large bathroom needs a zoning plan rather than a larger number of randomly placed fixtures. Divide the room into vanity, shower, tub, toilet, and circulation areas. Each zone can have its own switch or dimmer.
Use multiple ambient fixtures to prevent dark areas near wide cabinets and tall walls. Vertical sconces at each mirror improve face lighting, while a decorative pendant can give the tub area a focal point. Concealed toe-kick lighting is useful when the bathroom connects to a bedroom and needs low-level illumination at night.
Choose the Right Color Temperature and CRI
Color temperature affects how tile, paint, skin, and cabinetry appear. It also changes how comfortable the bathroom feels at different times of day.
Choose a comfortable color temperature
For most Estero primary bathrooms, 3000K LED lighting offers a balanced starting point. It feels warm enough for a relaxing space but remains clear for grooming. A 2700K option creates a softer, warmer appearance and may suit bathrooms with cream tile, wood tones, or traditional finishes.
Lighting at 3500K or 4000K can look crisp, but it may feel cool against warm neutral finishes. It can also make a bathroom seem less inviting at night. Keep the color temperature consistent across vanity, ceiling, shower, and accent fixtures unless a designer has a clear reason to mix them.
Natural daylight may appear cooler than interior fixtures. That difference is normal, but window location and glass tint still affect the final appearance.
Look for a high CRI
Color rendering index, or CRI, describes how accurately a light source shows colors. Choose fixtures with a CRI of 90 or higher for the vanity. A CRI of 95 or more can help when accurate makeup shades, hair color, or skin tone matter.
Also check the LED's dimming compatibility. Some fixtures flicker, buzz, or lose smooth control when paired with the wrong dimmer. Ask for a matched fixture and control system before purchasing.
Plan Wiring and Safety Before the Walls Close
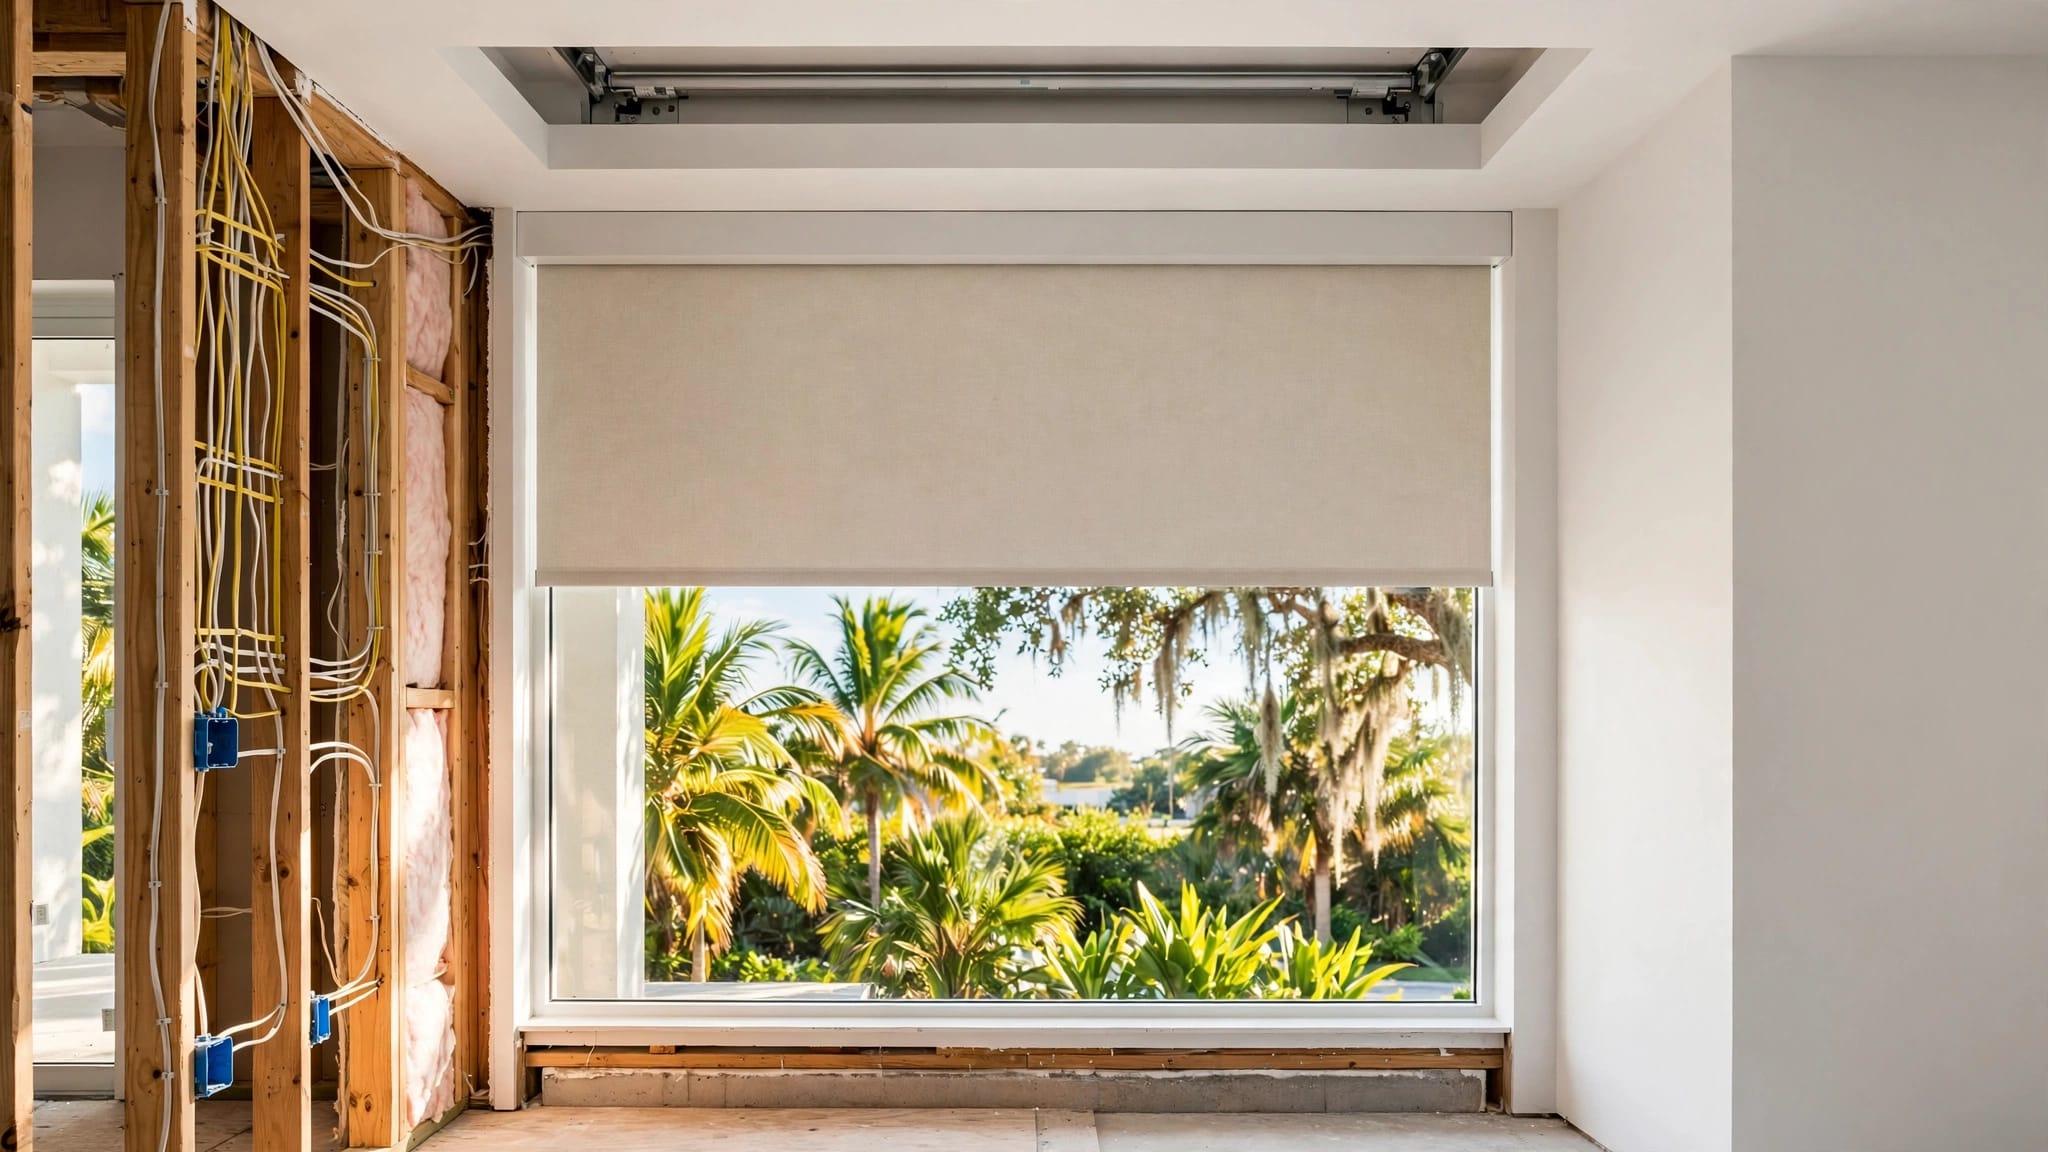
Lighting decisions should happen before electrical rough-in, not after tile and mirrors arrive. Mark fixture centerlines on the plan, then compare them with framing, plumbing, medicine cabinets, shower doors, and the exhaust fan.
A marked electrical drawing should show each light, switch, dimmer, outlet, and circuit. It should also show which fixtures operate together. Southwest Florida electrical rough-in planning can help homeowners understand why these choices need to be made early.
Verify ratings and installation locations
Use fixtures listed for bathroom conditions. Damp-rated products may work in moist areas that don't receive direct water spray. Wet-location-rated fixtures are needed where water can reach the fixture, such as certain shower installations.
Follow the manufacturer's installation instructions and required clearances around tubs and showers. A licensed electrician should confirm wiring methods, grounding, GFCI protection, switch locations, and circuit capacity.
Confirm permits and local code requirements
Adding a fixture in the same location may have different permit requirements than moving wiring, opening walls, or adding new circuits. Requirements can also depend on the project scope and the local permitting authority.
Before work begins, ask your contractor and electrician to verify permits, inspections, the current Florida Building Code, and locally adopted electrical requirements. Don't assume a fixture swap has the same requirements as a full lighting redesign.
Primary Bathroom Lighting Renovation Checklist
Use this list during design meetings and before ordering fixtures:
- Draw the bathroom with the door, windows, vanity, mirrors, shower, tub, toilet, and exhaust fan.
- Mark the activities that need focused light, including shaving, makeup application, dressing, and showering.
- Decide whether the vanity will use side sconces, an above-mirror bar, an illuminated mirror, or a combination.
- Select the fixture finish, size, color temperature, CRI, lumen output, dimming compatibility, and location rating.
- Confirm mirror and medicine cabinet dimensions before setting sconce centerlines.
- Divide the room into switch zones for vanity, ambient, shower, tub, accent, and nighttime lighting.
- Ask for a marked-up electrical plan before rough-in, including switch legs, outlets, and circuit details.
- Have qualified local professionals verify electrical work, wet-location ratings, permits, clearances, inspections, and code compliance.
- Review fixture locations after framing and before drywall, tile, mirrors, and cabinetry are installed.
- Test the completed lighting at daytime and nighttime levels before finalizing dimmer settings.
Planning costs at the same time can prevent surprises. Fixture prices vary with finish, size, LED technology, and bathroom location, so include both the products and electrical labor in the renovation budget.
A Lighting Plan That Fits the Whole Renovation
The best bathroom lighting plans begin with daily routines and room geometry. Place task lighting at the face, ambient lighting along walking paths, and wet-rated fixtures where water exposure demands them. Then choose color temperature, CRI, switches, and finishes that work with the tile and cabinetry.
For an Estero renovation, finalize these decisions before rough-in and have local licensed professionals verify safety and permits. When every fixture has a clear purpose, the finished primary bathroom feels comfortable in the morning, practical at night, and easy to use every day.