Cape Coral Bathroom Remodel: Toilet Clearance and Bidet Rough-In
Explore Our Services
Contact Us Today!
(239) 322-9295
A bathroom can look spacious on paper and still feel cramped once the toilet, vanity, door, and shower are installed. In a Cape Coral bathroom remodel, toilet clearance and bidet planning should happen before demolition, tile orders, or electrical rough-in.
Florida plumbing minimums provide a starting point, but comfort and accessibility often require more space. The safest plan coordinates the fixture layout, plumbing, electrical work, waterproofing, permits, and manufacturer instructions before the walls or slab close.
Key takeaways
- Plan at least 15 inches from the toilet centerline to each side obstruction .
- Leave at least 21 inches in front of the toilet to a wall, fixture, or door.
- A floor-mounted toilet compartment generally needs at least 30 inches wide by 60 inches deep .
- A bidet seat may use the existing toilet footprint, but it still needs compatible water, electrical, and clearance planning.
- A standalone bidet needs its own supply, drain, venting, backflow protection, and floor space.
- Accessibility goals often require more room than basic plumbing minimums.
- Confirm the current Florida and Cape Coral requirements with a qualified local contractor, plumber, electrician, and permitting office.
Toilet clearance for a Cape Coral bathroom remodel
Toilet measurements are usually taken from the centerline of the fixture , not from the outside edge of the bowl. That distinction matters when a vanity, partition, shower wall, or cabinet sits beside the toilet.
Side clearance starts at 15 inches
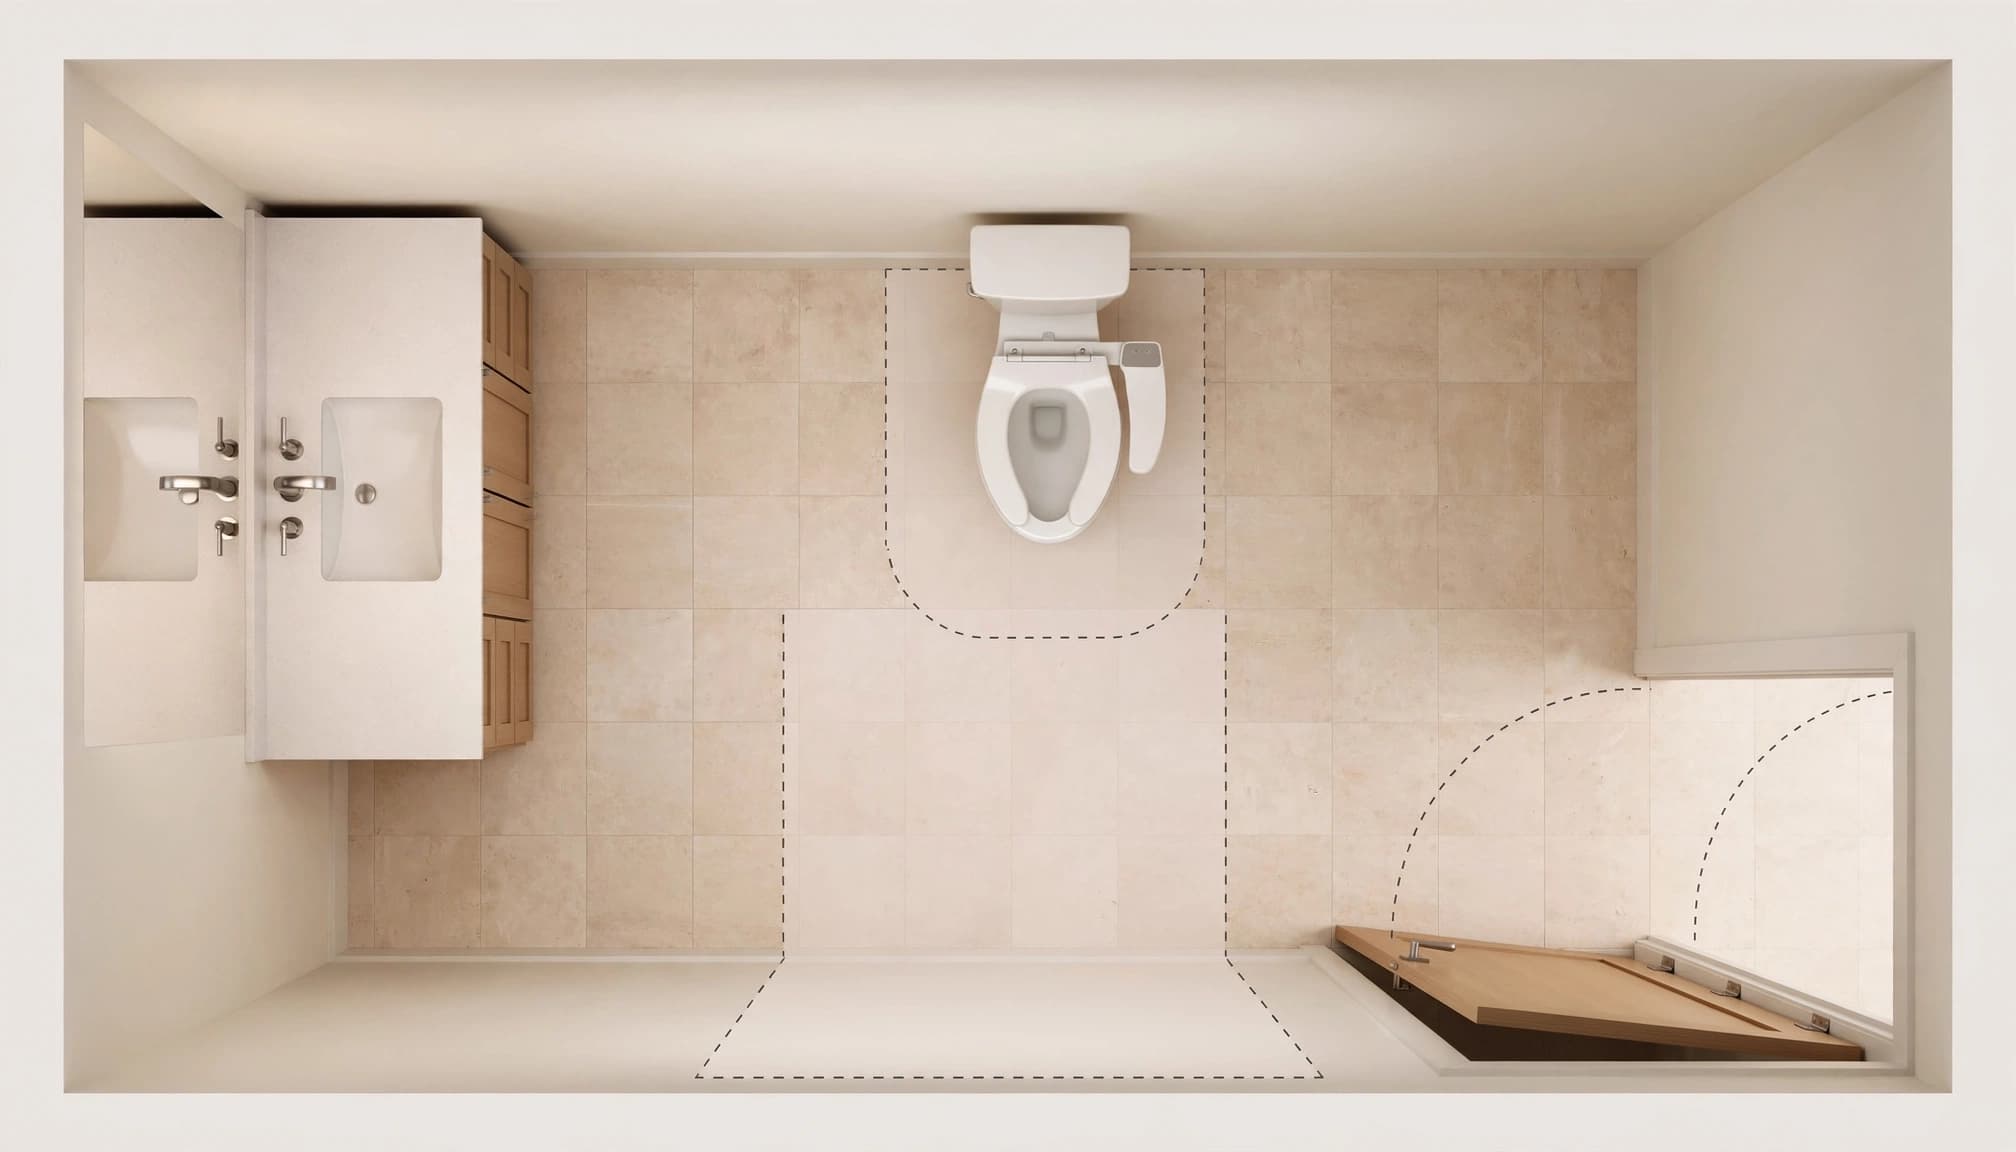
The Florida Plumbing Code uses a minimum of 15 inches from the toilet centerline to any side wall, partition, vanity, or similar obstruction. Therefore, a typical floor-mounted toilet needs at least 30 inches of total width when measured between opposing obstructions.
That minimum can satisfy code while still feeling tight. A larger person may need additional elbow room, and a nearby vanity drawer can make the usable space feel smaller. When possible, give the toilet more than the minimum, especially in a primary bathroom intended for long-term use.
Adjacent fixtures also need attention. When no partition separates them, the minimum distance between the centerlines of neighboring fixtures is generally 30 inches. Your contractor should measure the finished surfaces, not only the framing.
Leave 21 inches in front
The minimum front clearance is 21 inches from the front of the toilet to a wall, fixture, or door. This measurement affects the room's entire circulation path.
A door that opens toward the toilet can reduce the usable clearance even when the floor plan appears acceptable. Vanity depth, shower glass, towel storage, and a laundry hamper can create the same problem. Measure with the finished wall thickness, trim, cabinetry, and hardware included.
A practical layout often leaves more than 21 inches. Extra space makes cleaning easier and gives users room to sit, stand, dress, or assist another person.
Check the toilet compartment size
For a floor-mounted water closet, the Florida Plumbing Code lists a minimum compartment size of 30 inches wide by 60 inches deep. A wall-hung water closet has a listed minimum depth of 56 inches.
These dimensions are useful code references, not a guarantee of comfort. A toilet compartment with a deep vanity or inward-swinging door can still feel restrictive. Review the full door swing and the location of every obstruction before approving the plan.
Comfort and accessibility need a larger planning envelope
Basic plumbing clearance and accessibility clearance are different standards. A bathroom may meet the minimum fixture spacing and still fail to provide the movement area a homeowner wants for aging in place, mobility equipment, or caregiver assistance.
Accessibility planning changes the room
ADA-style guidance commonly uses a larger clearance area, including 60 inches minimum from the side wall and 56 inches from the rear wall, measured perpendicular to the walls. Those dimensions are not automatically required for every private residential bathroom, but they are useful when planning a more accessible home.
Future grab bars also affect framing. Add proper blocking before cement board or drywall is installed, even if the bars will be added later. A wider entry, lever hardware, and an outward-swinging or pocket door can improve usability without moving every fixture.
Ask your contractor to show the basic plumbing layout and an expanded accessibility option. Comparing both plans makes the cost and space tradeoff easier to understand.
Door and vanity placement matter every day
A toilet may have adequate side clearance until a vanity door opens into the room. Likewise, a pocket door can preserve floor space that a hinged door would consume.
Use the actual vanity depth and cabinet hardware in the drawing. Confirm that drawers can open without striking the toilet, and check that the shower door does not overlap the toilet's front clearance. These details affect daily comfort more than decorative selections do.
For broader planning, homeowners can review Southwest Florida bathroom remodeling before comparing layouts, finishes, and construction scopes.
Bidet seat and standalone bidet rough-in planning
Bidet planning depends on the product type. A bidet seat installs on the toilet, while a standalone bidet is a separate plumbing fixture. They should not be treated as the same rough-in.
Bidet seats use less floor space
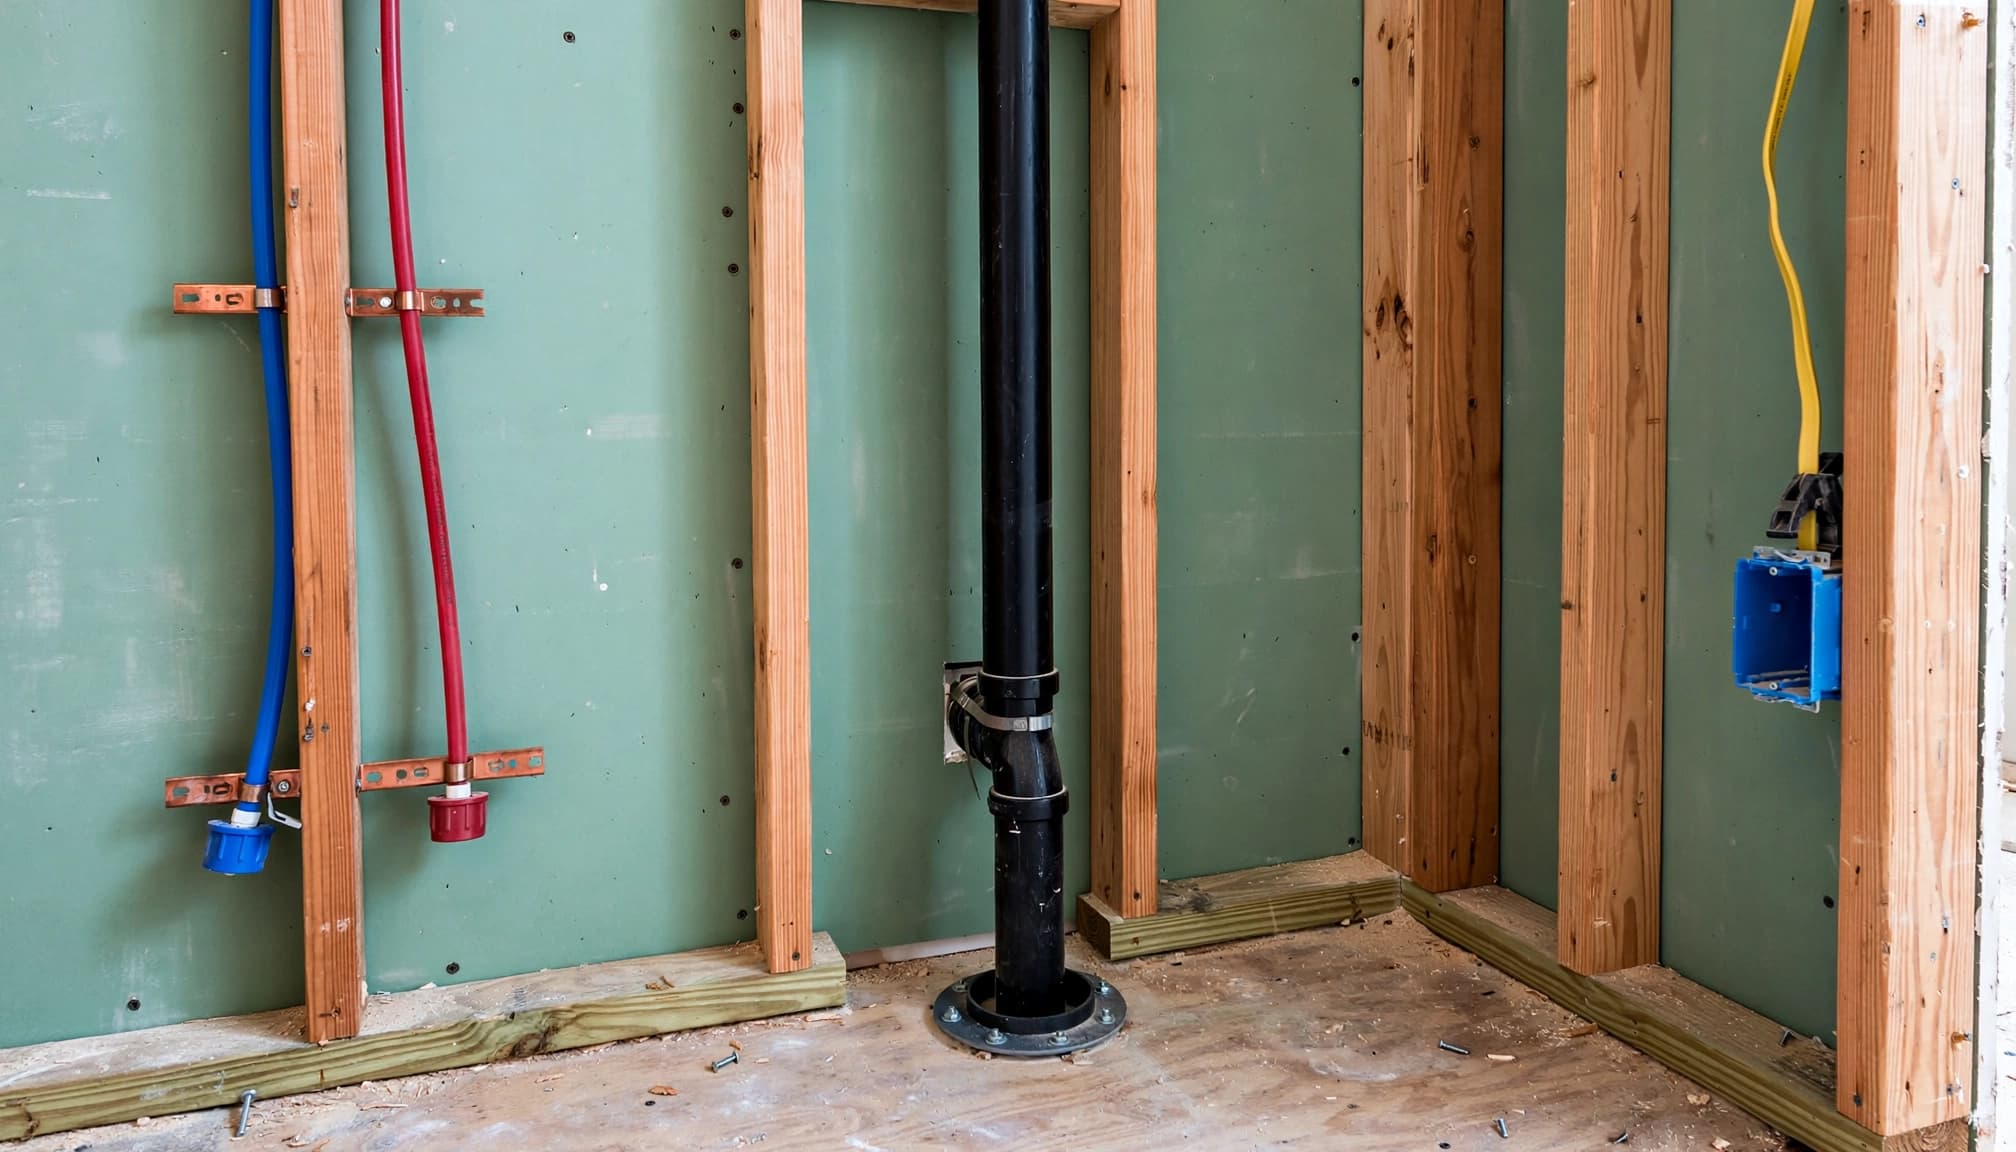
A bidet seat normally replaces the standard toilet seat and lid. It may not require a new floor drain, but it does require a compatible toilet shape, a water connection, and electrical planning when the model has washing, heating, drying, or lighting functions.
The toilet supply connection may need a manufacturer-supplied adapter or T-valve. Keep the shutoff accessible, and confirm that the existing valve and supply location work with the selected seat. Do not choose the outlet location from a product photograph. Use the exact installation guide.
Powered bidet seats often need a nearby receptacle. The electrician should determine the required circuit, protection, box location, and load based on the product and current electrical code. A dedicated circuit may be appropriate for some installations, but it should not be assumed without electrical review.
Standalone bidets need full plumbing
A standalone bidet needs more space than a bidet seat. It may require hot and cold water, depending on the model, along with a drain, trap, venting arrangement, and accessible shutoffs. The exact supply and drain locations vary by manufacturer.
Florida plumbing provisions require bidet water supply protection through an air gap or an approved backflow prevention method. Your plumber should identify the correct arrangement for the selected fixture.
Do not rely on a universal bidet drain diameter or rough-in distance. Manufacturers use different dimensions, so the contractor should work from the current product cut sheet before setting the drain, water lines, or finished wall locations.
Coordinate electrical work before closing walls
Electrical planning should happen while the plumbing plan is still flexible. The receptacle cannot interfere with the toilet tank, seat hinge, water connection, grab-bar blocking, or future service access.
Ask for the bidet model to be listed in the project documents. If the model changes later, the electrician and plumber should review the replacement before rough-in. A different seat can have a different cord length, water connection, or clearance requirement.
The same coordination applies to a standalone bidet. Electrical work may be unnecessary for a basic fixture but required for an integrated or heated model.
Moisture protection and rough-in coordination
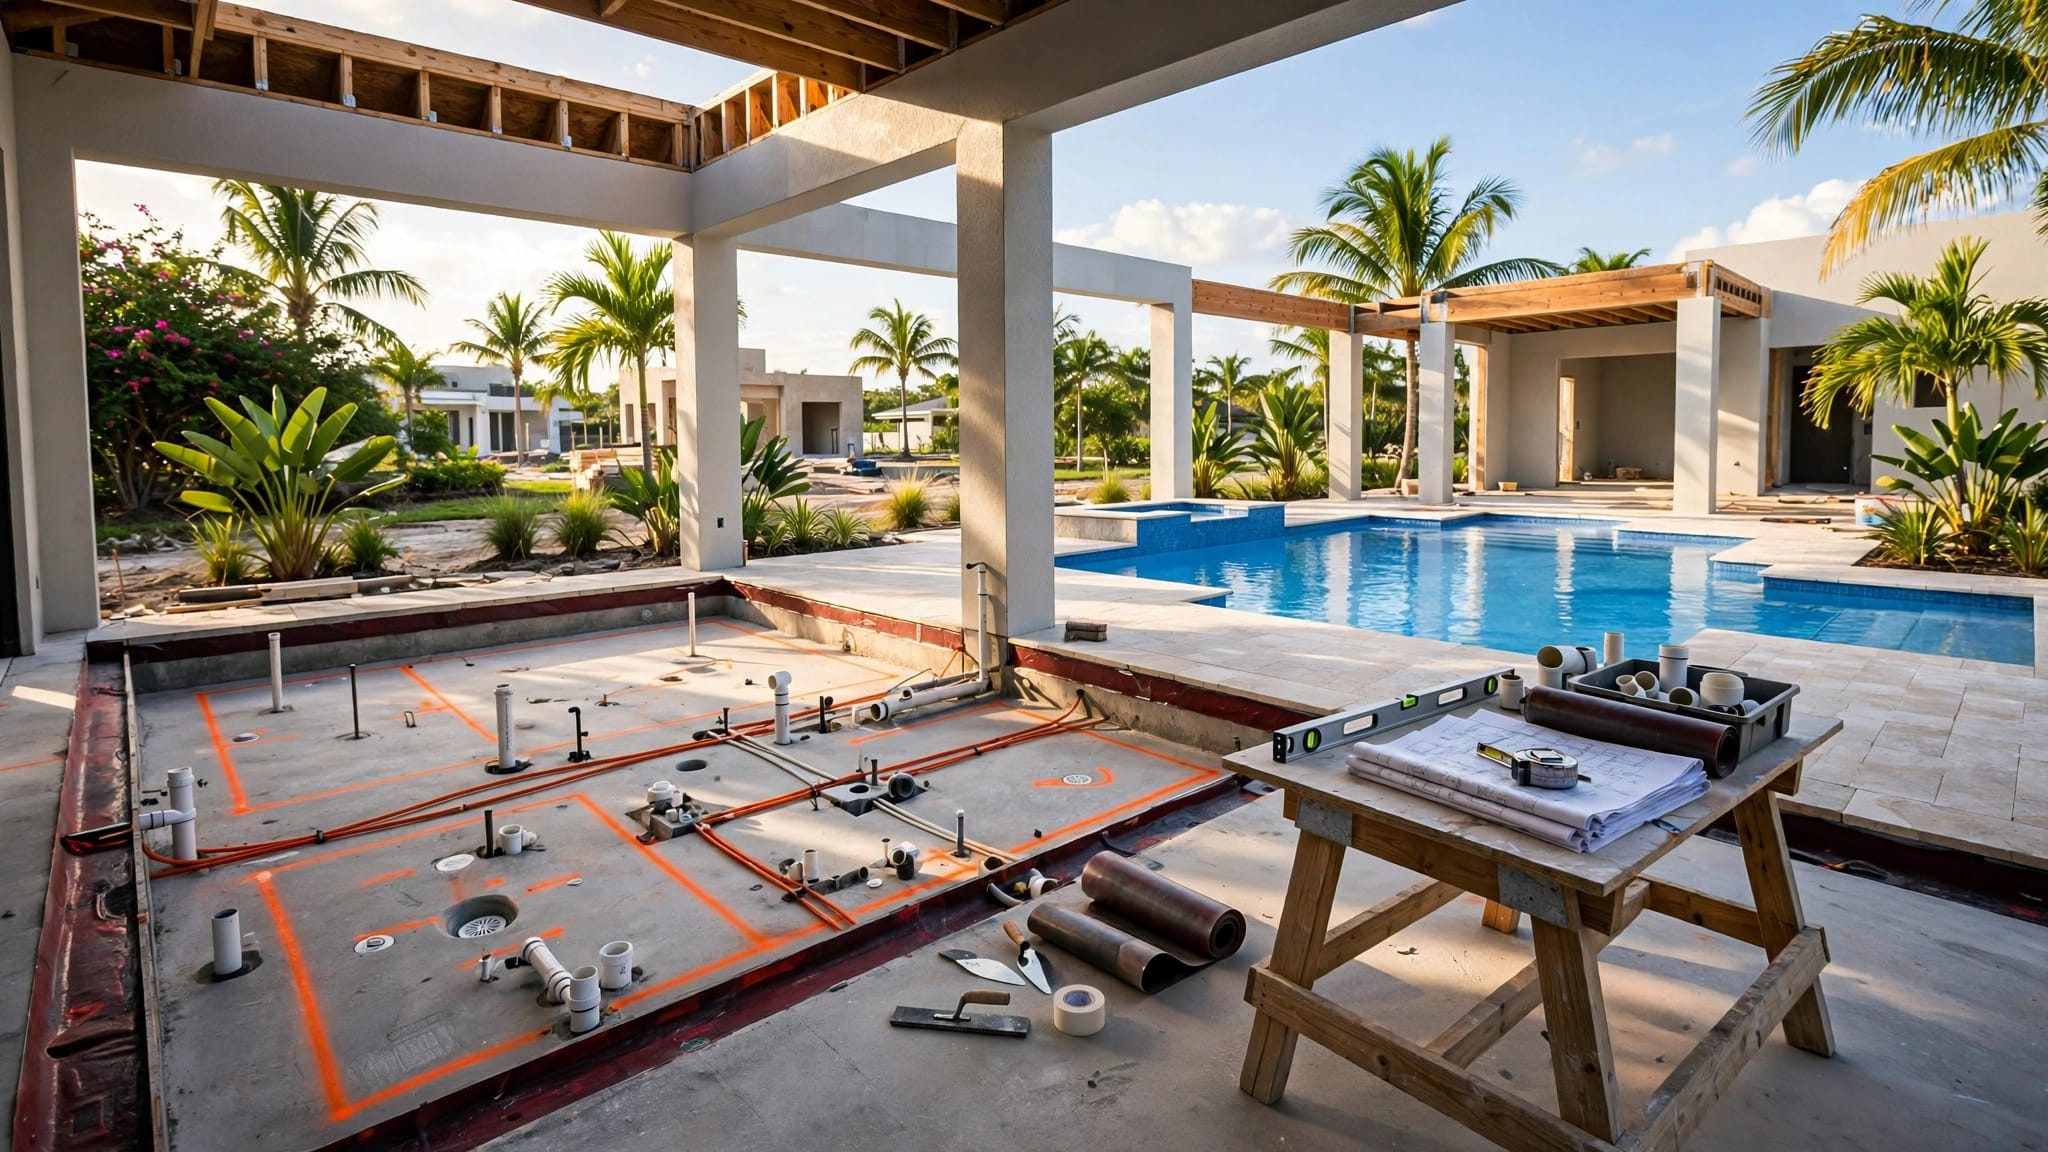
Bathroom work often crosses several trades. A toilet move can affect the drain route, venting, subfloor, finished flooring, and access to the wall behind the fixture. A bidet adds another layer of coordination.
Plan the route before demolition
Supply lines are usually easier to move than drain lines. Drain piping needs an approved route, proper slope, trap arrangement, and venting under the current Florida Building Code. Concrete slabs can add demolition and repair work when a toilet or bidet moves.
Before demolition, request a simple plan marking:
- Existing and proposed toilet locations
- Bidet seat or standalone bidet model
- Water supply and shutoff locations
- Drain and vent routes
- Electrical box or receptacle location
- Finished wall, vanity, door, and shower dimensions
- Areas requiring access repairs
This drawing can prevent a late discovery that the new fixture conflicts with a joist, slab, cabinet, or door swing.
Protect wet areas correctly
Cement board alone does not make a shower waterproof. The shower pan, receptor, wall system, seams, penetrations, and transitions need a compatible moisture-control approach.
Cape Coral's minor-work guidance separates simple flooring or tile replacement from shower pans, shower receptors, and wet-area waterproofing systems. Therefore, your contractor should define the waterproofing scope clearly rather than treating it as ordinary tile work.
Choose materials suited to moisture and Southwest Florida conditions. Moisture-resistant materials for a Cape Coral bathroom remodel can help homeowners compare finish choices, but the installation details still belong in the project plan.
Cape Coral permits and inspections
Permit needs depend on the work scope. Cape Coral identifies electrical wiring, plumbing lines, HVAC systems, gas lines, and structural work as permit-triggering categories. Replacing cabinet fronts or changing paint is different from moving a toilet drain or adding a bidet receptacle.
Submit the correct remodel information
Cape Coral's residential remodel guidance directs applicants to use the Residential Remodel application through the CSS or EnerGov system. The submittal should include a scope of work and existing and proposed floor plans when applicable.
A bathroom plan should show fixture locations, plumbing changes, electrical changes, walls, doors, and wet areas. If the project includes structural modifications, the drawings may need additional professional preparation.
Review Cape Coral home remodeling permits during early planning, then confirm the current requirements with the city or your licensed contractor. Nearby jurisdictions do not always follow the same process.
Schedule inspections before finishes hide the work
Rough plumbing and electrical work generally need inspection before insulation, drywall, tile, or cabinets conceal the installation. Cape Coral allows inspection requests through EnerGov until 9:00 p.m. Eastern Time on the night before. Cancellations can be made before 5:30 a.m. on the inspection day.
Your contractor should coordinate the sequence so one trade does not close an area before another trade has completed its inspection. Ask who will request each inspection and who will respond if an inspector requires a correction.
As of September 2026, Florida is operating under the 8th Edition (2023) Florida Building Code. The 9th Edition (2026) is scheduled to take effect on December 31, 2026. Confirm which code edition applies when your permit is submitted and reviewed.
Budget the layout before choosing finishes
Keeping the toilet near its existing drain and supply locations can reduce demolition, access repairs, and plumbing labor. However, saving money on the layout may not be worthwhile if the finished bathroom is difficult to use.
For a local reference point, the average bathroom remodel cost in Cape Coral can help frame the larger budget. Treat online ranges as planning information, not a project quote.
Ask for an itemized proposal that separates demolition, plumbing, electrical, waterproofing, tile, cabinetry, fixtures, permits, inspections, and finish repairs. Include an allowance for hidden damage, slab access, or outdated wiring when those conditions are possible.
Before signing, confirm who supplies the toilet and bidet, who follows the manufacturer instructions, who applies for permits, and who schedules inspections. Those details prevent responsibility gaps after the walls close.
FAQ
Does a bidet seat need a separate drain?
Usually, a bidet seat uses the toilet's existing bowl and drain, so it does not need a separate floor drain. It may need a water adapter and electrical connection. Confirm the requirements for the exact seat before rough-in.
How much space should be left around a toilet?
Florida plumbing minimums generally call for 15 inches from the toilet centerline to each side obstruction and 21 inches from the front of the toilet to a wall, fixture, or door. More space improves comfort and may be needed for accessibility goals.
Can a vanity sit next to the toilet?
Yes, if the finished vanity remains outside the required side clearance. Measure to the closest obstruction, including the countertop, cabinet sides, and hardware. A drawer that opens into the toilet area can still create a practical problem.
Is a bidet receptacle automatically required?
A receptacle is commonly needed for a powered bidet seat, but the exact electrical requirements depend on the product and current code. Have a qualified electrician confirm the location, circuit, and required protection.
Should a standalone bidet share the toilet drain?
The answer depends on the plumbing layout, venting, product requirements, and approved installation method. Your plumber should design the connection rather than assuming that an existing toilet drain can accept a second fixture.
A better bathroom starts with the rough-in
Toilet clearance is only one part of a successful Cape Coral bathroom remodel. The finished room must also account for doors, vanities, shower glass, accessibility, waterproofing, electrical service, and inspection access.
Choose the toilet and bidet products early, then have the contractor coordinate their cut sheets with the plumbing and electrical plans. When the rough-in is correct before the walls close, the final bathroom is more comfortable, easier to maintain, and less likely to require expensive changes.