Cape Coral Roofing Nail Patterns for High-Wind Roofs
Explore Our Services
Contact Us Today!
(239) 322-9295
A roof can have new shingles and still lose wind resistance if the nails miss their required locations. Understanding Cape Coral roofing nail patterns helps homeowners ask better questions before approving a reroof or new construction project.
Cape Coral roofs face strong wind, rain, and coastal exposure. However, the correct fastener count depends on the shingle product, roof design, wind speed, roof deck, and approved installation instructions. The four-nail and six-nail rules are useful starting points, but they don't replace project-specific requirements.
The most important details are the nail count, nail placement, fastener type, roof-edge treatment, and quality of the roof deck below the shingles.
Why Roof Nail Patterns Matter in Cape Coral
Asphalt shingles depend on fasteners to stay attached to the roof deck during high winds. Adhesive strips help seal shingles together, but the nails provide the primary mechanical connection.
Wind pressure doesn't affect every part of the roof equally. Suction usually increases near corners, eaves, rakes, ridges, and other perimeter areas. Those locations may need additional fastening or a different approved detail than the middle portion of the roof.
A roofer also needs to secure more than the visible shingles. The roof assembly includes:
- The roof deck, usually plywood or oriented strand board
- Underlayment beneath the shingles
- Starter shingles along the eaves and rakes
- Field shingles across the roof
- Ridge cap shingles
- Flashing around walls, vents, chimneys, and penetrations
- Drip edge and other perimeter components
A strong shingle nailing pattern cannot compensate for loose sheathing or deteriorated wood. If the nail only enters damaged decking, the connection may fail even when the fastener count looks correct.
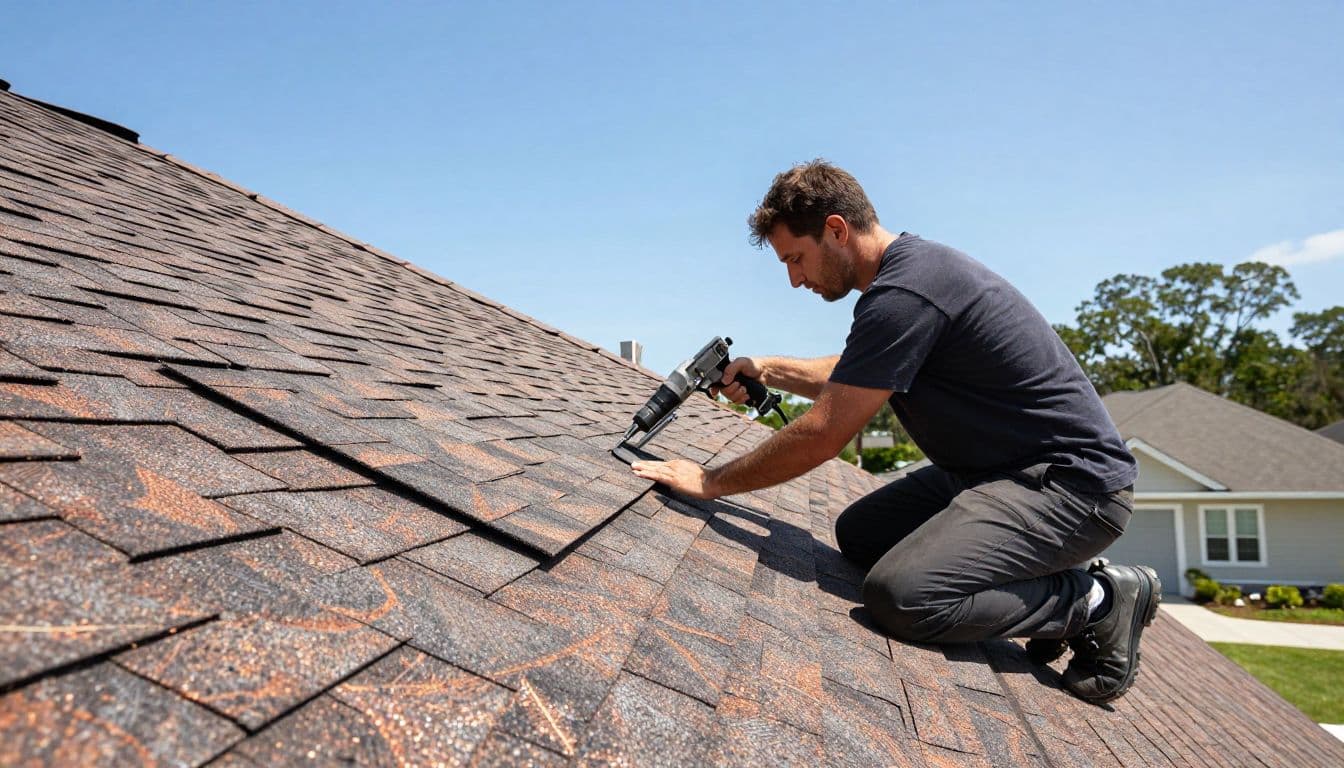
The City of Cape Coral's reroof permit materials and roof data sheet are important because they identify details that may need to appear in the permit package. A roofing contractor should review those requirements before ordering materials or starting work.
Cape Coral Roofing Nail Patterns: Four Nails, Six Nails, or More?
The exact pattern depends on the approved roof system. For many asphalt shingle installations in lower-wind areas, the Florida Building Code baseline is at least four fasteners per shingle, unless the manufacturer's instructions require more.
Higher-wind installations often require six nails per shingle. Some code and product requirements use six fasteners when the design wind speed exceeds roughly 120 mph. The project documents, not a general internet chart, determine which rule applies to a specific property.
Cape Coral isn't located in Florida's statutory High-Velocity Hurricane Zone, which covers Miami-Dade and Broward counties. Still, Lee County projects have wind-related requirements, and the selected product may have its own high-wind installation instructions.
| Roof situation | Documents that control | Common fastening direction |
|---|---|---|
| Standard asphalt shingles | Florida code and manufacturer instructions | At least four nails per shingle in many systems |
| Higher design wind speed | Florida code, plans, and manufacturer instructions | Six nails may be required |
| Product with a high-wind approval | Product approval and installation manual | Use the prescribed count and locations |
| HVHZ-approved assembly | Notice of Acceptance or other approval documents | Follow the complete approved system |
A Florida high-wind example places one fastener about 1 inch from each end, with additional fasteners at specified points across the shingle. That example can produce six fasteners per shingle, but it isn't a universal pattern for every brand or roof shape.
Some products have printed nailing lines. Others use measurement points in their installation instructions. A roofer should follow the exact pattern for the selected shingle, including the required position relative to the shingle's seal strip and cutouts.
A six-nail count doesn't fix nails that miss the manufacturer's nailing line or fail to reach sound roof decking.
Homeowners should also ask whether the project uses a specific product approval, such as a Florida approval or a Miami-Dade Notice of Acceptance. Those documents can set requirements that exceed the basic four-nail minimum.
Nail Placement Matters as Much as Nail Count
A nail needs to pass through the correct part of the shingle and enter the roof deck securely. Driving several nails into the wrong area can weaken the system.
For many architectural shingles, the manufacturer identifies a nailing zone above the cutouts and below the seal strip. The location varies by product. A nail placed too high may fail to connect the intended shingle layers. A nail placed too low can show through, miss the reinforced area, or interfere with the shingle below.
The fastener head should sit flush with the shingle surface. It shouldn't cut through the fiberglass mat or remain raised above the shingle.
Contractors often use pneumatic nail guns for speed, but the tool must be adjusted to the roofing material and site conditions. A gun that drives correctly on one section may behave differently when the compressor pressure, hose length, or roofing material changes.
The pattern also needs to remain consistent across valleys, hips, ridges, and roof transitions. Those areas may use specially shaped products or separate instructions. Standard field-shingle spacing doesn't automatically apply to ridge caps or starter strips.
If a homeowner sees exposed nail heads, torn shingle surfaces, nails outside the marked fastening area, or widely inconsistent spacing, the contractor should correct the issue before the roof is covered further.
Roof Deck Nails Are Different From Shingle Nails
Many homeowners use the phrase "roof nails" to describe every fastener on a roofing project. The roof deck, underlayment, and shingles can require different fasteners, however.
Roof sheathing fastens the plywood or OSB to the trusses or rafters. Florida code materials identify ring-shank fasteners for this connection. For sheathing that is 15/32 inch or thinner, the listed fastener is an ASTM F1667 RSRS-01 nail measuring 2 3/8 inches by 0.113 inch. For sheathing thicker than 15/32 inch, RSRS-03 nails measuring 2 1/2 inches by 0.131 inch or RSRS-04 nails measuring 3 inches by 0.120 inch may apply.
Those dimensions aren't a shopping list for every Cape Coral roof. The approved plans, existing construction, framing, sheathing thickness, and code requirements determine the correct fastener.
Ring-shank nails have ridges that increase withdrawal resistance compared with smooth-shank nails. Their performance still depends on proper length, diameter, penetration, spacing, and sound wood.
Underlayment fasteners follow separate rules. Certain high-wind or HVHZ assemblies use annular-ring or deformed-shank nails with caps at least 1 inch in diameter. Some assemblies require metal caps at higher wind pressures. A contractor shouldn't substitute an underlayment nail for a shingle nail or assume one fastener works throughout the roof.
Coastal exposure also makes fastener corrosion resistance important. The product instructions should identify the approved fastener type and coating for the installation.
Common Mistakes That Reduce Wind Resistance
Small installation errors can create weak points across an otherwise new roof. Cape Coral homeowners should watch for these problems during a roofing project.
- Underdriven nails leave the head above the shingle surface. Raised heads can interfere with the next course and leave the shingle less secure.
- Overdriven nails crush the shingle mat or drive through the material. The fastener loses bearing strength when it cuts the shingle instead of holding it flat.
- Incorrect nail placement can miss the required nailing zone, seal strip, or overlapping shingle layer.
- Insufficient fasteners reduce the connection's resistance to wind uplift. A contractor shouldn't use four nails when the selected product or permit documents call for six.
- Ignored roof-edge zones leave corners, eaves, rakes, and other perimeter areas with less protection than the field of the roof.
- Wrong fasteners can include smooth nails, short nails, non-approved substitutes, or staples where the shingle system prohibits them.
- Nailing into damaged decking creates a weak connection. Rotten, delaminated, or soft sheathing may need replacement before installation continues.
The roof edge also includes more than the last row of shingles. Starter strips, drip edge, fascia attachment, and rake details all affect how wind reaches the roof assembly. The contractor should use the approved edge detail instead of extending the field pattern by guesswork.
How Homeowners Can Check the Installation
You don't need to climb onto the roof to ask useful questions. Before work begins, request the shingle brand and model, the manufacturer's installation instructions, the planned nail count, and the fastener specifications.
Ask the contractor to identify the following in writing:
- Whether the roof uses a four-nail or six-nail pattern.
- Where the nailing line appears on the selected shingle.
- Which fastener secures the shingles, underlayment, and roof deck.
- How the contractor will handle corners, eaves, rakes, ridges, valleys, and penetrations.
- How damaged sheathing will be identified and priced if repairs become necessary.
- Which permit and product approval documents apply to the project.
During construction, a homeowner can request photos before the underlayment and shingles cover the roof deck. Photos can document sheathing repairs, deck fastening, flashing, and edge work. A ground-level inspection can also reveal visible nail heads, uneven shingle courses, or damaged materials.
Don't walk on the roof to inspect it yourself. Roofing surfaces can be steep and slippery, especially after rain. A licensed roofing contractor or qualified inspector should handle close-up checks.
The final permit inspection is separate from a wind mitigation inspection. A wind mitigation report may document roof features for an insurer, but it doesn't replace the permit process or the manufacturer's installation requirements.
For new construction, roofing costs should also be planned with the complete assembly in mind. The price includes more than shingles, so a Southwest Florida roofing cost guide can help homeowners compare materials and account for deck repairs, underlayment, flashing, and labor.
The Pattern Should Match the Entire Roof System
Cape Coral roofing nail patterns aren't determined by nail count alone. The correct installation matches the shingle product, wind design, roof deck, underlayment, edge zones, and approved construction documents.
Four nails may satisfy a basic requirement for one product, while another roof requires six or a product-specific pattern. Meanwhile, sound sheathing and the right ring-shank fasteners help keep the entire assembly connected.
Before signing off on a reroof, ask for the exact pattern and fastener type. A written answer, permit documentation, and clear installation photos provide more protection than a general promise that the roof is "built for high wind."
Conclusion
The strongest high-wind roof starts with the approved installation system, not a single nail-count rule. Cape Coral homeowners should confirm the required pattern, fastener type, nail placement, roof-edge details, and condition of the decking before work begins.
A properly installed roof uses the right number of fasteners in the right locations. Correct placement and sound materials matter just as much as the number printed on the estimate.