Electrical Walkthrough Checklist for Fort Myers Custom Homes
Explore Our Services
Contact Us Today!
(239) 322-9295
Drywall can hide electrical mistakes for decades, so the pre-drywall meeting deserves more attention than a quick walk through the rooms. An electrical walkthrough checklist helps you confirm outlet locations, lighting plans, dedicated circuits, panel access, and future connections before the framing disappears.
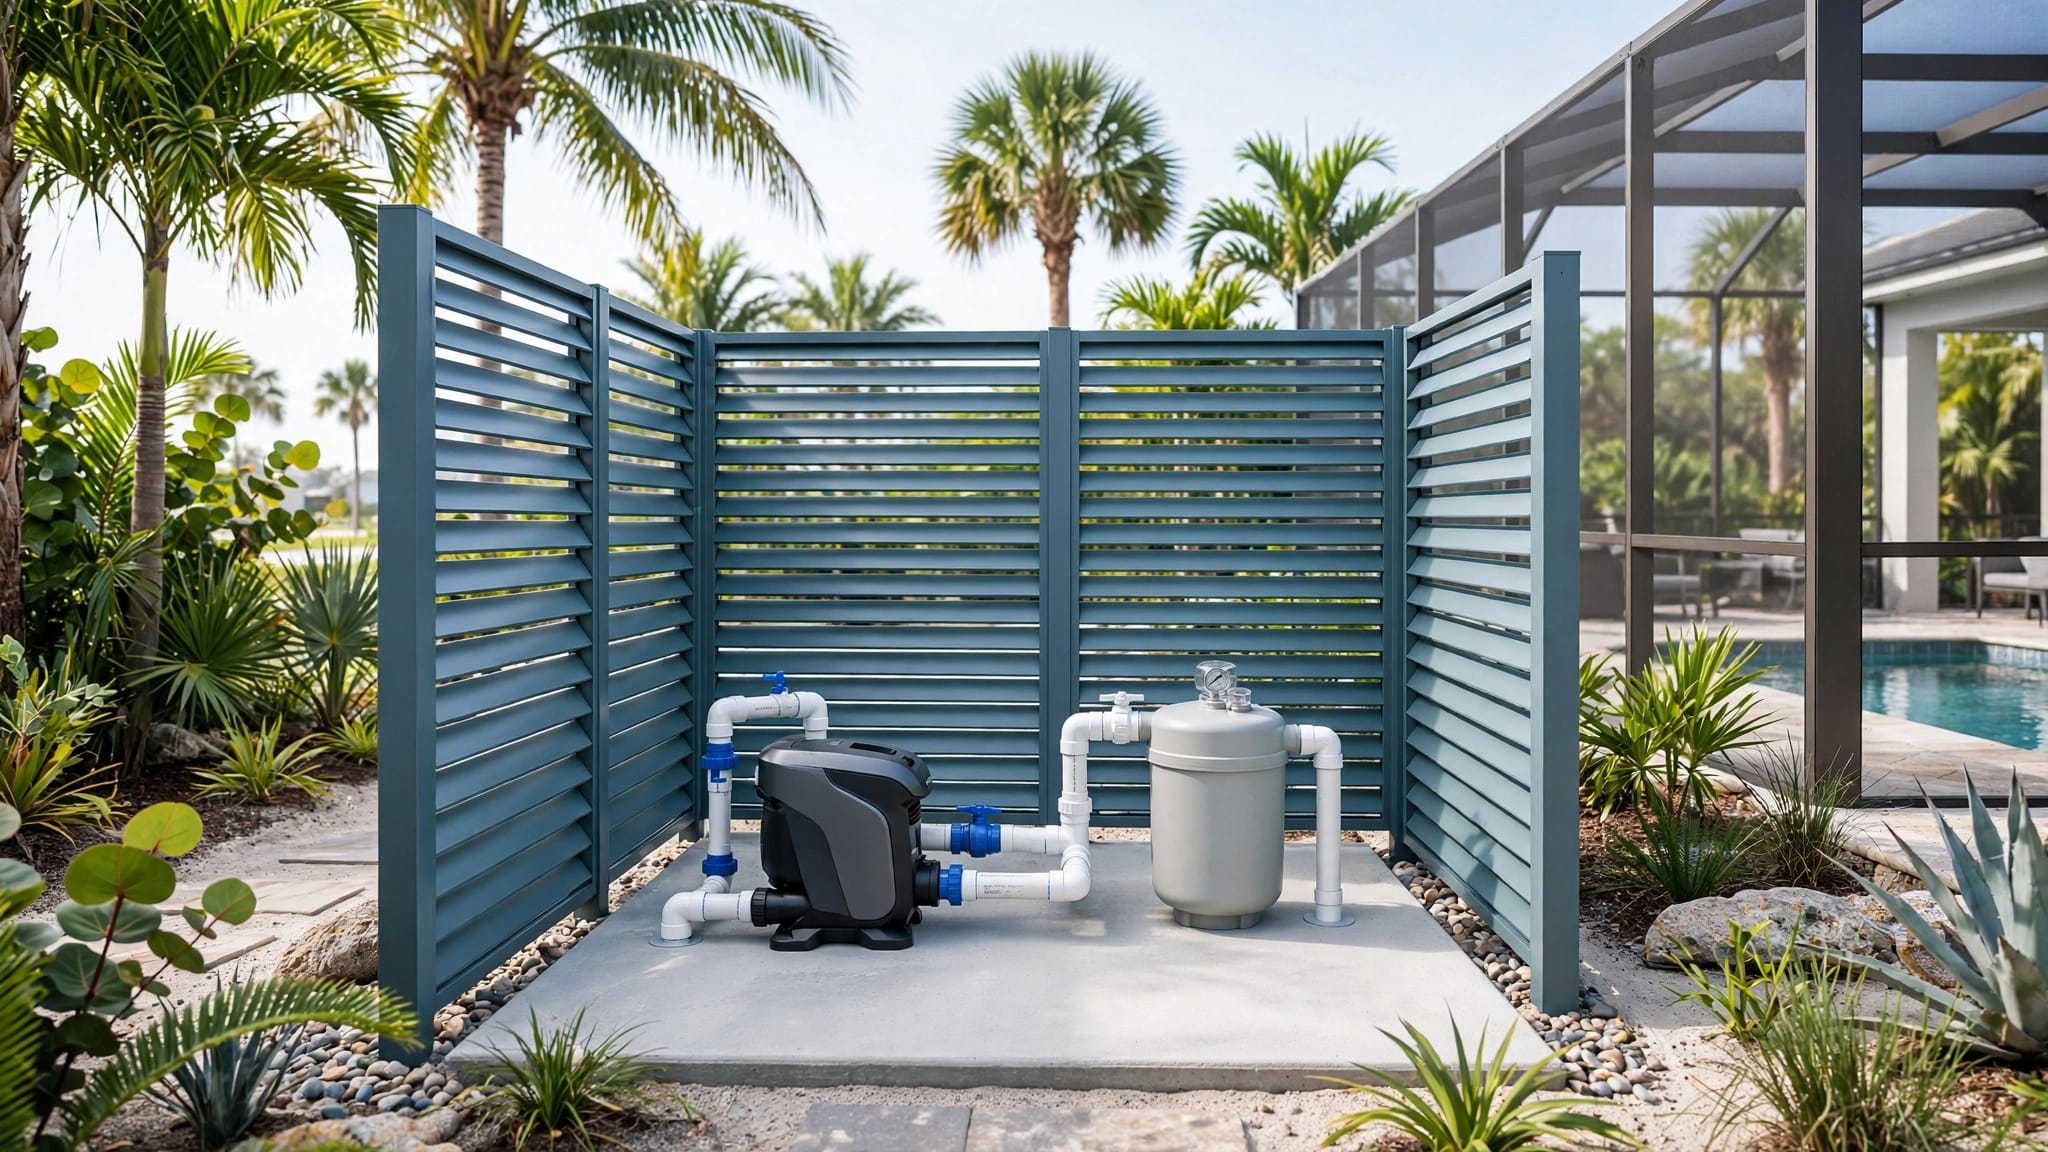
Fort Myers custom homes also have local concerns, including outdoor equipment, pool systems, generators, hurricane shutters, and corrosion from Southwest Florida's humid climate. Walk the home with your builder and licensed electrician, then confirm local code and permit requirements with the authority having jurisdiction (AHJ).
Why the Pre-Drywall Electrical Walkthrough Matters
Once drywall covers the studs, moving a receptacle may require cutting, patching, repainting, and possibly changing trim or cabinets. A missing outlet behind a wall-mounted television is inconvenient. A missing circuit for an induction range, pool pump, or future generator can become an expensive construction change.
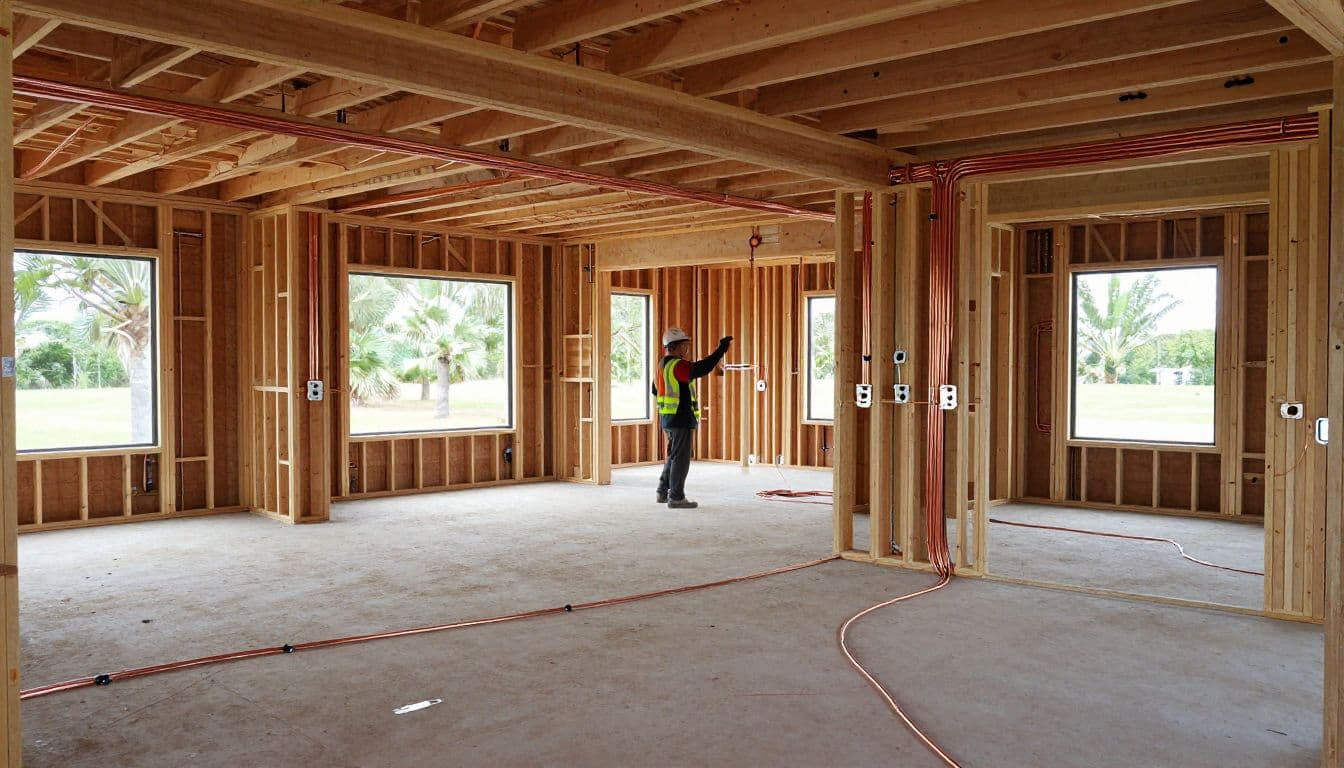
The rough-in stage gives you a clear view of the electrical system. You can see where cables run, how boxes line up with the framing, and whether the panel location works with the finished design. You can also compare the installation with the latest architectural plans and appliance specifications.
A room can look correctly wired while still missing the circuit, outlet height, or blocking needed for the way you plan to use it.
Bring your marked plans, appliance schedule, cabinet drawings, lighting selections, and low-voltage layout. If the electrical plan changed during design, make sure the field installation matches the latest approved version, not an older sheet from the permit set.
Prepare Before Walking the House
The best walkthrough starts before you arrive at the job site. Ask the builder when the electrical rough-in will be complete and before insulation or drywall begins. Confirm that the rough-in inspection schedule allows time for corrections.
Use this preparation list:
- Get the current electrical plan, reflected ceiling plan, kitchen layout, and appliance schedule.
- Mark the locations of televisions, desks, beds, garage tools, refrigerators, freezers, and exercise equipment.
- List every large electrical load, including air-conditioning equipment, water heating, pool equipment, outdoor kitchens, EV chargers, and generators.
- Confirm which items are included in the electrical contract and which require separate low-voltage or specialty contractors.
- Ask how requested changes will be priced and documented before anyone moves a box or cable.
- Confirm the permit status and inspection requirements with the builder.
A detailed Southwest Florida new home preconstruction checklist can also help you review electrical needs before construction decisions become difficult to change.
Don't perform electrical work yourself or ask an unlicensed person to make changes. Your role is to identify concerns and confirm how the builder and electrician will address them.
Electrical Walkthrough Checklist for Fort Myers Custom Homes
Walk room by room, then inspect the panel, exterior, garage, attic, and service areas. Check each item against the plan and your daily routines.
Review outlets, switches, and lighting
Outlet placement should follow the room's finished use, not only the current furniture plan. A custom home may have built-in cabinets, large windows, motorized shades, floating vanities, or wall-mounted televisions that affect box locations.
Use these checks during the walkthrough:
- Confirm receptacles sit where furniture, cabinetry, and appliances won't block them.
- Check kitchen countertop outlets against the final cabinet and backsplash drawings.
- Confirm dedicated connections for the refrigerator, dishwasher, disposal, microwave, range, hood, and other specified appliances.
- Review island and peninsula outlets, including their locations and required protection.
- Check bathroom receptacles near each vanity and confirm the planned protection for wet areas.
- Confirm garage outlets for freezers, workbenches, tools, door openers, and battery chargers.
- Verify switch locations at every entry, stairway, hallway, bedroom, and outdoor door.
- Confirm three-way or multi-way switching where you need control from more than one location.
- Match ceiling boxes with the lighting plan, fan locations, beams, tray ceilings, and final room centers.
- Ask whether ceiling fans have properly supported boxes and separate fan and light controls when specified.
- Confirm exterior lighting at doors, garages, walkways, lanais, patios, and pool areas.
- Check provisions for under-cabinet lighting, vanity lighting, mirrors, and display lighting.
Also inspect the physical rough-in. Electrical boxes should align with the intended finished wall surface, stay accessible, and avoid conflicts with plumbing, ductwork, cabinet hardware, and framing. Wiring should have proper support and protection. Where cables pass close to the face of a stud, protective plates may be required to guard against future screws and nails.
Check panel location and circuit distribution
The electrical panel needs enough capacity for the home's design and a location that remains accessible after finishes are installed. Confirm the proposed service and panel arrangement with the electrician's load calculation, not a guess based on the size of another home.
Review the following:
- Confirm the panel location on the plans and verify that doors, shelves, appliances, and stored items won't block access.
- Ask the electrician to identify circuits for major appliances and mechanical equipment.
- Verify that pool, spa, irrigation, outdoor kitchen, security, and garage equipment have the planned connections.
- Confirm provisions for a generator, transfer equipment, solar equipment, or battery storage if they are part of your plans.
- Ask whether the panel includes the required arc-fault and ground-fault protection for the applicable circuits.
- Confirm the service equipment, disconnects, grounding, and bonding follow the approved design and current code.
- Check that junction boxes remain accessible and that no splice is buried behind future drywall.
- Ask how circuits will be identified in the final panel directory.
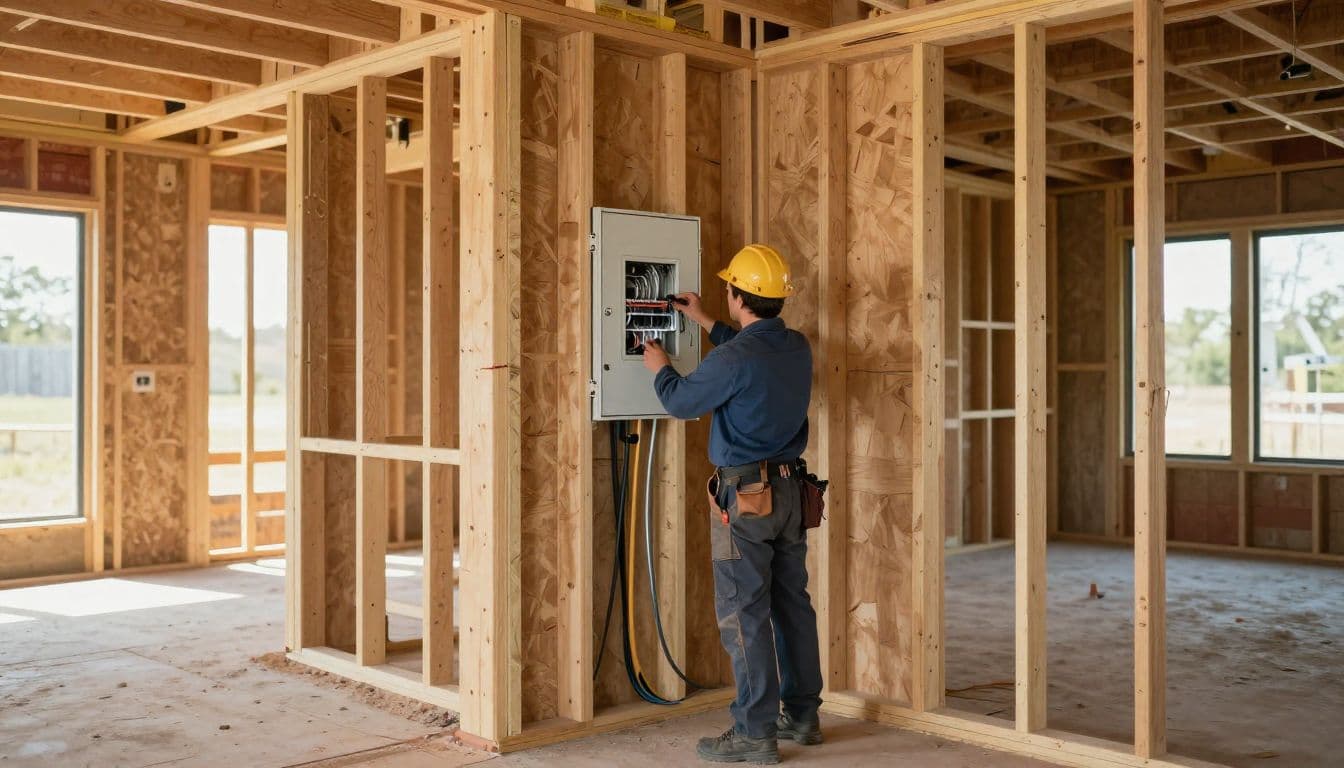
A Southwest Florida electrical rough-in cost guide places rough-in-only planning around $4 to $9 per square foot, or about $10,000 to $36,000 under its stated assumptions. The number can change with home size, service requirements, fixtures, specialty equipment, and wiring complexity. Review the electrical rough-in costs for new construction before approving additions or comparing contractor proposals.
Account for Southwest Florida Conditions
Fort Myers homes often include systems that deserve early electrical coordination. Pools, screened lanais, outdoor kitchens, hurricane shutters, landscape lighting, security cameras, and standby generators all affect rough-in decisions.
Exterior locations need weather-resistant components and covers suited to the location. Ask where exterior receptacles, disconnects, lighting boxes, and equipment connections will sit after stucco, siding, pavers, pool decking, and landscaping are complete. Pool equipment also requires coordination between the electrician, pool contractor, builder, and inspector.
Humidity and salt air can affect exposed exterior hardware, especially near the coast. Confirm that the specified boxes, fittings, fasteners, and equipment are approved for their intended environment. Your electrician should select products based on the location and manufacturer's requirements.
Flood-zone conditions may also affect service equipment, generators, and other electrical components. The applicable placement rules depend on the property, flood designation, design, and local enforcement. Ask the builder and design team to review those requirements before installation.
Low-voltage planning deserves its own review. Confirm pathways and locations for:
- Internet equipment and network wiring.
- Security cameras, doorbells, alarms, and access control.
- Television and audio locations.
- Motorized shades and smart-home controls.
- Pool controls, landscape lighting, and gate systems.
- Future wiring between the attic, garage, mechanical room, and office.
Keep power and communications wiring properly coordinated. The low-voltage contractor may need conduit, back boxes, pull strings, or dedicated equipment space before drywall closes the walls.
Document Every Correction Before Drywall
Bring painter's tape and a printed plan, but let the builder or electrician place and move electrical components. Mark concerns by room and photograph each wall after the rough-in passes inspection.
Take wide photos that show the room, followed by closer photos of individual walls, boxes, panel areas, and unusual wire routes. Record measurements from permanent features such as corners, doors, windows, and floor lines. These photos can help locate a cable or box later without opening several walls.
Write each requested change into the builder's change-order process. The record should state the location, requested work, price impact, schedule impact, and person responsible for approval. Verbal comments can be forgotten when several trades work in the same house.
Before insulation begins, ask the builder and electrician to confirm that corrections are complete. Then verify that the final rough-in still matches the approved plans. A second review may be needed if cabinets, appliances, lighting fixtures, or pool equipment changed after the first meeting.
Local code interpretations and permit requirements can vary by jurisdiction. A Fort Myers property may fall under the City of Fort Myers, while another nearby property may fall under Lee County. Confirm the applicable requirements with your builder, licensed electrician, and the local AHJ. Their decisions control the permitted installation and inspection process.
Make the Walkthrough a Written Sign-Off
A useful electrical walkthrough checklist does more than remind you to count outlets. It connects the plans to the finished home's actual use, including equipment that may not arrive until months after drywall installation.
Review the house in a consistent order, document every concern, and approve changes in writing. Pay close attention to wall locations, dedicated circuits, panel access, exterior equipment, wet-area protection, low-voltage pathways, and future systems.
The final authority remains the approved plans, the licensed electrical contractor, the builder, and the local inspection department. If those parties confirm a different solution than the one you expected, ask for the code or design reason and keep the decision in your project records.
Conclusion
The most expensive electrical changes are often the ones discovered after drywall, cabinets, and finishes cover the rough-in. A complete electrical walkthrough checklist gives you a practical way to review each room, identify conflicts, and confirm the work before access disappears.
For a Fort Myers custom home, include everyday outlets along with pool equipment, outdoor living areas, storm-related systems, generators, communications wiring, and future upgrades. Then let the builder and licensed electrician resolve the work under the current permit and local code requirements. The walls may soon hide the wiring, but your records should show exactly what went inside them.