Estero Roof Leak Detection Before Interior Damage
Explore Our Services
Contact Us Today!
(239) 322-9295
Ceiling stains are often late arrivals. By the time paint discolors or drywall softens, rainwater may have traveled through several parts of the roof assembly.
In Estero, roof leak detection works best before that visible proof appears. A prompt inspection after a hard summer storm can limit damage to insulation, drywall, flooring, and personal belongings.
Small changes around your home can point to a problem while repairs are still contained.
Roof Leak Detection in Estero Starts Before Stains Appear
A roof opening and an interior water mark rarely sit in the same vertical line. Wind-driven rain can enter at one detail, then move across the roof deck before it reaches the attic or ceiling.
Water rarely travels straight down
Water follows gravity, but it also follows surfaces. It can run along the underside of roof decking, follow a rafter or truss, collect near a roof penetration, or drip onto insulation several feet away from the original opening.
That path makes leak location difficult to judge from a ceiling stain alone. A wet spot near a hallway light may begin at a roof vent, valley, flashing joint, or ridge detail farther upslope.
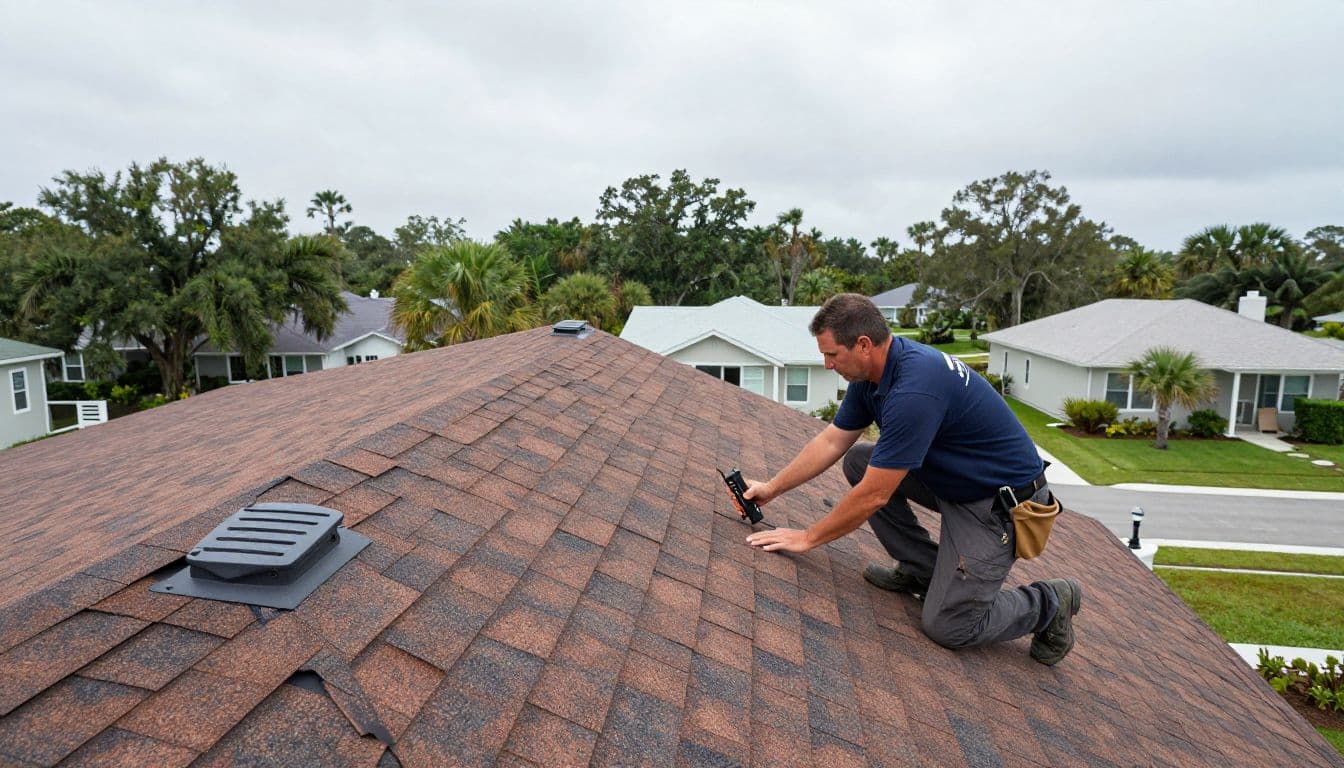
Storm conditions obscure patterns
Estero homes face intense sun, high humidity, heavy afternoon rain, and tropical weather. A small gap may leak only when rain blows from one direction. It may stay dry during a light, straight-down shower.
Tile, shingle, metal, and low-slope roofs each shed water differently. Still, every roof depends on properly installed flashing, underlayment, sealants, and drainage paths. A worn detail can allow moisture under the surface long before the room below shows damage.
A ceiling stain identifies where water arrived indoors, not where it entered the roof.
Early Warning Signs of a Hidden Roof Leak
Interior damage often begins with clues that are easy to dismiss. Pay attention when a change appears after rain, especially if it grows or returns following another storm.
Changes inside the house
Look for patterns rather than waiting for a large brown ceiling ring. Early signs can include:
- A faint yellow or gray mark around a ceiling seam, vent, or light fixture.
- Paint that bubbles, flakes, or feels softer than the surrounding wall.
- A musty odor in a bedroom, closet, attic-access area, or bonus room.
- Damp or compressed attic insulation below a roof valley or vent.
- A ceiling that begins to sag or drywall tape that separates at a joint.
- Water droplets around a recessed light, exhaust fan, or ceiling register.
A water mark can also come from an air-conditioning condensate line, plumbing pipe, or bathroom exhaust duct. The timing matters. If it appears after rainfall, a roof inspection is a sensible first step. If it appears during dry weather, the inspection should include other possible moisture sources.
Clues outside after a storm
From the ground, inspect the roof line, gutters, fascia, soffits, and exterior walls. Missing shingles, shifted tiles, exposed fasteners, loose flashing, bent vent covers, or debris in valleys deserve attention.
You may also notice water overflowing a gutter, a fresh streak down a stucco wall, or staining along a soffit. These signs don't always mean the roof has an active leak, but they can reveal drainage problems that allow water into vulnerable areas.
Roof Areas That Commonly Let Water In
Most leaks begin at transitions, not in the open field of a roof. Roof coverings overlap by design, so the places where materials meet need close attention.
Flashing and roof penetrations
Flashing directs water around interruptions in the roof. Common trouble spots include plumbing vent pipes, attic vents, skylights, chimneys, solar mounts, and exhaust penetrations.
Rubber boots around plumbing stacks can crack from sun exposure. Sealant around metal flashing can split or pull away. A loose fastener near a vent may create a small opening that only leaks during wind-driven rain.
Even a newer roof can develop a leak at a poorly sealed penetration. After roof work, solar installation, or an exterior renovation, inspect these areas if you notice new moisture indoors.
Valleys, walls, and roof edges
Roof valleys collect runoff from two slopes. Therefore, leaves, palm debris, or damaged flashing in a valley can send water beneath the roof covering. Roof-to-wall connections also require careful flashing because water can collect where a vertical wall meets the roof.
Pay close attention to lanai tie-ins, additions, dormers, and changes between steep and low-slope roof sections. These connections may use different materials and drainage details. On tile roofs, the tile may look sound while aging underlayment below allows water through.
Safe Roof Leak Detection Checks Homeowners Can Make
Homeowners can gather useful observations without climbing on the roof or opening walls. Safety comes first, especially after storms, when surfaces may be slick or materials may have shifted.
Observe from the ground
Walk around the home in daylight and take clear photos of anything unusual. A phone camera with zoom can help you document lifted shingles, displaced tiles, loose gutter sections, or damaged soffit panels.
Avoid ladders, roof walking, and pressure washing. Tiles can crack underfoot, shingles can lose protective granules, and a wet roof can cause a serious fall. Don't spread roof cement, caulk, or sealant over a suspected area without finding the source. A surface patch can trap water and make professional diagnosis harder.
If active water is entering the house, place a container below the drip if it is safe to do so. Move rugs, electronics, and furniture away from the area.
Check the attic from the access opening
If your attic access has safe lighting and a stable opening, look upward from that point with a flashlight. Search for darkened roof decking, damp insulation, rusted nails, staining around vents, or daylight where it shouldn't appear.
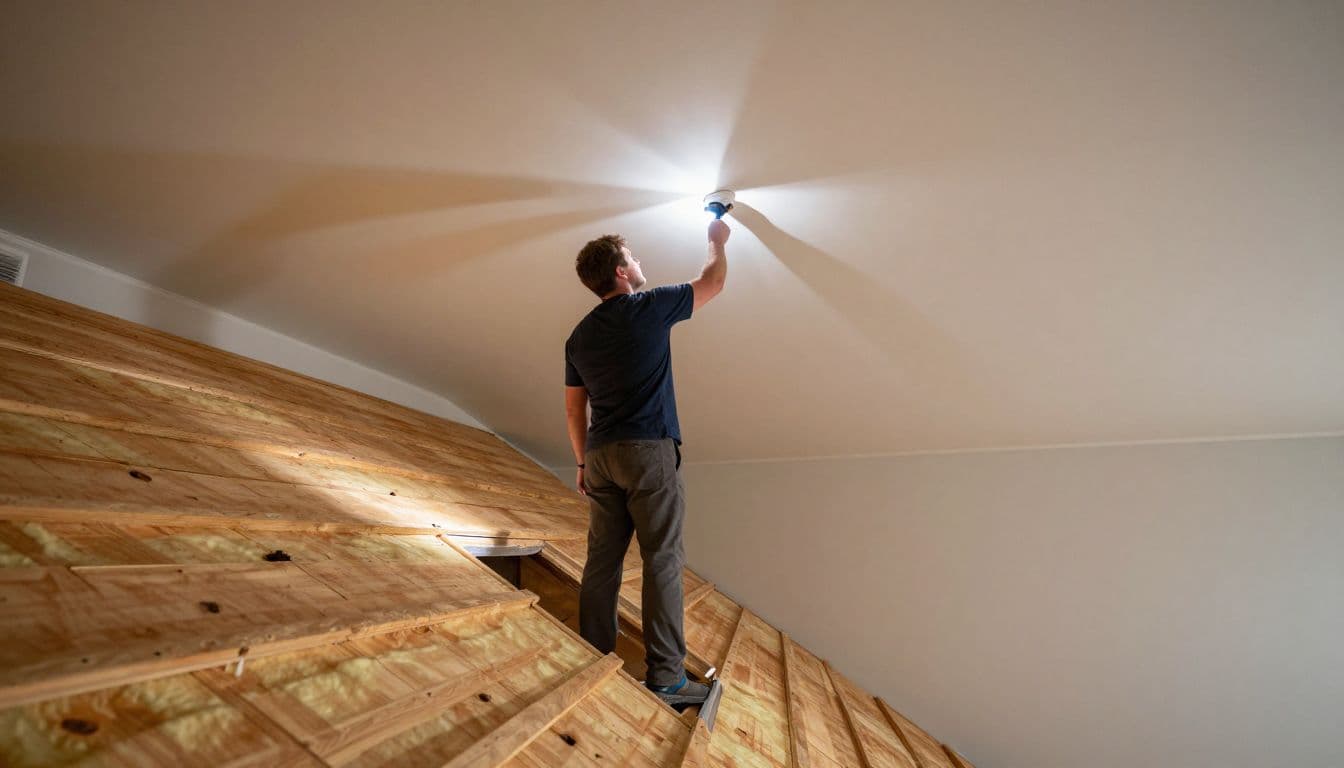
Do not step on ceiling drywall or move across the attic unless there is a proper walkway. Don't pull back large sections of insulation, probe roof decking, or cut openings in the ceiling. Take photos from a safe position and note the location in relation to rooms below.
Professional Roof Leak Detection Methods
Professional roof leak detection combines exterior inspection, attic observations, moisture testing, and careful confirmation. The goal is to trace the water path without damaging sound roofing or interior finishes.
Moisture readings and visual inspection
A contractor starts with the roof's condition, age, drainage, penetrations, and flashing details. Inside the attic, they check roof decking, framing, insulation, and air pathways for signs of moisture movement.
Moisture meters can help compare suspect materials with dry areas nearby. Infrared cameras may reveal temperature differences linked to damp insulation or roof materials when weather conditions are suitable. However, sunlight and attic ventilation can create similar temperature patterns, so a thermal image needs confirmation.
Controlled water testing when needed
When a leak appears only during certain storms, a technician may test isolated roof sections with a controlled water source. This process starts low on the roof and moves upward in stages. It helps narrow the source without soaking large areas of the home.
The inspection may also rule out plumbing, condensate drains, or exhaust ducts that mimic a roof leak. A leak-focused inspection is different from a 4-point inspection for Florida homes, which evaluates major systems for insurance purposes and may not trace an intermittent water path.
What to Do After You Suspect Roof Damage
Quick, organized action protects your home while a qualified roofer identifies the source. Focus on limiting additional moisture without creating a fall risk or causing more damage.
Protect the affected room first
Move valuables and furniture out of the wet area. Use towels around the perimeter of a drip and place a bucket beneath it if the ceiling is stable. If water reaches a light fixture, outlet, or electrical panel, keep clear of the area and contact a qualified electrician or emergency service if there is an immediate hazard.
Photograph the stain, bubbling paint, damaged belongings, and any exterior condition you can safely see. Include the date, the recent weather, and the room location. Those notes can help connect a recurring leak to a particular storm direction.
Don't climb up to install a tarp yourself. A professional can secure temporary protection without damaging the roof or putting someone at unnecessary risk.
Repair the source and dry the assembly
The repair should address the entry point, not only the ceiling stain. Depending on the finding, work may involve flashing repair, replacement of a damaged vent boot, tile reset, shingle repair, underlayment work, or correction of a drainage issue.
Wet insulation and damp drywall also need attention after the roof repair. Materials that stay wet can develop odors, lose effectiveness, or deteriorate. A qualified contractor can inspect the affected area, repair the source, and recommend the right drying and restoration work.
When you see a new stain, damp insulation, or roof damage after a storm, request a roof inspection before a small opening turns into a larger interior repair.
Catching Water Early Protects Your Estero Home
A roof leak can travel a surprising distance before it leaves a visible mark. That delay is why early evidence matters, even when the stain looks small.
Watch for changes after storms, inspect only from safe locations, and let a qualified professional trace the water path. Finding the source before moisture spreads helps protect the roof structure and the rooms beneath it.