Fort Myers Cabinet Crown Molding Planning Guide
Explore Our Services
Contact Us Today!
(239) 322-9295
Cabinet crown molding can make a kitchen look finished, but only when the trim fits the cabinets, ceiling, corners, and room proportions. Poor measurements or rushed corner cuts can leave visible gaps that stand out more than the cabinets themselves.
If you're planning Fort Myers cabinet crown molding , decide on the profile, material, cabinet height, and installation method before ordering trim. Early coordination is especially important during a kitchen renovation, when cabinet layout, lighting, countertops, and ceiling conditions may all change together. Fort Myers kitchen remodeling should include these finishing details in the design discussion, not treat them as an afterthought.
How to plan Fort Myers cabinet crown molding
Crown molding sits at the transition between the upper cabinets and the ceiling. That means its appearance depends on more than the trim itself. Cabinet placement, wall conditions, ceiling height, lighting, and nearby doors all affect the final result.
Coordinate molding with the cabinet layout
Start by reviewing the cabinet elevation or layout drawing. Confirm where the upper cabinets end, where fillers are planned, and whether any cabinet stops near a wall, doorway, refrigerator enclosure, or open shelf.
The molding should follow the cabinet run without creating awkward interruptions. If a cabinet turns a corner, the trim must turn with it. If one cabinet is taller than another, the transition needs to be planned before installation.
Also review lighting and ventilation locations. Under-cabinet lighting usually won't interfere with crown molding, but tall decorative panels, ceiling fixtures, and range hoods may affect the trim line.
If the kitchen layout is still changing, review planning the kitchen layout before cabinet installation first. The refrigerator, sink, and range locations can influence cabinet runs and the amount of crown molding required.
Decide whether the trim is decorative or architectural
Some homeowners want a narrow, quiet finish that blends into the cabinets. Others want layered molding that creates a stronger transition near the ceiling.
Neither approach is automatically better. The right choice depends on the cabinet door style, ceiling height, room size, and the amount of detail already present in the kitchen. A heavily profiled cabinet door may pair well with simpler crown molding, while a plain slab door can support a more noticeable trim profile.
Choosing a profile and material
The molding profile should look intentional from across the room and at close range. It also needs to match the cabinet finish closely enough that the trim appears built in.
Match the profile to the cabinet style
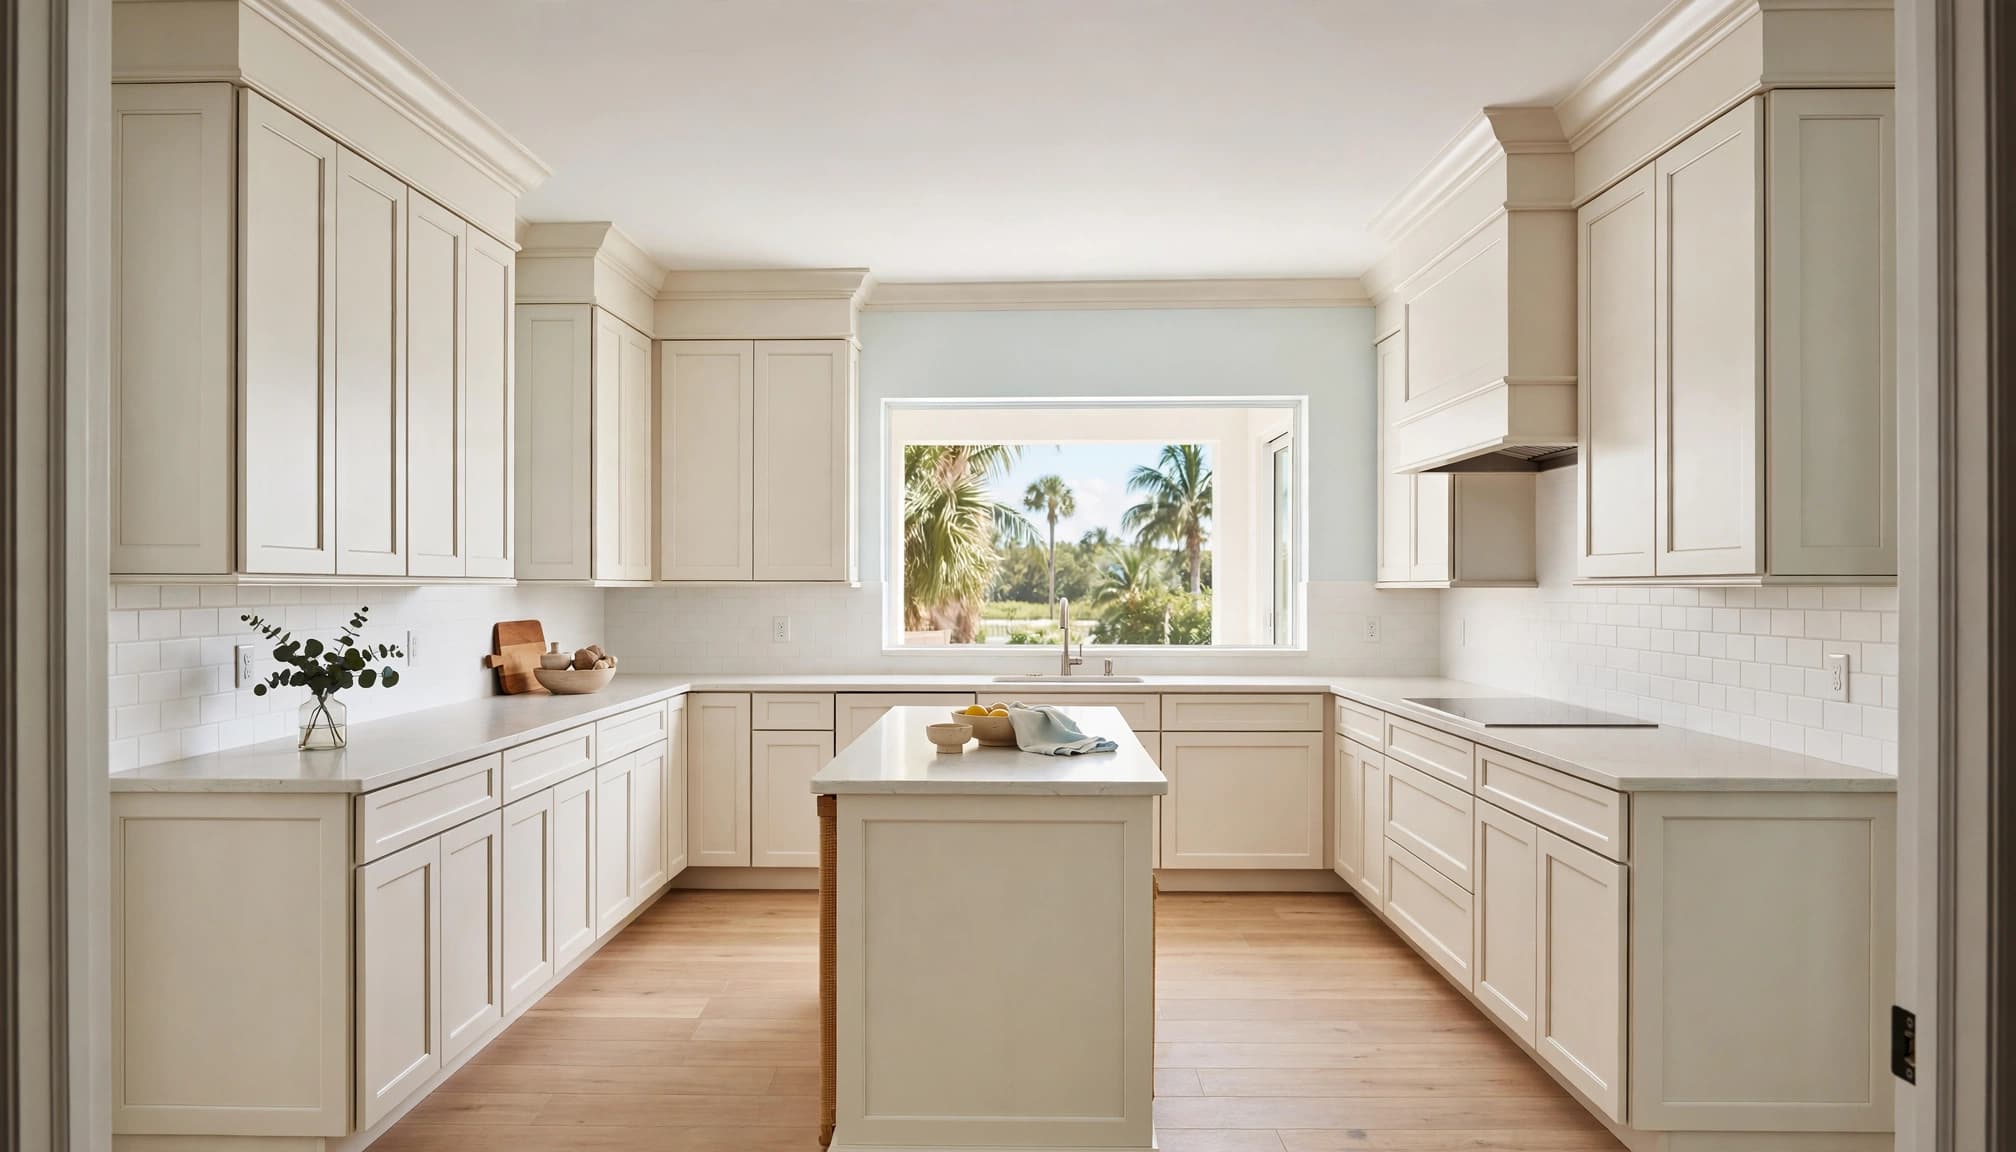
For a clean, updated kitchen, a simple angled or stepped profile often works well. Traditional kitchens may support more layered profiles, but decorative trim can make a smaller room feel visually busy.
Bring cabinet door samples, flooring samples, backsplash selections, and countertop samples into the decision. A molding profile that looks balanced in a showroom may seem too heavy once it sits above full-height cabinets.
Pay attention to the transition between the molding and the ceiling. If the ceiling has a strong texture or an irregular edge, a very detailed profile may highlight those imperfections.
Compare wood, engineered trim, and composite options
Solid wood can be stained or painted and may work well when the cabinets use a real wood finish. Its appearance can vary with grain and movement, so the finish should be tested before installation.
Primed wood and engineered trim can provide a smooth surface for painted cabinets. These materials are often easier to finish consistently across long cabinet runs.
Composite or moisture-resistant products may be useful in areas where humidity or coastal exposure is a concern. However, product suitability depends on the manufacturer, finish system, and installation conditions. Ask how the material should be cut, fastened, filled, sanded, and painted.
The molding should not be selected in isolation. Confirm that the material accepts the planned paint or stain and that touch-ups will be practical after installation.
How to measure for cabinet crown molding
Accurate measurements begin with the cabinet layout, but field measurements still matter. Walls, ceilings, and cabinet boxes rarely align perfectly across an entire kitchen.
Measure every cabinet run separately
Measure the length of each straight run from the point where the molding begins to the point where it ends. Don't assume two walls have matching dimensions, even when the plans show similar cabinet lengths.
Record each run in inches and label it by location. For example, identify the sink wall, range wall, island area, or refrigerator wall. Mark whether the run ends at a wall, another cabinet, a tall pantry, or an open side.
Measure the depth and height of the cabinet tops as well. Crown molding may need a small mounting strip or additional support depending on the cabinet design and profile. The available space above the cabinet also affects how the molding meets the ceiling.
Take measurements after cabinets are securely installed and leveled whenever possible. Earlier measurements can help with estimating, but final cuts should follow actual field conditions.
Add corners, returns, and waste to the plan
A straight cabinet run does not equal the total amount of trim required. Include material for inside corners, outside corners, end returns, test cuts, and damaged or unusable pieces.
An inside corner usually requires two pieces to meet cleanly. An outside corner may require a mitered transition or a shaped corner assembly. A finished end can need a return that brings the molding back toward the cabinet side instead of leaving an exposed cut.
Create a simple cutting list with these details:
- Cabinet run length
- Starting and ending points
- Inside corners
- Outside corners
- Finished ends and returns
- Profile direction
- Material length available
Order enough material to cover the measured runs plus reasonable cutting allowance. The exact allowance depends on the profile, corner count, installer experience, and available stock lengths. Your installer can turn the measurements into a practical order quantity.
Planning corners, returns, and uneven ceilings
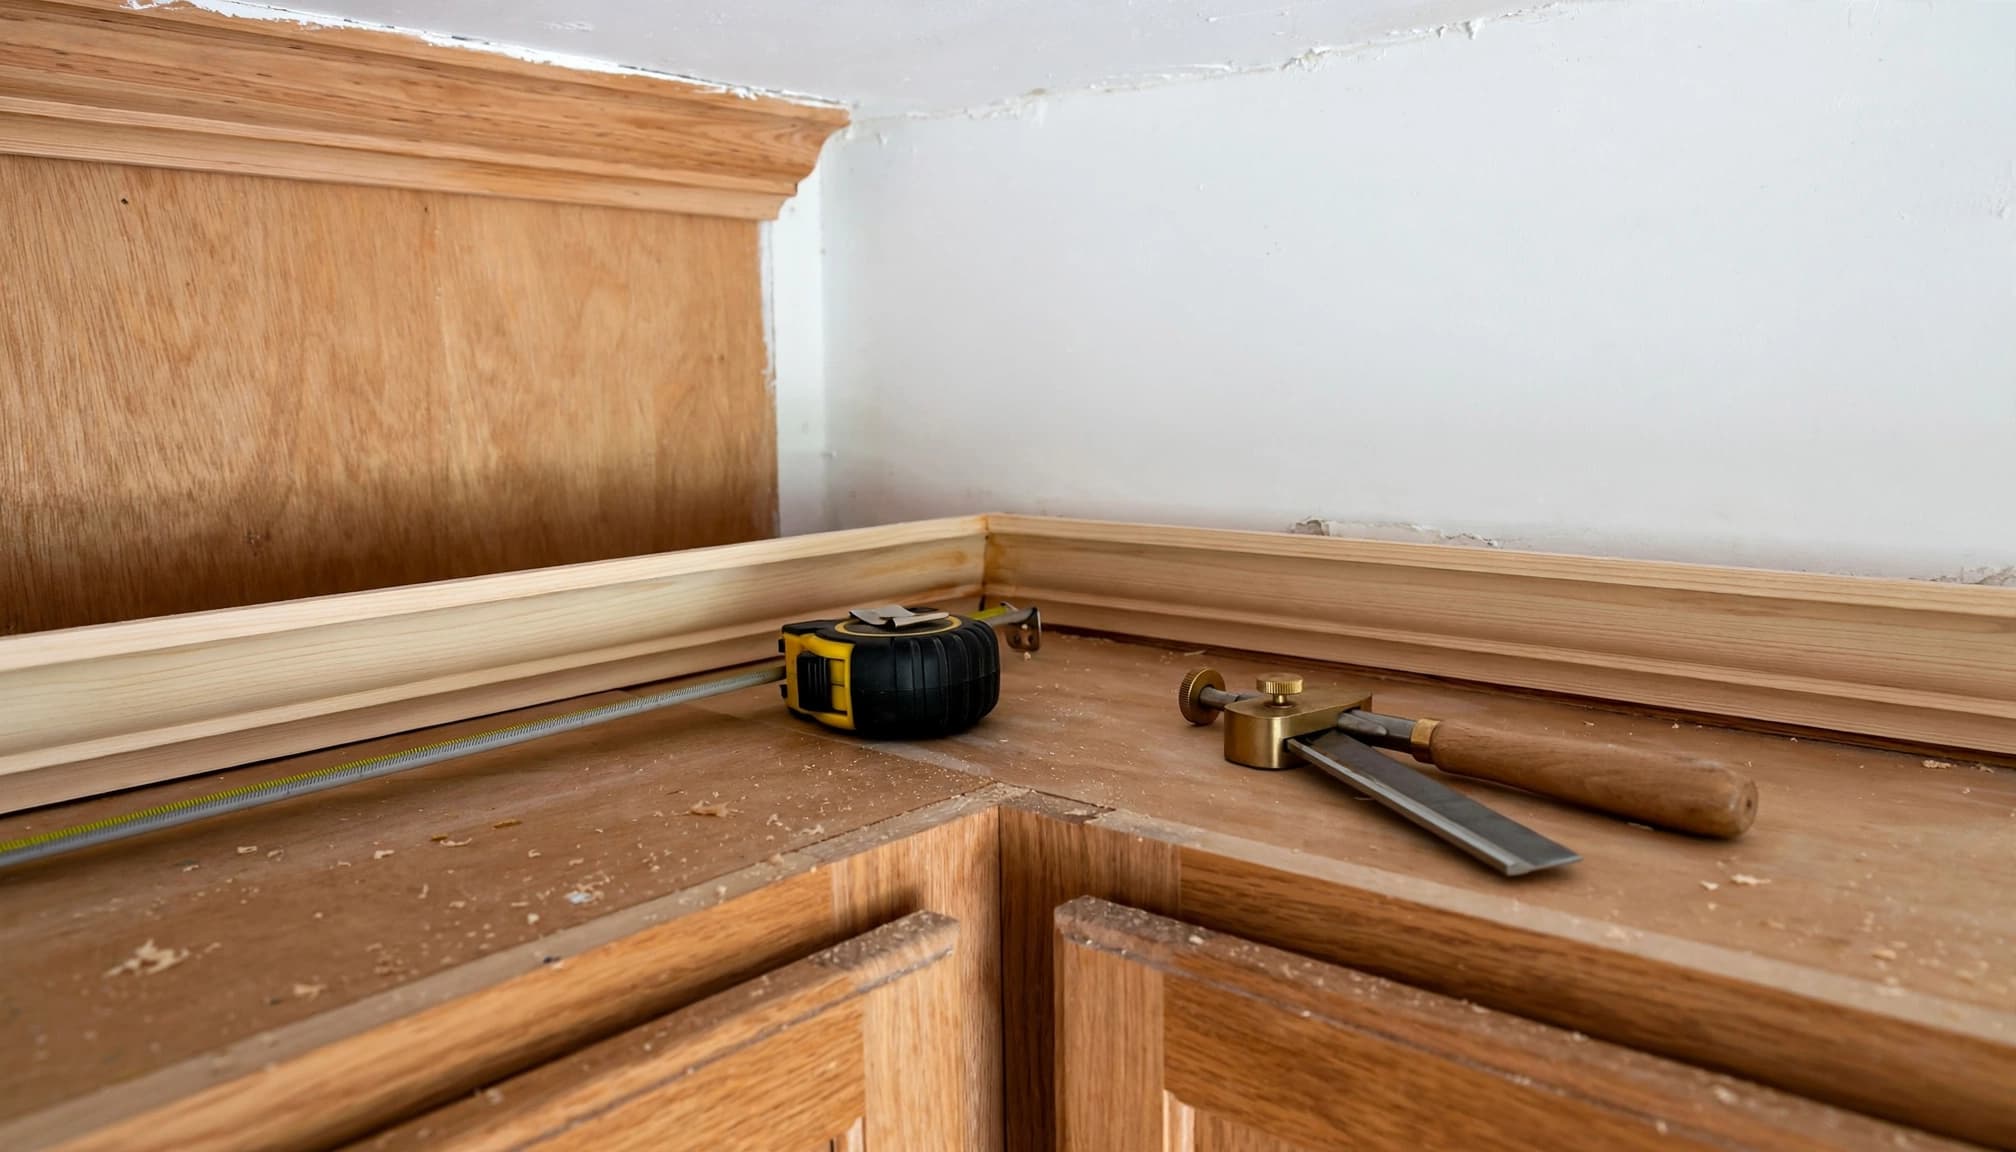
Corners are where cabinet crown molding becomes a finish-carpentry project rather than a simple straight installation. Resolve these details before the first piece is cut.
Plan inside and outside corners
Inside corners can use mitered joints, coped joints, or another method suited to the selected profile. The best approach depends on the material, profile shape, wall angle, and installer preference.
Outside corners usually need more attention because both faces remain visible. A small error can create an obvious open joint. Measure the actual corner rather than assuming it is exactly square.
Returns matter at exposed ends. A return closes the profile so the cut edge does not face into the room. It is especially important beside open cabinetry, a refrigerator panel, or a cabinet that ends before the wall.
Handle ceiling irregularities honestly
A ceiling may not be perfectly level, and the cabinet run may not be perfectly straight. Forcing long trim pieces tightly against an uneven ceiling can create bowing, gaps, or visible stress at the joints.
Your installer may scribe the molding, adjust the mounting position, use a small transition detail, or allow the ceiling line to remain visually consistent while the gap is handled carefully. The right solution depends on the size and location of the irregularity.
Don't assume caulk will hide every gap. Paintable caulk can finish a small, controlled joint, but it cannot correct a large measurement error or a cabinet run that is out of level.
Budgeting for molding and finishing work
Crown molding is only one part of the cabinet finishing budget. Include the material, corner pieces or returns, mounting strips, fasteners, filler, sanding, priming, painting, and installation.
Ask whether your cabinet quote includes decorative trim. The 2026 Southwest Florida cabinet pricing guide notes that standard installation may cover setting, leveling, securing, and basic adjustments, while upgraded trim details may not always be included. Review the 2026 kitchen cabinet pricing guide as a budgeting reference, but don't apply cabinet-box pricing directly to crown molding.
Request an itemized scope before work begins. It should identify the molding profile, material, finish, cabinet areas included, corner treatment, returns, and who handles final touch-ups.
If you're comparing a small trim upgrade with a full kitchen renovation, keep the scopes separate. A broader remodel can also include cabinet replacement, countertops, backsplash, flooring, lighting, plumbing, and appliance changes.
DIY or professional installation?
Straight runs may look approachable, but crown molding becomes harder when cabinets are not perfectly level, corners are out of square, or the ceiling changes direction.
DIY may suit simple, accessible runs
DIY installation can be reasonable when the kitchen has short, straight cabinet runs, simple inside corners, accessible work areas, and a homeowner who is comfortable measuring and using finish tools.
Before cutting finished material, make test cuts on scraps. Check the fit from normal standing distance, not only with your face close to the joint. Label each piece and dry-fit the full corner before applying adhesive or fasteners.
Protect cabinet doors, countertops, and finished flooring during cutting and sanding. Use the fastening method recommended for the selected material and avoid placing fasteners where they can damage cabinet construction.
Professional installation helps with complex conditions
Consider professional installation when the kitchen has multiple corners, tall cabinets, uneven ceilings, stained wood, layered molding, exposed returns, or a tight schedule. A finish carpenter can also coordinate trim with fillers, end panels, panels above refrigerators, and other cabinet details.
Ask for a clear completion standard. Joints should be tight from normal viewing distance, returns should be finished, nail holes should be filled, and the paint or stain should match the cabinet finish.
Complete a final walk-through in good lighting. Inspect corners, cabinet ends, transitions near appliances, and the line where molding meets the ceiling. Fixing a joint before the rest of the kitchen is complete is easier than returning after every finish has been installed.
Crown molding planning checklist
Use this short checklist before ordering material or scheduling installation:
- Confirm the final upper-cabinet layout and elevations.
- Measure every cabinet run in the field.
- Record inside corners, outside corners, returns, and exposed ends.
- Select the profile with cabinet doors, counters, backsplash, and ceiling conditions in view.
- Verify whether the material will be painted, stained, or factory finished.
- Check cabinet height and level across each run.
- Review how the trim will meet an uneven ceiling.
- Ask whether molding, fillers, returns, and touch-ups are included.
- Keep extra material available for test cuts and replacements.
- Inspect the completed joints before final painting or project closeout.
Key takeaways
- Plan crown molding with the cabinet layout, not after the cabinets arrive.
- Measure each run separately because walls, corners, and ceilings vary.
- Include returns and corner treatments in the material estimate.
- Choose a profile that supports the cabinet style instead of competing with it.
- Treat uneven ceilings with careful scribing or planned transitions, not excessive caulk.
- Confirm in writing whether decorative trim and finishing work are part of the installation scope.
- Use a professional when the kitchen includes complex corners, layered profiles, stained finishes, or difficult ceiling conditions.
FAQ
How much crown molding do I need for my kitchen?
Add the lengths of each cabinet run, then account for inside corners, outside corners, returns, test cuts, and unusable pieces. A final material quantity should come from field measurements and the selected profile. Longer stock pieces can reduce joints, but they also require careful handling and accurate planning.
Should crown molding touch the ceiling?
It can, but it doesn't have to. The decision depends on cabinet height, ceiling conditions, and the intended appearance. If the ceiling is uneven, a carefully managed transition may look better than forcing the trim tightly against every high and low point.
What is the best crown molding material for a Southwest Florida kitchen?
There isn't one universal answer. Painted engineered trim, primed wood, solid wood, and composite products can all be appropriate when the product, finish, and installation match the conditions. Ask about humidity exposure, cleaning, finish compatibility, and long-term touch-up requirements.
Can crown molding be installed on existing cabinets?
Often, yes. First confirm that the cabinet boxes are secure, level, and strong enough for the planned mounting method. Existing cabinets may need fillers, support strips, repairs, or adjustments before the molding can follow the run cleanly.
Should I install crown molding before or after the backsplash?
Coordinate both finishes before installation. The best sequence depends on cabinet construction, backsplash height, wall conditions, and the way the trim ends near appliances or side walls. Your contractor should define the sequence so one finish doesn't interfere with another.
How can I tell if the installation is finished properly?
View the molding from normal room distance and inspect it in direct and indirect light. Look for tight joints, clean returns, consistent alignment, filled fastener holes, and a smooth finish. Small variations may occur in a hand-finished project, but gaps and abrupt transitions should be addressed.
Conclusion
Well-planned Fort Myers cabinet crown molding gives the kitchen a finished edge without making the trim feel forced. The strongest results come from accurate field measurements, a suitable profile, careful corner planning, and a clear installation scope.
Review the cabinet elevations, ceiling conditions, returns, and finish before ordering material. When the layout is complex or the molding will be highly visible, professional installation can protect the appearance of the entire kitchen.