Fort Myers Kitchen Backsplash Layout Guide
Explore Our Services
Contact Us Today!
(239) 322-9295
A beautiful Fort Myers kitchen backsplash can still look unfinished if the layout ignores outlets, cabinet lines, corners, or countertop edges. The tile itself is only one part of the result.
Before you purchase tile or schedule installation, map every wall, confirm the finished cabinet and appliance positions, and decide where cuts and transitions will land. That preparation helps prevent wasted materials, awkward slivers, and costly changes after work begins.
Why backsplash planning starts before tile shopping
A backsplash layout should follow the kitchen's finished geometry, not drive it. Cabinet widths, countertop depth, sink location, range placement, windows, outlets, and appliances all affect the tile field.
Start with a measured drawing or elevation of each wall. Record the width and height of the area to be tiled, then mark interruptions such as windows, open shelving, switches, outlets, and exposed sides of cabinets. A quick phone photo of each wall can also help during design discussions.
For a broader renovation, coordinate these decisions with the cabinet and countertop plan. Cutting Edge's kitchen remodeling in Fort Myers includes cabinet installation, countertop installation, tile backsplashes, and appliance layout planning. Those items should be reviewed together rather than selected in isolation.
The most attractive tile pattern can look unbalanced when it ends at an outlet, cabinet side, or corner without planning.
Fort Myers kitchen backsplash layout starts with accurate measurements
Record each wall separately
Do not treat the entire kitchen as one rectangle. Measure each backsplash section independently, including the wall behind the range, the sink wall, and short returns near corners.
Write down:
- The finished width and height of every section
- Cabinet edges and open wall areas
- Countertop thickness and any raised or decorative edge
- Window trim, shelves, range hoods, and appliance openings
- Outlet and switch locations
- Inside corners and exposed outside edges
Measure after cabinets and countertops are installed when possible. In new construction, use the approved cabinet and countertop drawings, then verify field conditions before ordering tile. A small change in cabinet depth can shift the ending cut across an entire wall.
Test samples in the actual room
Bring tile samples home and view them beside the cabinet doors, countertop slab, flooring, hardware, and paint. Southwest Florida kitchens often receive strong natural light, so a color that looks soft in a showroom may appear brighter near a window.
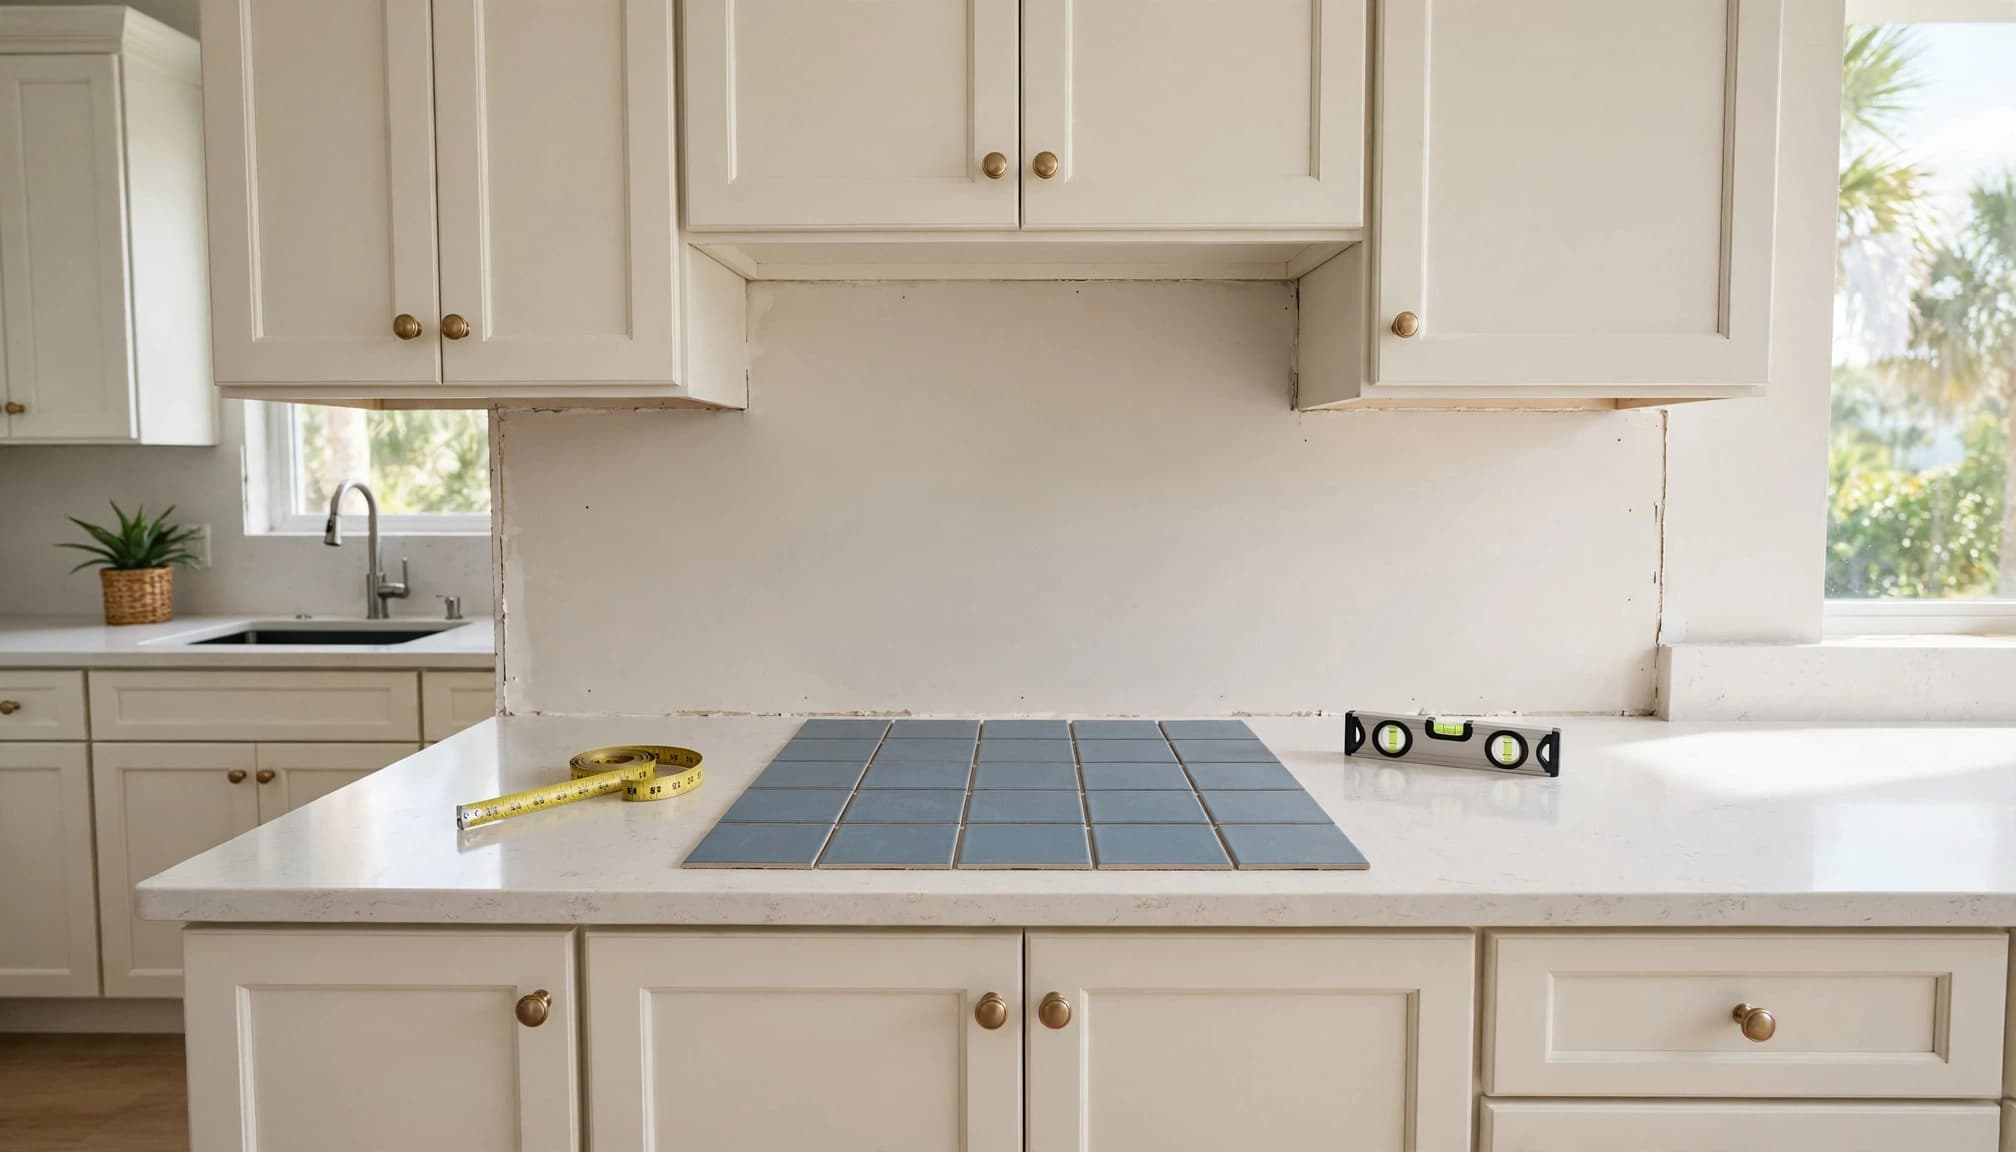
Lay several tiles on the counter in the proposed direction and pattern. Check how the surface looks in daylight and at night under the kitchen's installed lighting. If the backsplash includes a decorative accent, place it beside the primary tile before deciding how much area it should cover.
Choose the pattern, grout, and material quantity together
Plan the pattern from a visible reference point
A running-bond pattern, stacked layout, herringbone, or large-format tile creates different cuts at the ends of a wall. Begin planning from the most visible focal point, such as the centerline of a range hood or sink, unless the room's cabinet layout suggests another starting point.
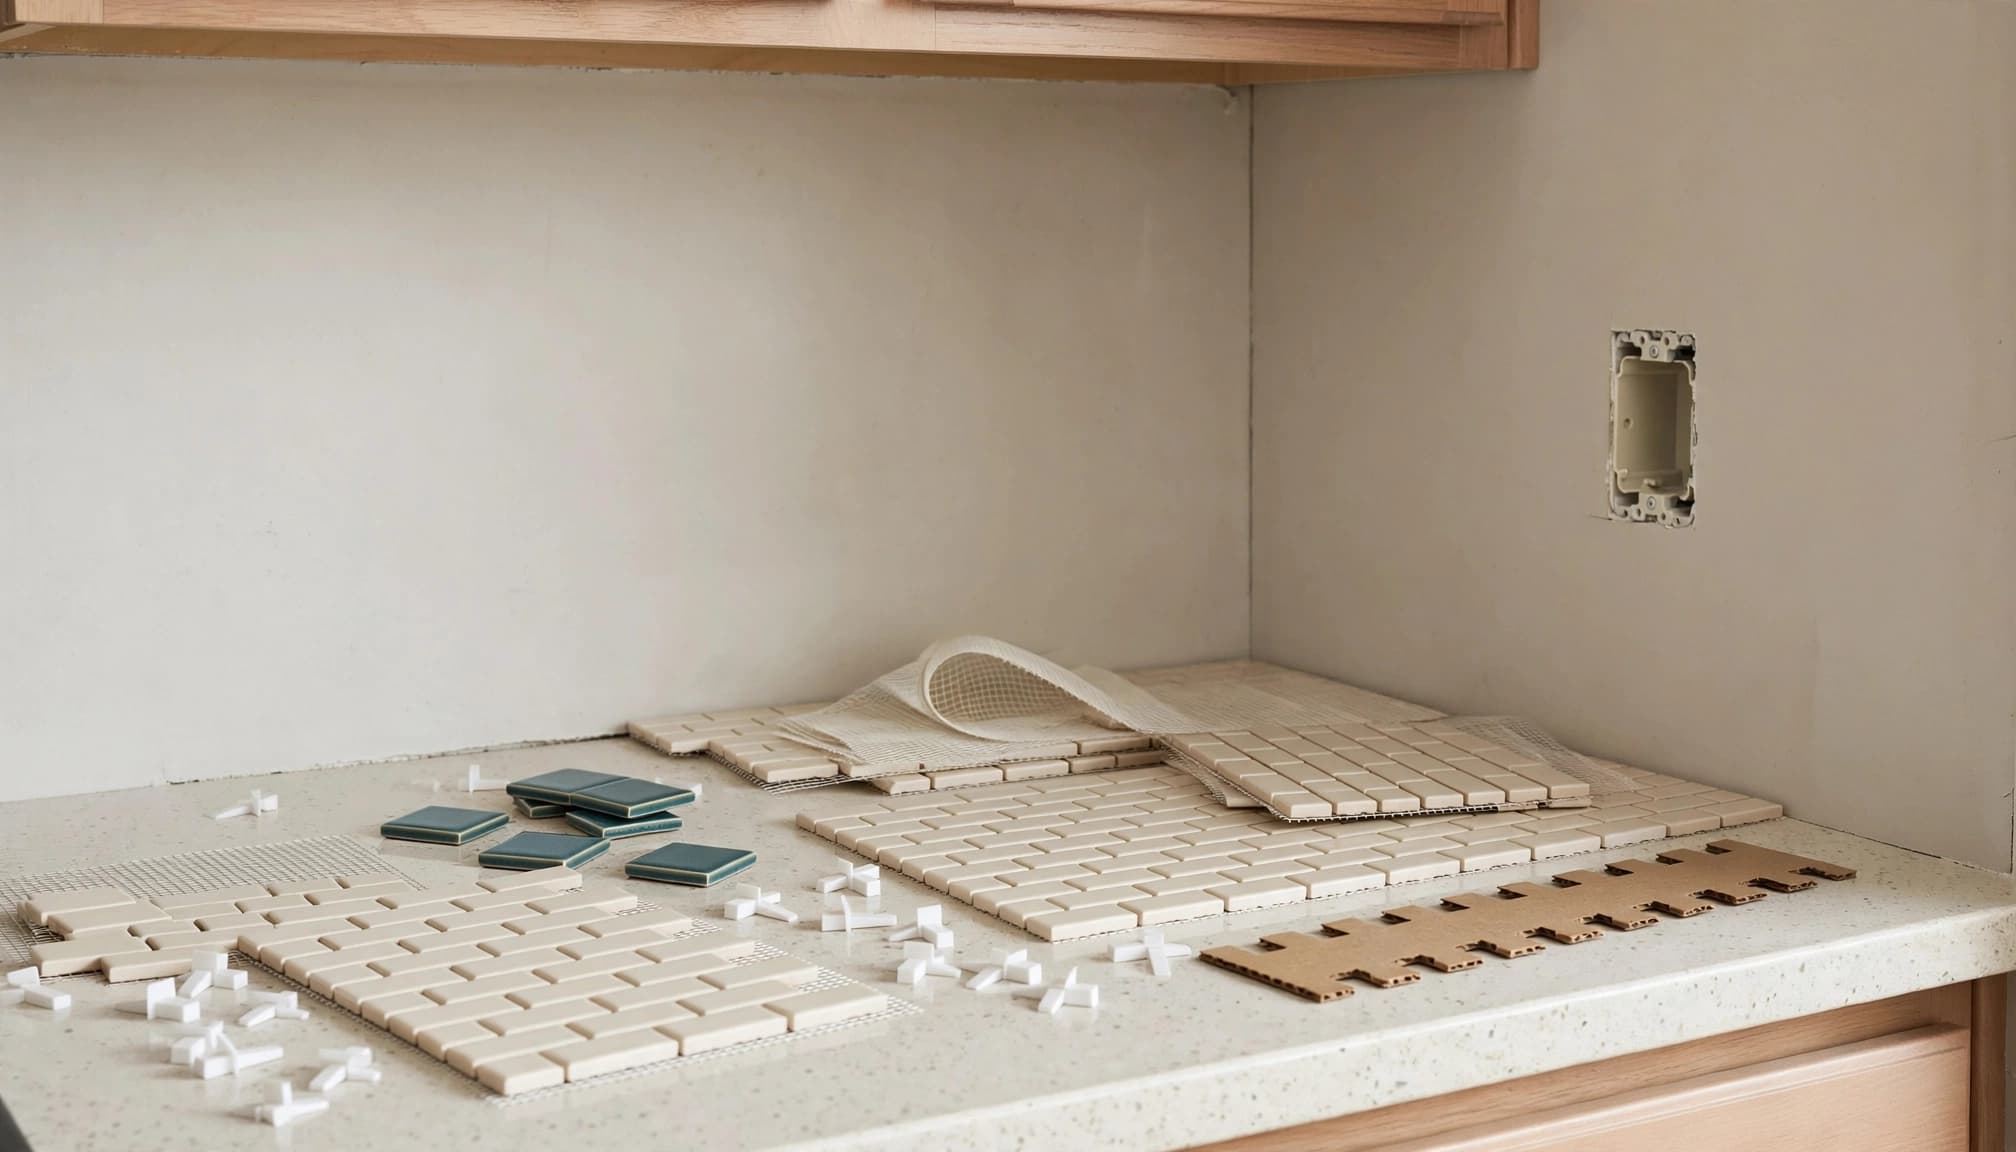
Dry-lay the pattern across a measured drawing or a temporary section of wall. Look for narrow pieces at corners and cabinet ends. If the layout creates an awkward strip, adjust the starting point before installation rather than forcing the final row to absorb the problem.
Large tiles may reduce grout joints but can make outlets, corners, and short wall sections more difficult to cut. Small mosaics offer more flexibility around openings, yet their sheet joints still need careful alignment.
Include grout lines and waste in the plan
The finished tile field includes both tile and grout. Use the actual spacer size recommended for the selected tile when testing the layout, because even small joint changes can shift the final position over a long wall.
Ask the installer or tile supplier to calculate the purchase quantity after the layout is approved. The calculation should account for cuts, pattern matching, breakage, and future repairs. A straight-set layout usually has different waste needs from a diagonal or repeating pattern.
Choose the grout color after viewing a real tile sample with a grout sample. A close color can soften the pattern, while stronger contrast makes every joint more visible. The grout choice should also work with the countertop and cabinet finish, not only with the tile.
Coordinate cabinets, countertops, and appliances
Confirm the finished elevations
A backsplash often meets several materials at once. The lower edge should relate cleanly to the countertop, while the upper edge may meet cabinets, a hood, a window, or open wall.
Confirm which surfaces are staying and which are changing. Replacing countertops can alter the starting height of the tile. New cabinets can change wall coverage, outlet positions, and the location of the backsplash's visible endpoints.
The countertop quote should separate fabrication, installation, cutouts, edge details, backsplash scope, and related work. The Southwest Florida countertop costs guide also recommends locking cabinet layout, sink model, faucet holes, backsplash choice, and appliance specifications early.
Check doors, clearances, and focal areas
Open the refrigerator, dishwasher, and range doors while reviewing the plan. A tile edge, handle, or raised countertop detail should not interfere with normal movement.
Pay extra attention to the range wall. A hood, pot filler, open shelf, or decorative panel can become the visual center of the kitchen. Decide whether the backsplash should remain consistent across that area or receive a framed accent before tile is ordered.
If plumbing or electrical changes are part of the remodel, resolve them first. Moving a sink or dishwasher can require more than cabinet changes, especially when access to existing lines is limited. Compare the layout that keeps plumbing near its current location with any relocation plan before approving the finished elevations.
Plan outlets, corners, and transitions before installation
Mark every outlet and switch
Outlet cuts should be planned from the finished tile surface, not from a rough measurement taken before cabinets and countertop work. Mark each electrical box on the elevation and show the planned grout joints around it.
The cover plate can hide a small amount of variation, but it should not be expected to conceal a poorly positioned cut. Discuss whether boxes need adjustment, whether under-cabinet lighting is being added, and who will coordinate electrical work.
The Southwest Florida cabinet costs guide identifies outlet moves and under-cabinet lighting circuits as separate electrical considerations. Resolve those decisions before tile covers the wall.
Decide how corners and open ends will finish
Inside corners need a planned joint so the pattern does not appear to stop randomly. Review which wall continues visually and where the cut tile should sit. The installer can recommend a suitable corner treatment based on the tile edge and finish.
Open ends also need attention. A backsplash may stop at a cabinet side, a pantry panel, a doorway, or an exposed wall. Decide whether the tile ends with a finished edge, turns the corner, or aligns with another surface.
Transitions matter when two tile materials meet. Draw the transition line on the elevation and confirm its height before installation. This is especially important when a decorative strip meets a primary field tile.
Create a pre-installation approval checklist
Approve the layout, not only the tile
Before ordering materials, have the homeowner, designer, contractor, cabinet professional, countertop fabricator, and electrician work from the same current plan when their scopes overlap.
The approval should show:
- Tile name, size, finish, color, and pattern direction
- Each wall's measured dimensions
- Starting points and visible centerlines
- Grout color and planned joint size
- Outlet, switch, window, and hood locations
- Corner treatments and exposed edge finishes
- Transition lines between tile materials
- Material quantity and waste allowance
- Responsibility for electrical adjustments and surface preparation
The kitchen remodeling mistakes to avoid guidance emphasizes separating visible finishes from hidden costs such as electrical changes, plumbing work, and surface repairs. That same discipline helps keep a backsplash project from expanding after demolition.
Resolve changes before the wall is covered
Do a final walk-through with the actual tile samples and cabinet doors. Confirm that the selected pattern works at the range, sink, corners, and open ends. If a cabinet, appliance, outlet, or countertop detail changes, revise the drawing before installation begins.
A professional should inspect questionable wall conditions rather than relying only on a floor plan. Existing surfaces may need repairs or preparation that affect the finished layout. The installation plan should identify those items before the tile is purchased.
DIY planning versus professional installation
Homeowners can handle much of the early planning. Measuring walls, photographing the room, collecting samples, and testing patterns are useful DIY tasks. You can also mark outlet and cabinet locations on a sketch for review.
Installation becomes less suitable for casual DIY when the project includes multiple materials, many outlets, uneven walls, large-format tile, complicated corners, plumbing changes, or a prominent focal wall. Cutting around electrical boxes and aligning several surfaces requires more than placing tile in an open rectangle.
A contractor can also coordinate the backsplash with cabinet installation, countertop fabrication, electrical adjustments, surface repairs, and inspections when the scope requires them. Ask for an itemized proposal that identifies tile, labor, preparation, demolition, electrical work, and any permit or inspection coordination separately.
Key Takeaways
- Measure every backsplash wall independently.
- Confirm cabinet, countertop, sink, faucet, and appliance positions first.
- Test tile beside the actual finishes and in the room's natural light.
- Plan grout joints before calculating the final material quantity.
- Mark outlets, switches, corners, open ends, and transitions on an elevation.
- Review plumbing and electrical changes before ordering tile.
- Keep the contractor, cabinet installer, countertop fabricator, and electrician on the same approved layout.
- Use professional help when the project includes complicated cuts, wall repairs, or layout changes.
Frequently asked questions
How much tile should I buy for a Fort Myers kitchen backsplash?
The correct quantity depends on the measured wall area, tile size, pattern, number of cuts, and material availability. Ask the installer or supplier to calculate the order after approving the layout. Patterned tile and layouts with many corners usually require more planning than a simple straight arrangement.
Should the backsplash be installed before or after the countertop?
The sequence depends on the project scope and the materials involved. In most remodel planning, the countertop and cabinet positions need to be known before the backsplash layout is finalized because they establish the lower edge and affect wall coverage. Confirm the installation sequence with the contractor and countertop fabricator.
How should I plan tile around outlets?
Show every outlet and switch on the wall elevation, then review the cut locations against the planned grout joints. If boxes need to move or under-cabinet lighting is being added, complete that coordination before tile installation. A licensed electrician should handle electrical work that falls outside simple finish planning.
Is a professional needed for backsplash layout planning?
A homeowner can collect measurements and samples, but professional review is valuable when the kitchen includes cabinet changes, countertop replacement, plumbing relocation, electrical work, uneven walls, or multiple tile patterns. A professional can check the plan against actual site conditions before materials are ordered.
Conclusion
A successful Fort Myers kitchen backsplash begins with a drawing, not a tile box. Measure each wall, coordinate the finished cabinets and countertop, test the pattern, and decide how outlets, corners, transitions, and open ends will be handled.
When the layout is approved before installation, the tile becomes part of a coordinated kitchen instead of a finish that must adapt to last-minute changes. The result is cleaner work, better material control, and a backsplash that looks intentional from every angle.