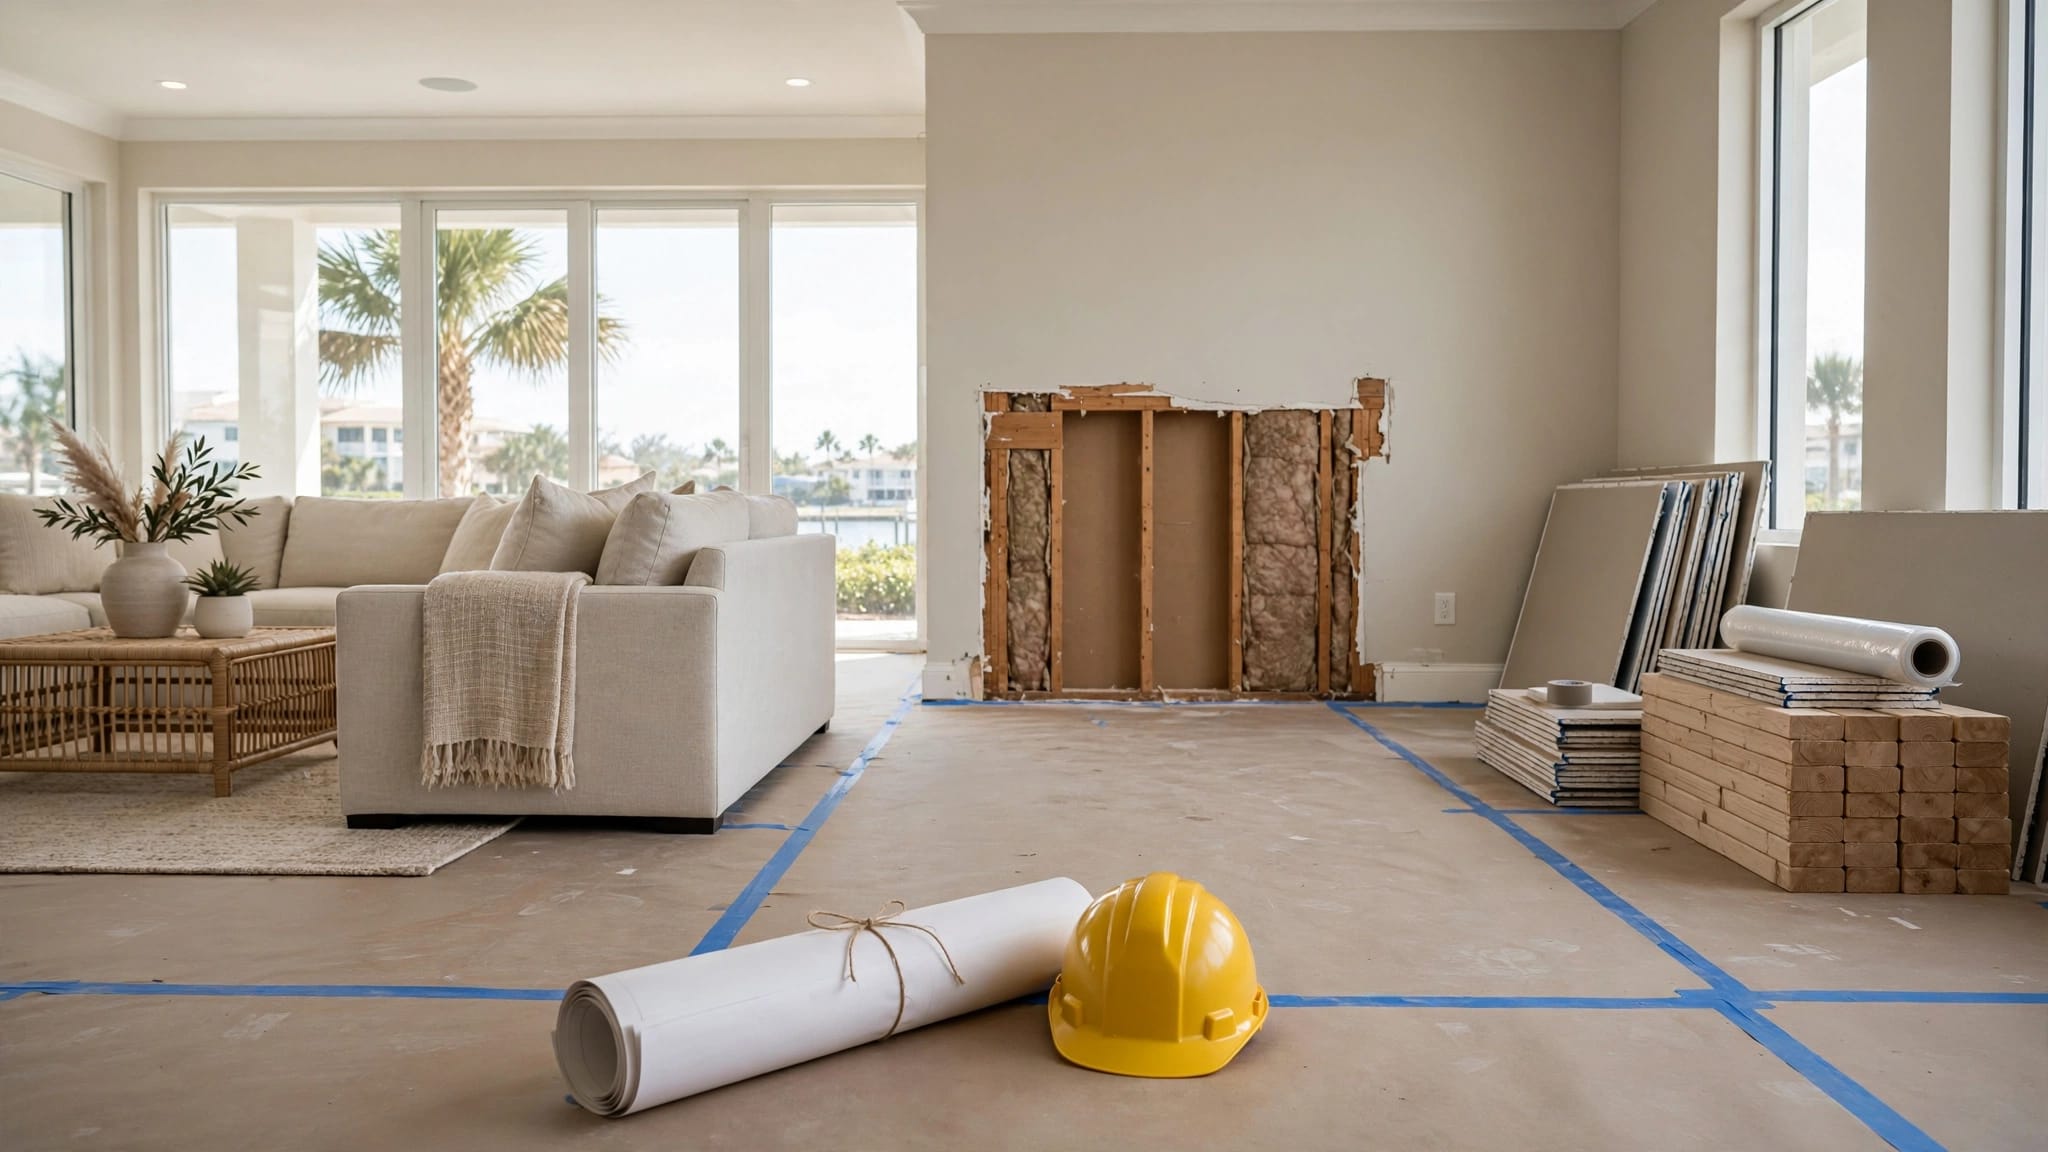
Fort Myers New Roof Dry-In Inspection Checklist
Explore Our Services
Contact Us Today!
(239) 322-9295
A roof can look ready from the street and still have hidden gaps where wind-driven rain can enter. A thorough dry-in inspection checklist helps Fort Myers homeowners, builders, and property managers catch those issues before drywall, insulation, cabinets, or flooring cover the evidence.
Dry-in is the moisture-protection stage after the roof deck, underlayment, flashing, and related details are installed, but before final roofing and interior finishes close off access. It is the right time to confirm the assembly is shedding water as intended.
Because every roof system and permit is different, use the issued permit, approved plans, product approvals, and manufacturer instructions as the final direction for your project.
What Dry-In Means Before Interior Work Begins
Dry-in does not mean every roof is complete. It means the building has reached a weather-protected stage where concealed roofing details remain visible for review.
For a shingle, metal, tile, or low-slope roof, the sequence can differ. However, the same concern remains: rain must stay outside the roof assembly before crews install interior finishes.
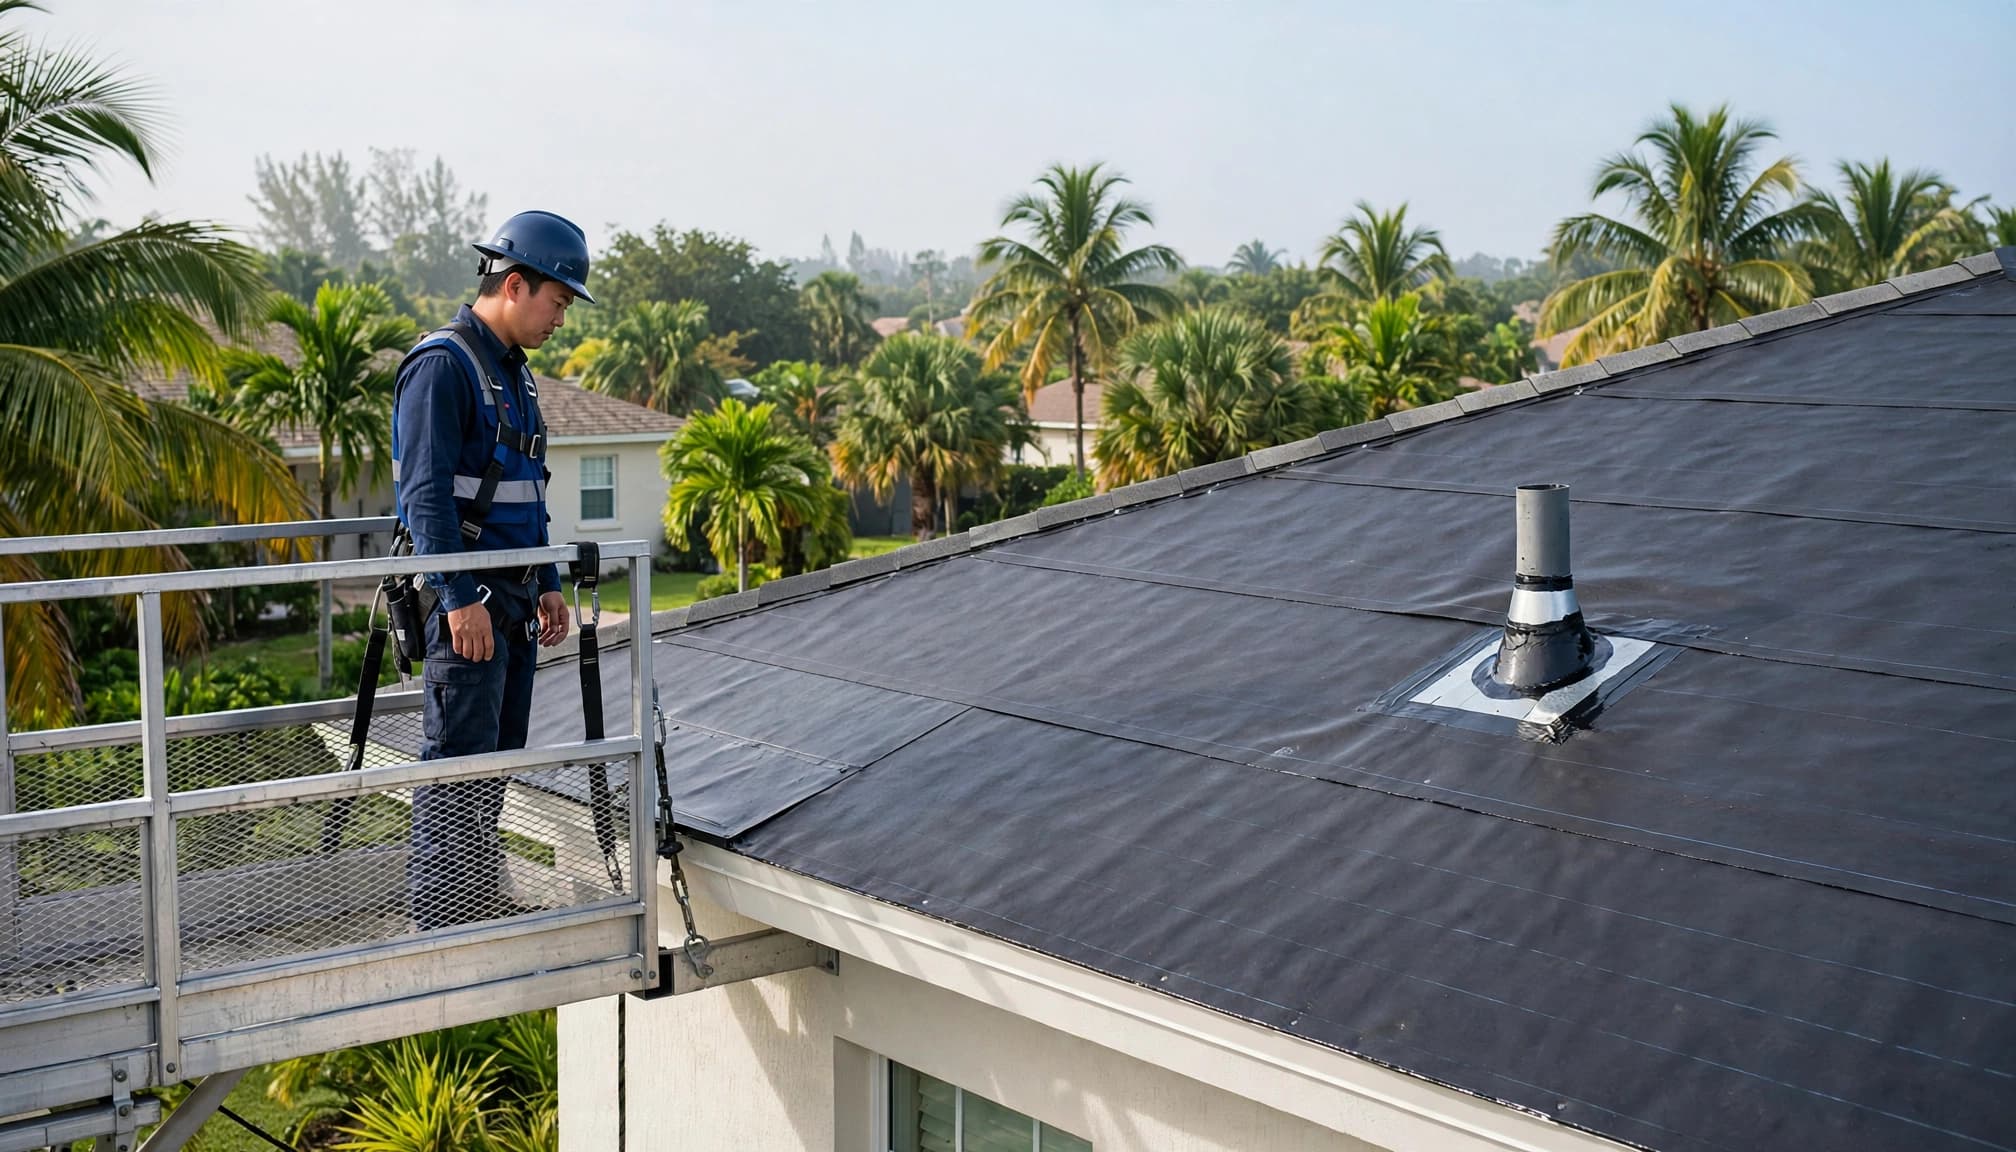
Dry-in protects more than the roof deck
Underlayment and flashing protect the framing, insulation, ceiling cavities, and finishes below. If water enters before drywall goes up, it can wet wood, saturate insulation, and create stains that may not appear until long after the job is finished.
Southwest Florida weather makes timing matter. A short afternoon storm can expose weaknesses at valleys, roof-to-wall transitions, vents, and plumbing stacks.
Final roofing may still be pending
Tile, shingles, metal panels, or another finished roof covering may not yet be installed at dry-in. The roof should still have a continuous, approved moisture barrier and properly integrated flashing details.
The City of Fort Myers includes a re-roof dry-in inspection before finished roofing materials are installed for applicable re-roof scopes. In Lee County, the issued permit identifies the inspections required for that job.
Start With the Permit and Approved Roof System
Don't rely on a generic inspection list alone. The permit record and approved documents control the inspection path for the address and scope of work.
Fort Myers properties within city limits use the City's Building, Permitting and Inspections process. Unincorporated Lee County properties follow the County's process. Fort Myers Beach and other Southwest Florida jurisdictions may use different forms, inspection codes, or documentation rules.
Match the inspection to the actual roof assembly
Asphalt shingles, standing-seam metal, concrete tile, clay tile, and low-slope membranes use different components and installation methods. Tile weight may affect structural requirements, while metal systems depend on correct panel, clip, and flashing details.
The underlayment manufacturer and roof-covering manufacturer may also require specific lap patterns, attachment methods, approved accessories, and deck preparation. Product instructions are part of the installation standard, not optional paperwork.
For a replacement or new build, confirm the material scope before scheduling. A Fort Myers roof installation review can help align the selected system, roof deck condition, and weather-protection details before work gets covered.
Confirm the inspection sequence early
Lee County's residential roofing workflow includes a 501 Roof Dry In inspection and a separate final roof inspection. The County's final roof process depends on the dry-in stage having passed first.
Keep the permit number available and ask the contractor which inspection is being requested. If a required dry-in inspection is missed, stop before concealed work advances. The jurisdiction may require the contractor to expose details for verification, which adds cost and delays.
A passed dry-in inspection is not a substitute for final roof inspection. It confirms a visible stage that may be impossible to inspect after the covering is installed.
A Dry-In Inspection Checklist for Fort Myers Roofs
A qualified inspector or licensed roofing contractor should inspect the roof. Homeowners and property managers should not walk a roof to check conditions. Slopes, loose materials, wet surfaces, and roof openings create serious fall risks.
Use this dry-in inspection checklist to organize questions, photos, and job-site discussions.
Review the roof deck and underlayment
Look for continuous underlayment over the roof deck, with laps, edges, and seams installed according to the approved system. The deck should not show loose panels, damaged sheathing, soft spots, missing fasteners, or visible water staining.
Where the approved assembly calls for self-adhered membrane or deck-joint treatment, confirm it remains in place before it disappears beneath the roof covering. Florida Building Code provisions address underlayment and require installation to follow applicable manufacturer instructions.
Watch for these concerns:
- Torn, punctured, wrinkled, exposed, or UV-damaged underlayment needs review before roofing proceeds.
- Open seams, lifted laps, and unsecured edges can allow rain to reach the deck.
- Ponding water on a low-slope area may point to drainage or slope concerns.
- Wet decking or moisture beneath a membrane needs correction, not concealment.
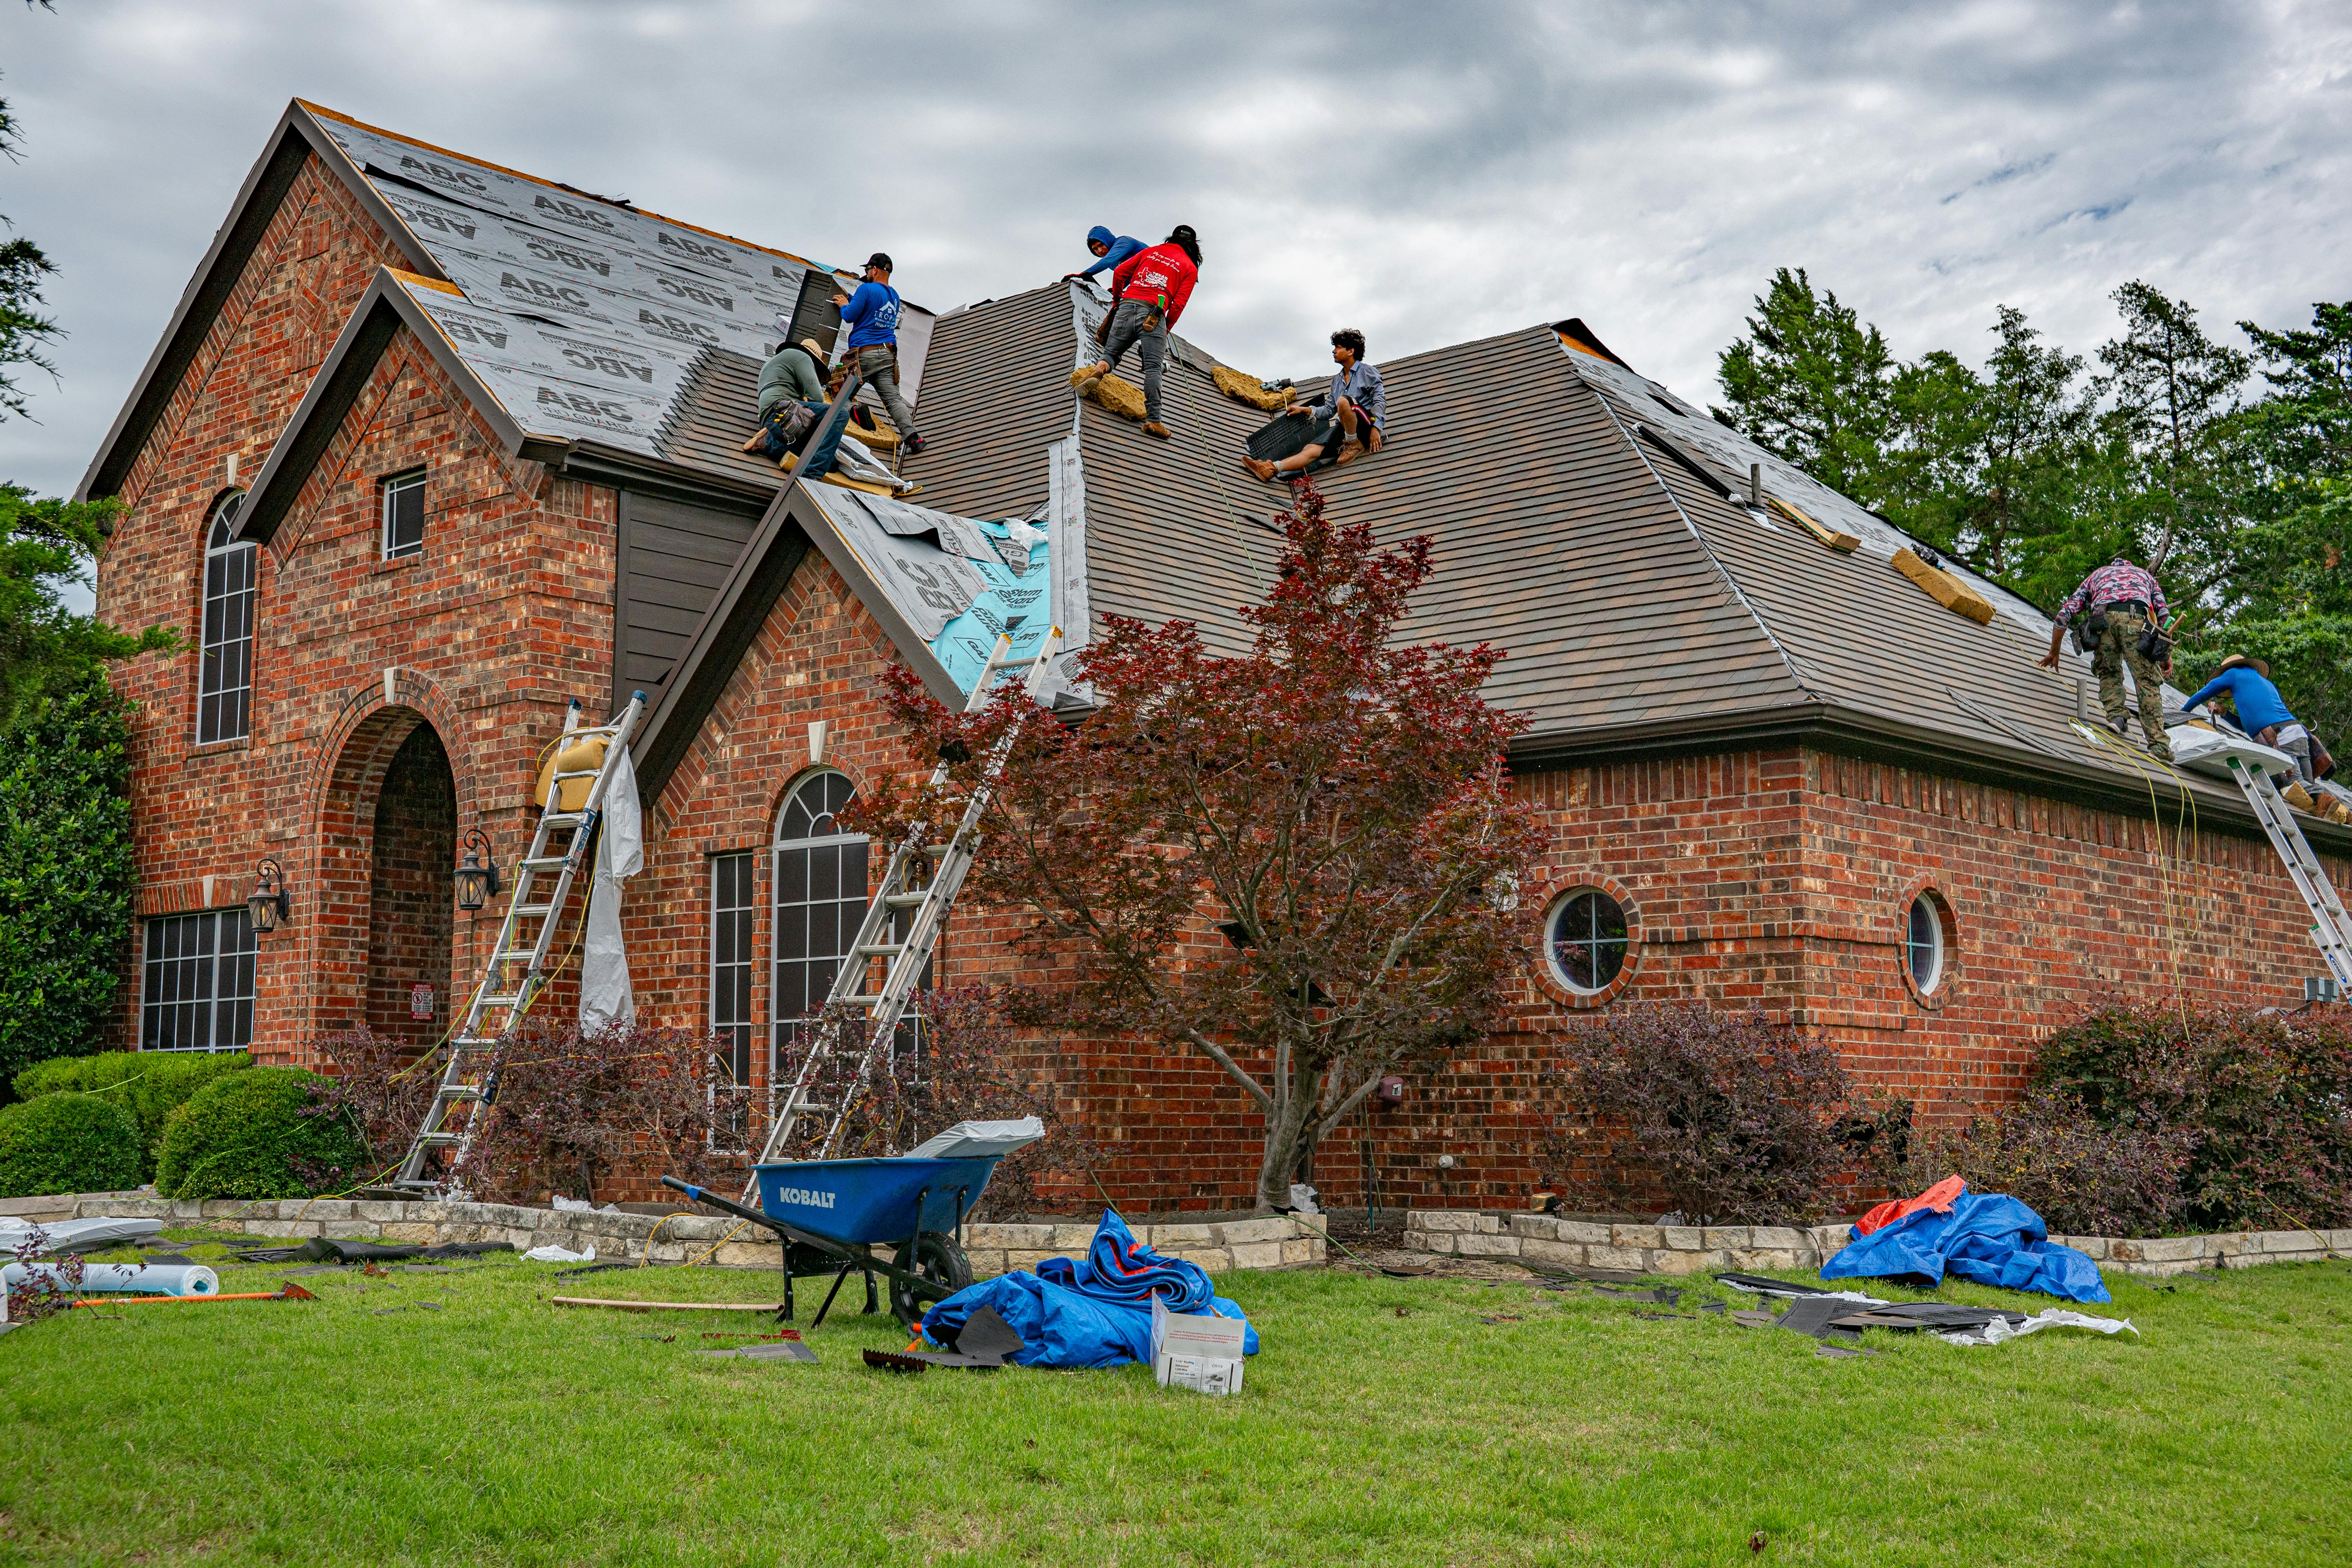
Photo by Ryan Stephens
Check flashing, valleys, and penetrations
Flashing directs water away from the places where a roof surface stops, turns, or meets another material. The Florida Building Code requires flashing at locations such as roof-to-wall intersections, changes in slope or direction, gutters, and roof openings.
Inspect, or have the roofer and inspector inspect, valleys, sidewalls, headwalls, chimneys, skylights, vents, pipes, and equipment curbs. Each penetration needs an approved flashing detail that ties into the water-shedding layers.
Unsealed penetrations are a major red flag. So are incomplete flashing runs, missing kick-out flashing, loose boots around plumbing vents, and flashing that appears trapped beneath the wrong layer.
Check the Inside Before Drywall Hides Problems
Even if the roof surface appears dry, inspect the interior framing before insulation and drywall begin. Water can travel along framing, collect near openings, or show up several feet from the actual roof entry point.
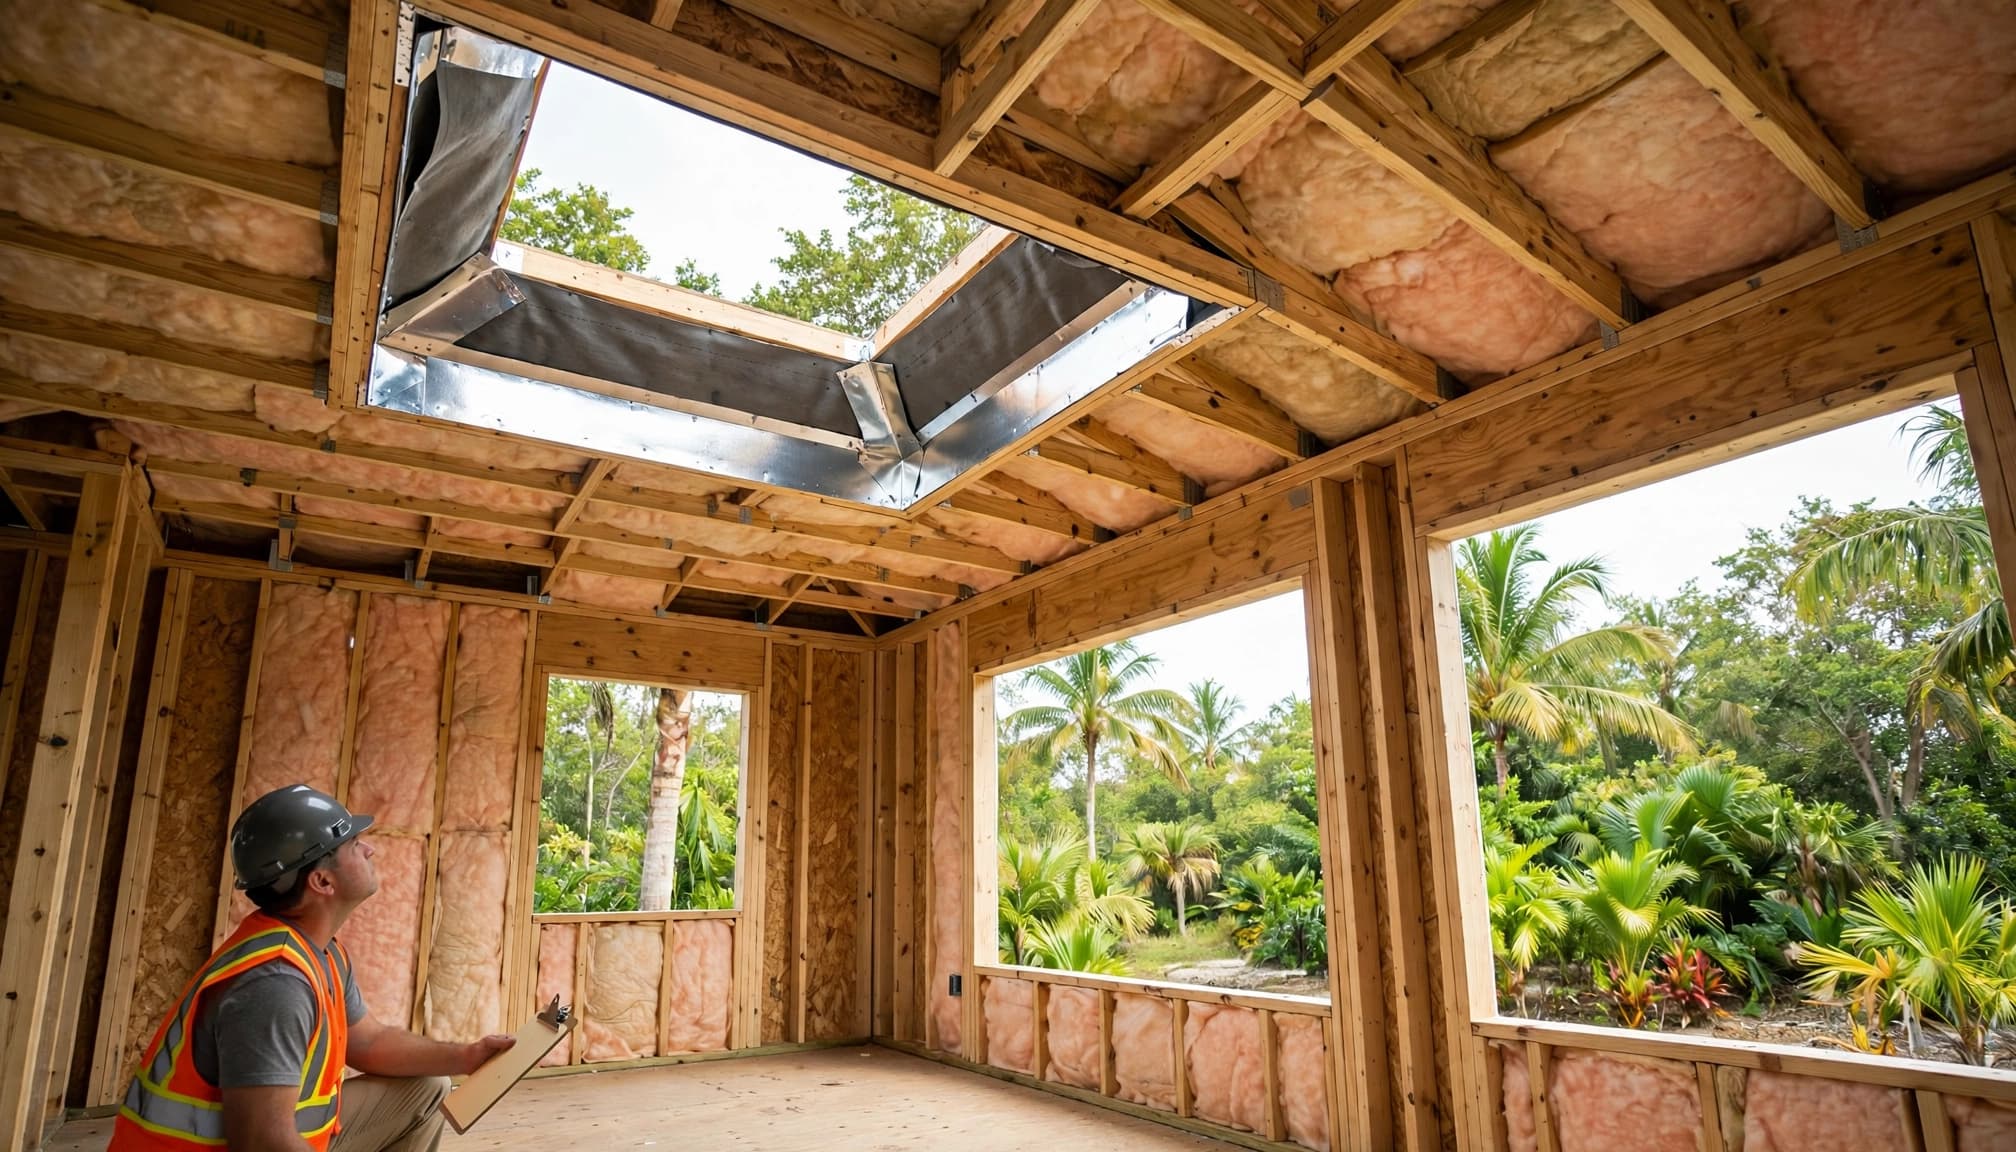
Look for moisture in framing and insulation
Check ceilings, attic framing, exterior-wall top plates, trusses, and roof sheathing from a safe interior location. Look for dark staining, drips, damp insulation, swollen wood fibers, mildew-like growth, or a persistent musty odor.
A roofing contractor or qualified inspector can use a moisture meter when visual conditions are unclear. Wet insulation should not remain in a closed cavity. Likewise, framing that has taken on water needs evaluation and drying before finishes trap moisture in place.
Test after rain when practical
If the schedule allows, inspect the building after a normal rain event and before interior work begins. This does not replace the required permit inspection, but it can reveal active leaks around transitions and penetrations.
Document the date, weather conditions, and any observed moisture. Then notify the contractor in writing and keep the response with the project file.
Red Flags That Should Pause Interior Work
Interior finishes can move quickly once drywall crews arrive. That is why the project team should pause when visible roofing or moisture issues remain unresolved.
The following conditions deserve prompt attention:
- Underlayment is exposed, ripped, poorly lapped, or missing at an edge or transition.
- Water ponds on a roof area where it should drain.
- Flashing is incomplete at walls, valleys, roof openings, vents, or equipment curbs.
- Pipes, vents, and other penetrations lack sealed, integrated flashing.
- Framing, sheathing, ceiling cavities, or insulation are wet.
- There are active drips, ceiling stains, or unexplained moisture inside.
- The required dry-in or in-progress inspection has not passed.
- The crew cannot provide the product information or approved roof details for the installed system.
Don't accept "it will be covered later" as a resolution for a visible water-management issue. The correction should be completed, inspected when required, and documented before the roof covering or interior finish hides it.
If rain has already entered the building, a professional roof inspection can identify the likely entry point and help distinguish a roof issue from a wall, window, or flashing problem.
Document Every Concealed Roofing Detail
Photos create a record of work that drywall, insulation, shingles, panels, or tile will soon hide. Take clear, date-stamped images from safe ground-level, ladder-safe, or interior locations. Your contractor can photograph roof areas that require professional access.
Build a simple project record
Organize photos by location, such as the front valley, rear wall transition, plumbing vent, skylight, or lanai connection. Include wide shots for context and closer views of underlayment seams, flashing, and penetrations.
Keep copies of:
- The permit and approved plans
- Inspection results and any correction notices
- Product approvals and manufacturer installation instructions
- Material delivery tickets and warranty documents
- Written repair records and final photos
This record helps future owners, insurance professionals, repair contractors, and property managers understand what lies beneath the finished roof.
Coordinate roofing and interior schedules
The roofer, builder, insulation crew, drywall contractor, and homeowner should share one clear release point for interior work. That release should follow completed corrections, dry conditions, required approvals, and documented photos.
For larger renovations or new homes, roof timing can affect many trades. Reviewing Fort Myers new home permit timelines helps set more realistic expectations for inspection holds and final approvals.
Move Forward Only After the Roof Is Weather-Tight
Once the dry-in stage passes, verify that no water entered during the wait for final roofing. Then confirm the interior framing and insulation are dry before closing walls and ceilings.
Final roofing still needs careful attention. The finished system must follow approved details for fastening, ventilation, flashing, accessories, and manufacturer requirements. A dry-in sign-off does not excuse defects discovered later.
For homes near the coast, riverfront, or open water, discuss corrosion-resistant materials and compatible fasteners with the roofing professional. Salt air and storm exposure can affect exposed metal parts over time.
Final Thoughts
A Fort Myers roof dry-in is the last practical chance to inspect underlayment, flashing, roof penetrations, and moisture conditions before they disappear behind finished materials. Treat it as a documented checkpoint, not a quick formality.
The best dry-in inspection checklist combines the issued permit, approved roof system, local inspection requirements, clear job-site photos, and a dry interior. Catching a problem at this stage is far easier than opening a finished ceiling after the next heavy rain.