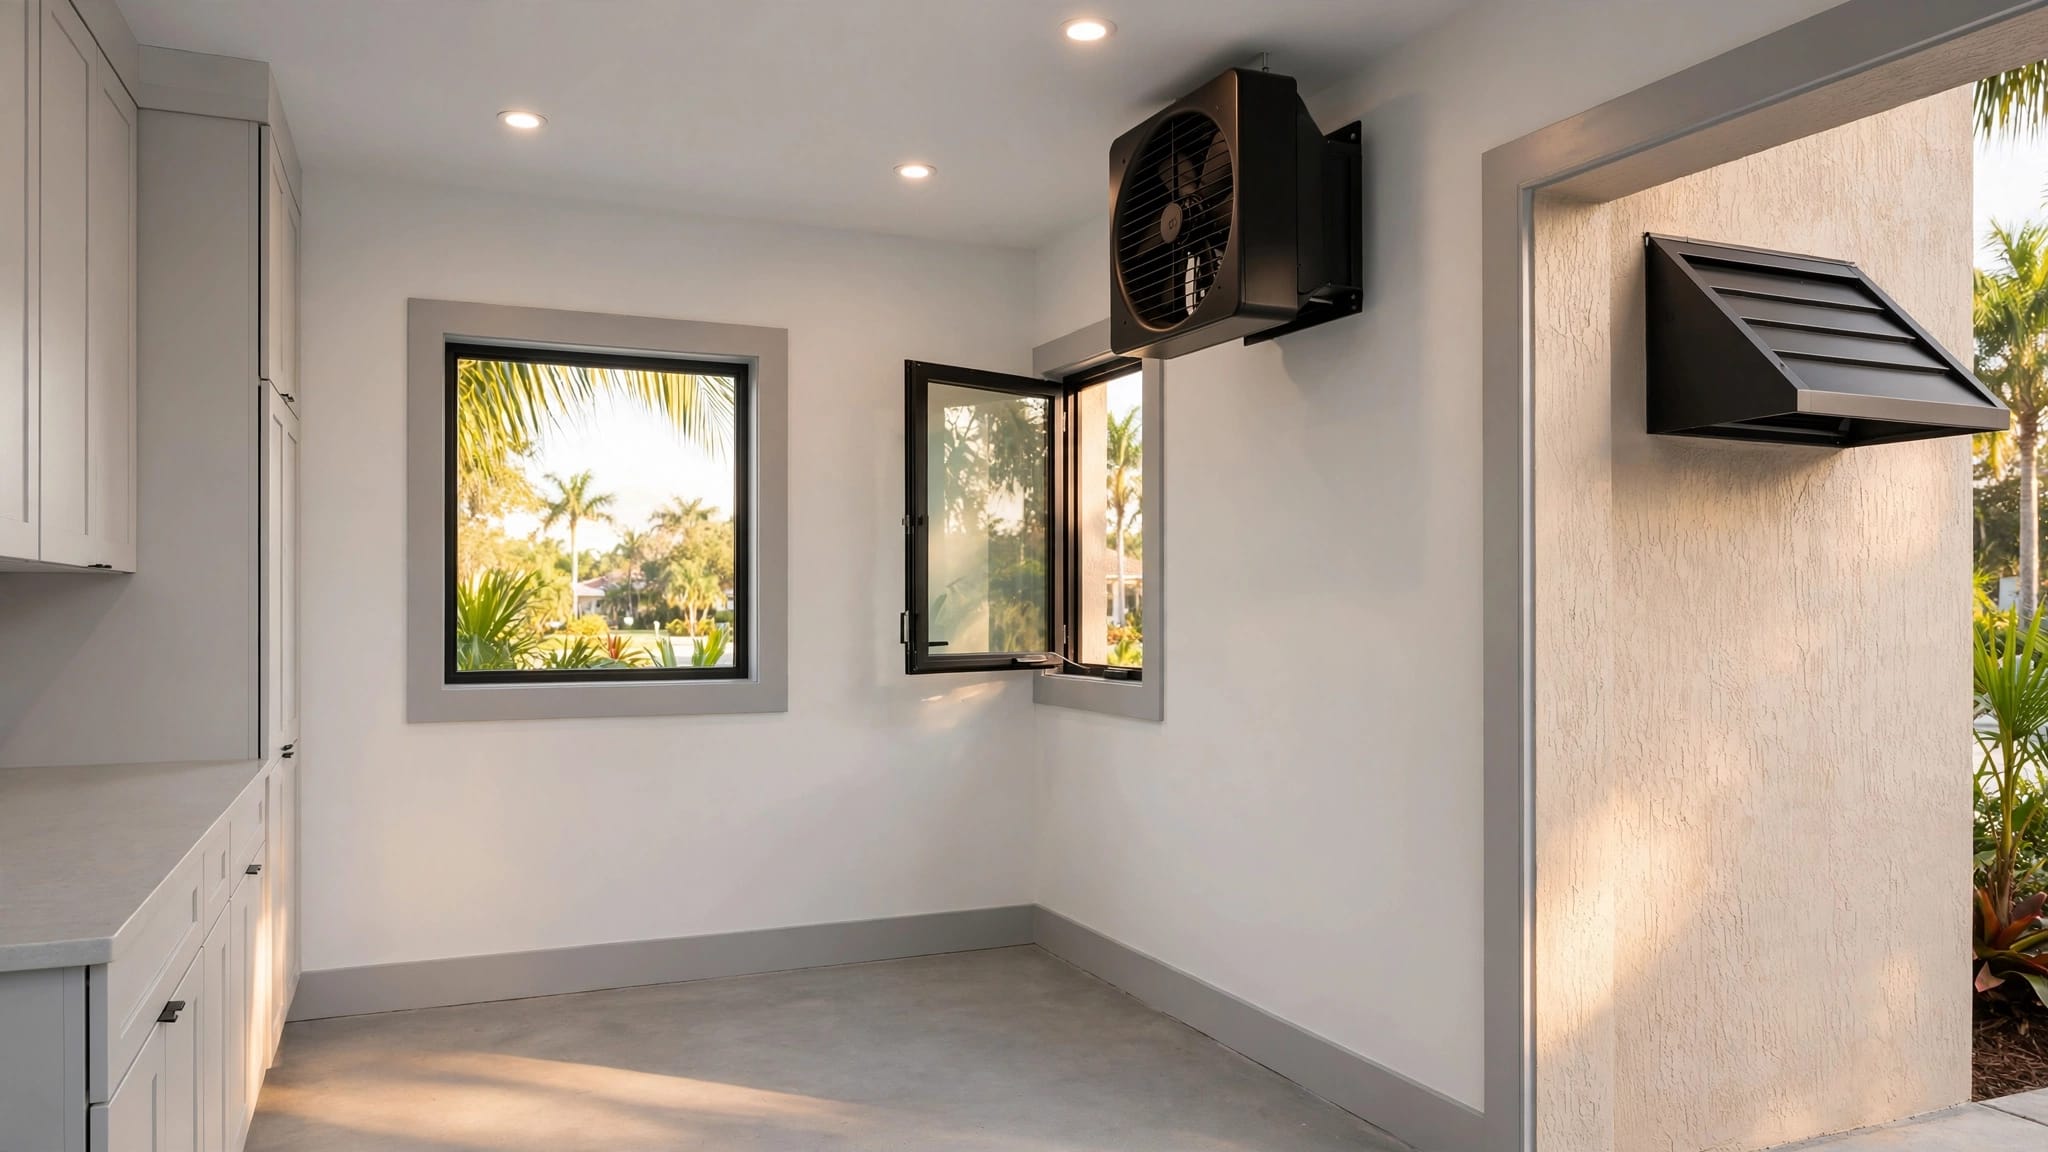
Fort Myers Window Sill Pan Flashing Before Stucco
Explore Our Services
Contact Us Today!
(239) 322-9295
A beautiful stucco exterior can hide a costly window leak for years. In Fort Myers, wind-driven rain and high humidity put every new-home window opening under pressure.
Window sill pan flashing gives water that reaches the rough opening a controlled way out. It must go in before stucco, when the window, water-resistive barrier, and flashing layers are still accessible.
Why Window Sill Pan Flashing Must Go in Before Stucco
Stucco is an exterior cladding, not the wall's primary water-management layer. Rain can reach behind stucco through cracks, joints, or trim details, so the wall assembly needs a drainage route behind it.
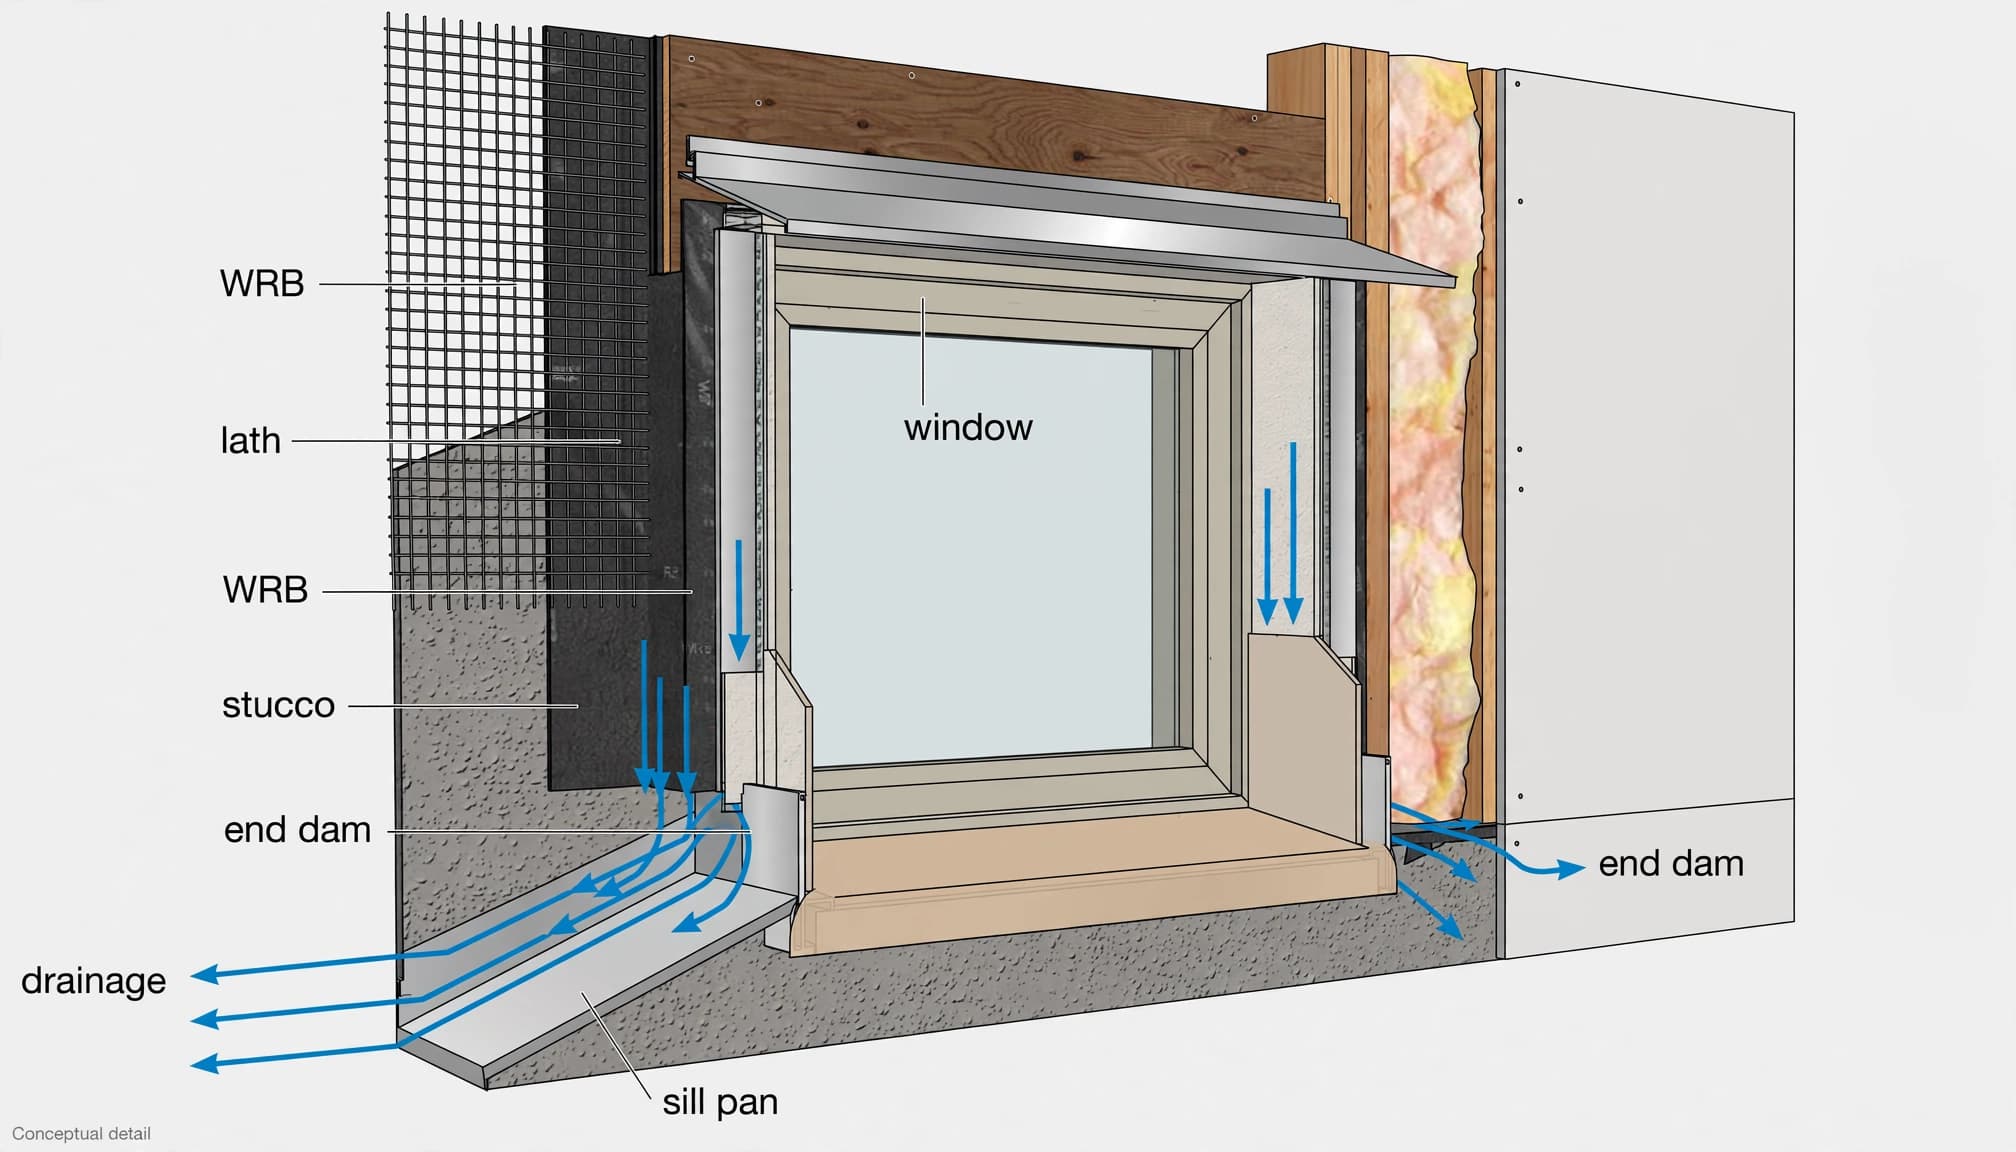
A sill pan sits beneath the window frame at the bottom of the rough opening. When installed correctly, it collects incidental water and directs it outward to the exterior finish or the water-resistive barrier drainage plane.
A pan without drainage can hold water
The pan must slope or drain toward the exterior. A flat installation with a sealed front edge can trap water under the window instead of releasing it.
End dams at both sides of the sill pan also matter. These turned-up edges keep water from running sideways into the wall framing or sheathing. However, end dams only work when they connect correctly with the jamb flashing and water-resistive barrier.
A sill pan is part of a complete opening detail. Side flashing, head flashing, and proper WRB laps keep water moving down and out.
Once installers apply lath and stucco, correcting a bad pan detail often means removing exterior finishes around the window. Pre-stucco review is faster, cleaner, and far less expensive.
Build One Continuous Drainage Route
A reliable Fort Myers window detail manages water in layers. The window itself sheds most rain, but the surrounding flashing handles water that gets past the exterior seal.
The basic principle is shingle-style overlap. Upper layers should shed onto lower layers, never behind them. This applies to the sill pan, jamb flashing, head flashing, and WRB.
Start at the sill and work upward
The sill pan should extend across the rough opening and turn up at each end to form end dams. For self-adhered flashing used as a pan, Florida Building Commission workgroup material and FMA/AAMA guidance describe extending the material onto the WRB drainage plane, commonly by at least 2 inches.
Next, jamb flashing integrates with the pan's end dams and covers the window's side flanges. Head flashing then overlaps the jamb treatment. Finally, the upper WRB flap laps over the head flashing so water stays on the exterior side of each layer.
Manufacturers such as DuPont and Marvin publish product-specific preparation and flashing sequences. Their instructions control when a particular WRB, flashing tape, or window system is on the project.
For a larger construction plan, Southwest Florida new home construction should include this type of pre-finish coordination, not leave it to the last exterior trade on site.
Compatible Materials Prevent Hidden Failures
Tape, sealant, flashing membrane, window flange, WRB, and stucco accessories must work together. A strong-looking tape bond can fail if the substrate is dusty, wet, chemically incompatible, or installed outside the product's temperature range.
Match the pan system to the wall assembly
Rigid metal pans, semi-rigid pans, and flexible self-adhered membranes can all work when the selected system has a complete installation detail. The contractor should not mix products casually or substitute a sealant without confirming compatibility.
For example, a flexible sill flashing may need a primer on certain substrates. Metal pans may need compatible sealants at corners and transitions. Foam insulation, drainage mats, casing beads, and trim components can also change the flashing sequence.
Window selection matters as much as flashing selection. Homeowners comparing impact-resistant window costs in Southwest Florida should also ask how each approved window system will be flashed into the wall.
During stucco work, crews should protect exposed pans, tapes, and WRB. Punctures, mortar buildup, blocked drainage exits, or buried weep paths can defeat an otherwise sound installation.
Pre-Stucco Inspection Questions for Fort Myers Homes
Schedule a walk-through after window flashing and before lath or stucco cover the wall. Photos from this stage are also useful for property managers and future repair work.
Questions to ask the builder or installer
- Does each window have a sill pan that drains outward rather than toward the interior?
- Are end dams present at both sill corners, and do they connect to the side flashing?
- Does the sill pan lap onto the WRB drainage plane as required by the selected product detail?
- Do jamb and head flashings overlap in the correct water-shedding order?
- Are the tape, sealant, pan material, window frame, and WRB approved for contact with one another?
- How will the stucco crew protect flashing and preserve drainage or weep paths?
Warning signs that deserve a closer look
Watch for a pan with no visible end dams, reverse slopes, open corners, or a front edge sealed shut. Torn membrane, wrinkled flashing at corners, tape applied over dust, and exposed fasteners through the pan also need correction.
Be cautious if the installer relies on a thick bead of sealant alone. Sealant supports the system, but it does not replace a sloped pan and correctly lapped flashing.
Confirm current Florida Building Code requirements, local Fort Myers requirements, and the exact product instructions with the licensed contractor or building official before work proceeds.
A Dry Wall Starts Before the Stucco Goes On
Proper window sill pan flashing is quiet work that protects the framing long after the stucco finish is complete. The strongest detail has a draining sill pan, sealed end dams, shingle-style laps, compatible materials, and a clear path to the exterior.
Treat the pre-stucco stage as a checkpoint, not a formality. This article provides general educational information and does not replace professional installation, project-specific design, or an inspection by a qualified professional.