Naples Condensate Drain Planning Before HVAC Installation
Explore Our Services
Contact Us Today!
(239) 322-9295
A new air conditioner can cool your Naples home while its condensate drain sends water somewhere you never intended. In Southwest Florida's humid weather, cooling equipment removes moisture from indoor air, so drainage deserves a place in the construction plan before the air handler goes in.
Good condensate drain planning settles the route, service access, backup protection, and discharge location while the framing is still open. Those decisions are easier to inspect and change before insulation, drywall, and exterior finishes hide the work.
Why the drain matters in a Naples new home
As warm, humid air passes over a cool air-conditioning coil, moisture collects and flows into a drain pan. The drain carries that water away. Its output changes with weather, indoor conditions, and system operation, but it needs a reliable path whenever the equipment is cooling and removing moisture.
A blocked or poorly routed line can stop cooling if an overflow safety device shuts the system down. Without effective protection, water may reach nearby finishes. Neither outcome is welcome in a new home, especially if the air handler sits above a finished ceiling or beside a closet wall.
A floor plan rarely shows every fitting, cleanout, and outlet. Before installation, ask your builder and HVAC contractor to identify those details on the plans and at the job site. The route needs to work with the home's structure and site drainage, not merely fit behind the air handler.
Set the equipment location before drawing the drain
The air handler's position determines the drain's starting point. A small move can change the available slope, the wall penetrations, and the space left for service.
Check the actual installation space
Review the planned equipment closet, garage location, or attic platform with the HVAC contractor. Confirm the unit's drain connection height and the room needed for the trap, fittings, access panels, and any backup protection in the proposed design.
The surrounding space matters too. A closet door must allow maintenance access after trim goes in. In an attic, the route to the equipment should remain usable once insulation and other systems are installed. Equipment placement that looks generous on a drawing may feel crowded beside ducts, wiring, and framing.
Decide where the line can leave the home
Work backward from a suitable discharge point. The contractor can then check whether gravity drainage is practical from the selected air-handler location. If it isn't, discuss a different route, equipment location, or contractor-designed pumping arrangement before the plans are fixed.
Also look at finished-floor and exterior elevations. A low outlet might conflict with planned grading or landscaping, while a higher route could cross a window opening or an important framing area.
Condensate drain planning needs a workable route and slope
A drain path should be understandable when someone walks the unfinished home. Trace it from the equipment connection to its final outlet, including changes in direction and any concealed stretches.
Give gravity a continuous path
For a gravity-fed design, the HVAC contractor should lay out a consistent fall toward the approved discharge point. Avoid a route that dips and rises behind a ceiling or wall. Those low spots can hold water and make a blockage harder to clear.
Don't choose a slope by copying another home's installation. The required arrangement depends on the equipment, the route, the approved plans, and applicable requirements. Have the contractor confirm the pipe details and installation method with the local authority where needed.
Resolve traps and penetrations on the plan
Air-handler design affects how condensate leaves the unit, so the trap and vent arrangement should follow the equipment manufacturer's instructions and the contractor's design. A fitting that appears minor can change how the drain performs.
Mark every proposed penetration before anyone drills. Where the line crosses the home's exterior or conditioned boundary, coordinate the opening and its sealing detail with the wall assembly. Southwest Florida homes benefit from a continuous air barrier; an unsealed utility opening can admit humid outdoor air long after the drain itself is hidden.
Coordinate framing and other trades before installation
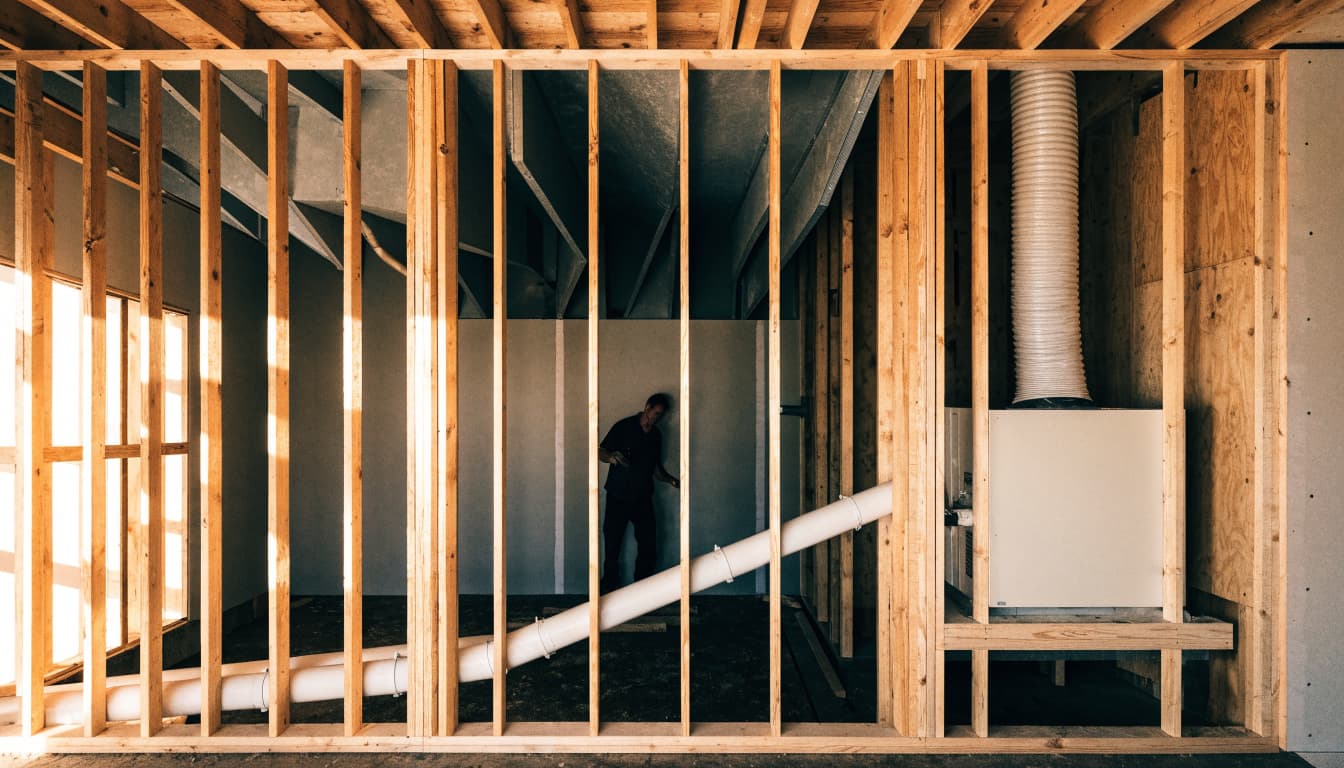
A workable drain route on paper can disappear when another trade claims the same space. Bring the framer, HVAC installer, plumber, and electrician into the conversation before rough-ins begin.
Protect the framing and shared pathways
Identify walls, chases, and ceiling spaces the drain will use. The framing contractor should review proposed holes or notches before they happen, particularly near engineered members. A drain route shouldn't depend on a field change to a truss or other structural component.
Meanwhile, the plumber may need the same chase for supply or waste piping. Electricians and low-voltage installers also need clear paths. Set the order of work and mark reserved space so the first crew on site doesn't block everyone else.
Walk the route before it closes
During a rough-in walkthrough, follow the line with the contractor and compare it with the plan. Check that later cabinets, attic decking, insulation, and access doors won't cover fittings or make service difficult. Photograph concealed runs before insulation and drywall.
Late rough-in changes can interrupt other work. That broader risk is worth addressing in a plan for avoiding new-construction change orders. Resolve any conflict while the framing is visible, then update the project documents so the installed route is the one everyone expects.
Leave cleanouts where someone can use them
A drain that works on startup still needs to be maintained. Dust, biological buildup, and debris can restrict condensate lines over time, so accessible service points belong in the installation plan.
Ask the HVAC contractor where a technician will open and clear the line. The cleanout should remain reachable after shelving, closet trim, or attic insulation goes in. A removable panel helps only if it provides enough room to work around the actual fittings.
Service access should include the drain pan and any float switch or condensate pump specified for the system. If a pump is planned, confirm how its reservoir and discharge tubing can be inspected without removing finished construction.
A cleanout hidden above a fixed ceiling isn't practical service access, even if the drain route itself is neatly installed.
Before closing walls, photograph the cleanout location and keep the equipment instructions with the home's records. Later, those details can help a technician find the line without guessing where it runs.
Plan overflow protection for the equipment location
A primary drain can clog even when it was installed correctly. The backup plan should account for where water would go if the pan began to fill.
Match protection to the risk
An air handler over a finished room presents a different exposure than one near a readily visible, suitable service area. Depending on the equipment and design, the contractor may propose an auxiliary pan, a secondary drain path, an overflow shutoff device, or a combination.
Ask the contractor to explain what each component does. A float switch can stop equipment operation when water rises, while a secondary path offers another way for water to leave. Neither should be treated as a substitute for a well-routed primary drain.
Make a backup visible and testable
If a secondary outlet is part of the design, ask where it terminates and how you'll recognize water coming from it. A concealed backup discharge may keep water away from finishes but give you little warning of a primary-line problem.
Confirm the proposed protection against the equipment instructions, approved plans, and requirements from the applicable local authority. Then ask the HVAC contractor how the safety devices will be tested during startup.
Choose a safe condensate discharge point
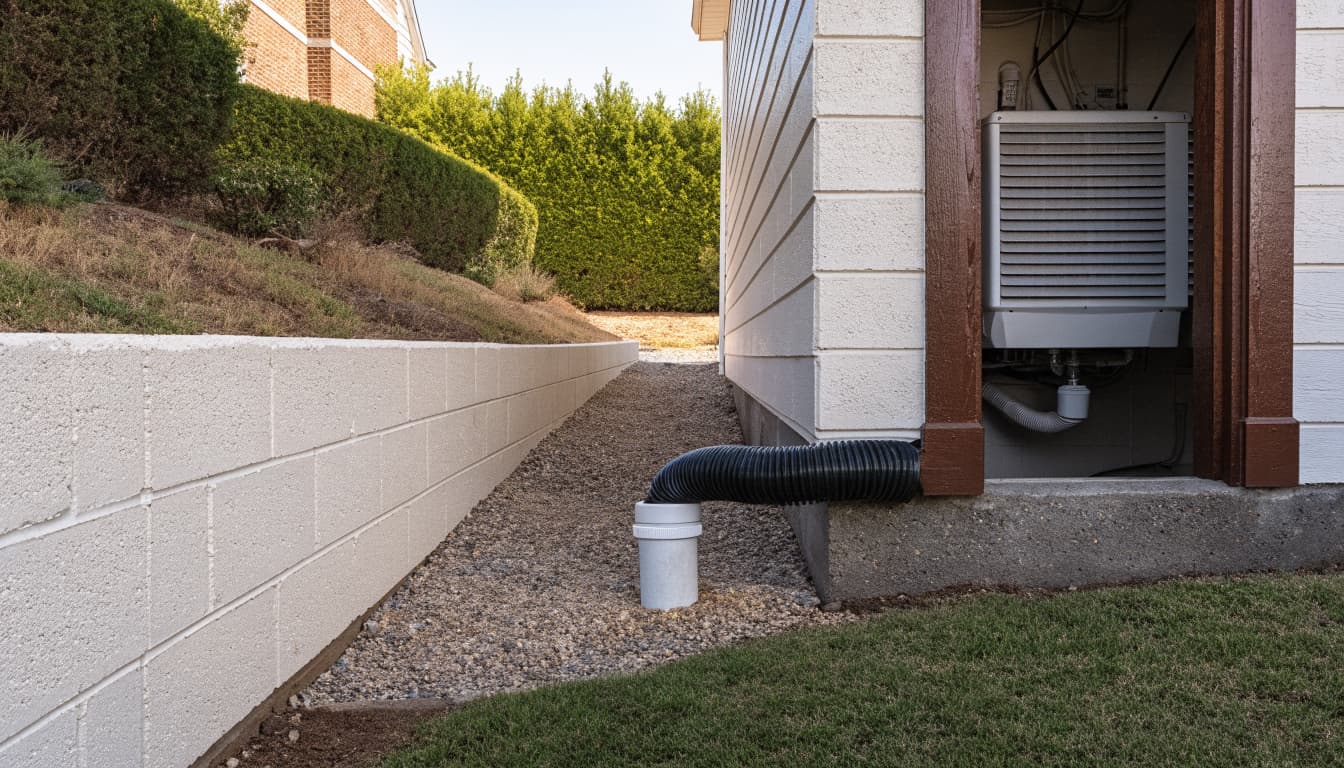
The drain doesn't end when it crosses the exterior wall. Its outlet must work with the home's final grade, planting, walkways, and nearby construction.
Avoid a location that directs water toward the foundation or leaves a wet spot on a walkway. A planned lanai, pool deck, paver path, or irrigation bed can also turn an initially open outlet into a problem. Check the finished site plan rather than judging the location from bare soil during construction.
The outlet should remain visible and accessible enough to inspect. Protect it from likely damage by landscaping crews and future outdoor work. Also confirm that the proposed termination won't send water onto a neighboring property or into a connection that hasn't been approved.
Properties within the City of Naples and those elsewhere in Collier County may fall under different local review. Have your HVAC contractor confirm the acceptable discharge method with the authority responsible for your lot before the exterior route is installed.
Put the drain details in the HVAC scope
A complete HVAC proposal should say more than "condensate drain included." Name the primary route, discharge point, cleanout access, and proposed overflow protection. State who coordinates framing penetrations, exterior sealing, and any site work at the outlet.
That level of detail matters when comparing bids. Cutting Edge Homes & Renovations' guide to Southwest Florida new-construction HVAC costs notes that drain management is commonly part of an HVAC package, but package details vary. Its 2026 estimate of about $10,000 to $18,000 applies to a complete installed system for a typical 1,500- to 2,500-square-foot home, including equipment, labor, and ductwork. It isn't a price for the drain alone.
Before installation starts, ask for one agreed route on the drawings and a site walkthrough with the contractor. If grading, equipment placement, or another trade changes that route, document the revision before anyone covers the work.
Key Takeaways
- Set the air handler and discharge locations early enough to check the entire route.
- Have the HVAC contractor plan continuous drainage, serviceable cleanouts, and protection suited to the equipment location.
- Coordinate framing, other rough-ins, exterior penetrations, and final grading before installation.
- Confirm project-specific drain and discharge requirements with the HVAC contractor and applicable local authority.
FAQ
Can a condensate drain run through an attic?
It can be part of a contractor-designed route, but the details depend on the equipment location and the available path. Ask how the line will maintain drainage, remain accessible where service is needed, and protect finished spaces below if the primary drain backs up. Review the proposed arrangement before attic decking or insulation limits access.
Does every new home need a secondary drain pan?
Don't assume every installation needs the same backup arrangement. The equipment location, manufacturer's instructions, approved plans, and applicable requirements determine what protection is appropriate. Ask the HVAC contractor to identify the proposed pan, secondary line, or shutoff device and explain how it will be tested.
Can the drain discharge into the yard?
A yard outlet may be possible, but the location matters. It shouldn't create persistent wet ground against the house, affect a walkway, or conflict with final grading and landscaping. Have the contractor confirm the proposed termination with the applicable local authority rather than choosing a spot solely because it's close to the air handler.
Conclusion
That small condensate line can cause an outsized problem when its destination is decided after the home is built. Set the route before installation , preserve access, and agree on overflow protection and a suitable outlet while changes are still straightforward.
In a Naples new home, the best time to resolve a drain conflict is when you can still see the framing.