New Home Commissioning: Southwest Florida Move-In Tests
Explore Our Services
Contact Us Today!
(239) 322-9295
A freshly finished home can look move-in ready while a drain leaks or a bedroom struggles to cool. New home commissioning means checking how the completed home's systems operate, alongside required inspections and the builder's walkthrough.
In Southwest Florida, those checks deserve special attention because heat, humidity, heavy rain, and storm exposure test different parts of the house. Before furniture hides outlets and boxes block equipment, verify performance, record problems, and arrange follow-up. Start with the paperwork and a safe testing plan.
Plan New Home Commissioning Before the Walkthrough
Gather approvals and performance records
Ask the builder for approved plans, final inspection records, applicable occupancy approval, equipment manuals, and warranty instructions. Confirm outstanding permit or approval questions with the local building department.
Also request HVAC startup records, applicable air-leakage test results, and construction photos showing concealed air sealing and window flashing. A finished wall can't reveal whether those details were completed correctly.
Successful handover means the installed equipment and materials match project documents, and missing records have a clear resolution. File everything digitally so you can retrieve it during maintenance or a repair.
Separate homeowner checks from technical tests
Schedule the walkthrough while utilities are active and the home is accessible. Bring a flashlight, phone, inexpensive hygrometer, and the builder's punch list.
For checks beyond a walkthrough, discuss the scope of pre-move-in home inspections before scheduling. Confirm which systems and specialist tests are included.
Operate accessible controls only. Don't remove electrical covers, climb onto the roof, enter an unsafe attic, or adjust refrigerant equipment. Required inspections, owner observations, and specialist testing provide different information; none guarantees flawless future performance.
Test Cooling and Humidity Control
Check cooling across rooms
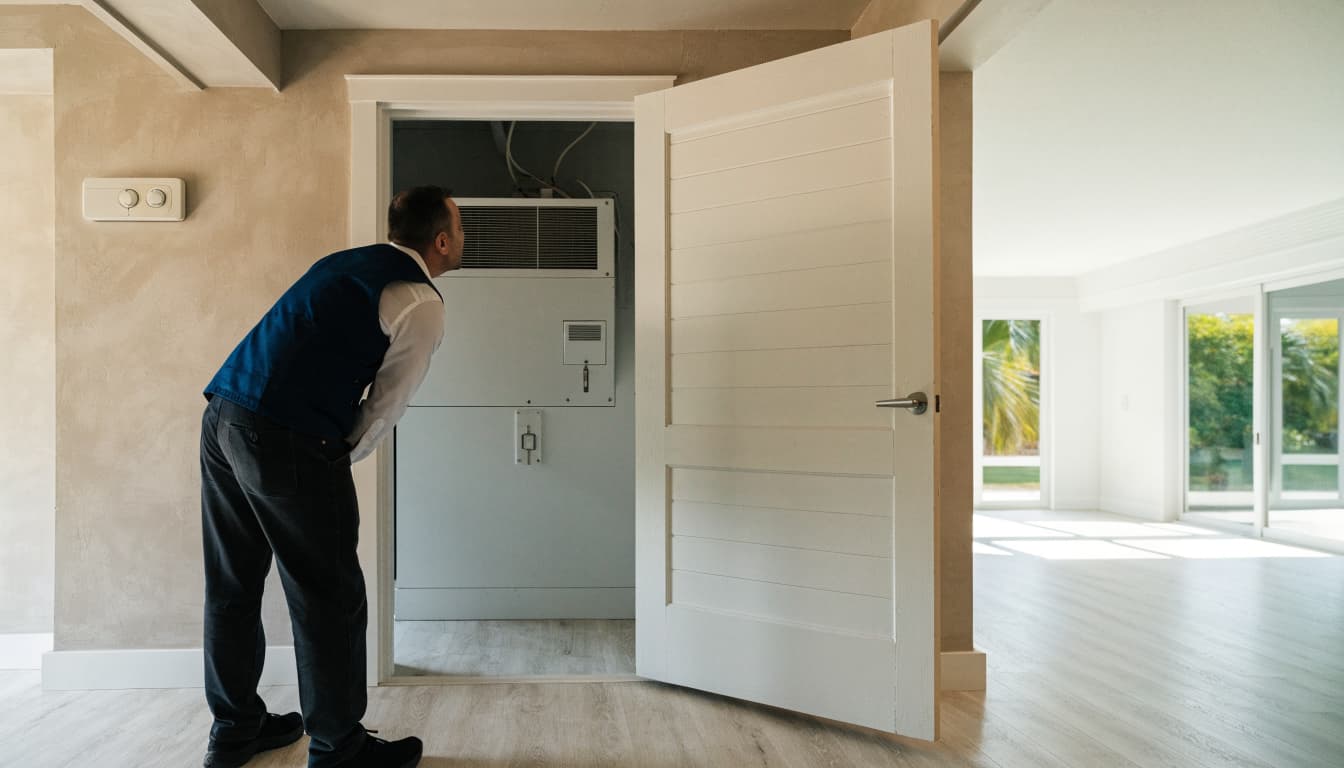
With exterior doors and windows closed, run the air conditioning at a normal occupied setting. Allow it to stabilize, then compare bedrooms, living areas, and rooms with strong afternoon sun.
Each room should approach its intended temperature without excessive noise or persistent discomfort. Confirm supply registers and return grilles aren't obstructed. Close bedroom doors briefly and note rooms that become noticeably warmer.
If cooling remains uneven, record room temperatures, thermostat setting, outdoor conditions, and operating time. Ask the HVAC contractor to assess airflow, controls, and system setup. Cool air at one vent doesn't establish whole-home performance.
Track moisture and inspect drainage
Use a hygrometer to record indoor relative humidity at several times after normal operation begins. The U.S. EPA recommends humidity below 60%, ideally 30% to 50% when possible. That's general moisture guidance, not a project-specific code threshold.
Persistent readings above 60% deserve follow-up, especially with condensation or musty odors. Construction moisture and frequently opened doors can affect readings, so document conditions.
From accessible areas, look for water around the air handler, drain pan, and condensate piping. Ask the contractor to demonstrate applicable overflow protection.
Request review of persistent moisture or drafts around ceiling penetrations. Unsealed attic chases and enclosure transitions can admit hot, humid air even where insulation looks complete.
Run Plumbing Fixtures and Watch for Leaks
Test every faucet, shower, tub, and toilet. Run water long enough to check drainage, then inspect accessible supply connections and cabinet interiors with a flashlight.
Fill sinks or tubs modestly and release the stopper. Water should drain without backing up, leaking below, or producing persistent gurgling. Flush toilets several times and look for seepage around supply connections and bases.
Next, operate two fixtures together. A noticeable flow drop is worth documenting, although this observation doesn't replace a plumber's pressure or flow testing.
Check hot-water delivery at each fixture. Record unusually long waits, unstable temperature, or water that becomes unexpectedly scalding. Don't adjust water-heater controls yourself.
Ask the builder to identify the main water shutoff and demonstrate fixture shutoffs. They should be accessible, labeled where appropriate, and free of leakage.
Stop using a fixture if water reaches cabinetry or flooring. Photograph the leak and contact the builder promptly. A licensed plumber should investigate unexplained pressure problems, concealed leaks, or sewer odors. Dry finishes alone don't prove a connection stays watertight during use.
Verify Electrical Protection and Everyday Equipment
Test accessible safety controls
Follow manufacturer instructions to test and reset accessible GFCI receptacles or devices. The test should interrupt power to the protected outlet, and reset should restore it.
If a device won't trip or reset, document its location and contact the builder or electrician. Don't repeatedly reset a breaker that trips.
Test smoke alarms and any installed carbon-monoxide alarms using their prescribed controls. Ask the builder to demonstrate interconnected operation where applicable.
These checks confirm basic operation only. They don't verify grounding, wiring condition, circuit design, or complete electrical compliance.
Run appliances, fans, and garage doors
Run supplied appliances through the manufacturer's recommended initial cycle. Check the dishwasher for leaks, confirm refrigerator cooling after its specified startup period, and verify cooking controls.
Turn on bathroom fans and the range hood. Listen for rattling and ask the builder to verify exterior discharge and specified airflow; sound alone doesn't prove ventilation performance.
Have the installer demonstrate garage-door travel and safety reversal using manufacturer procedures. The door should operate smoothly without binding.
Report exposed wiring, burning smells, sparking, or hot receptacles immediately. Keep people away and arrange qualified electrical help rather than continuing tests.
Check Windows, Doors, and Storm Protection
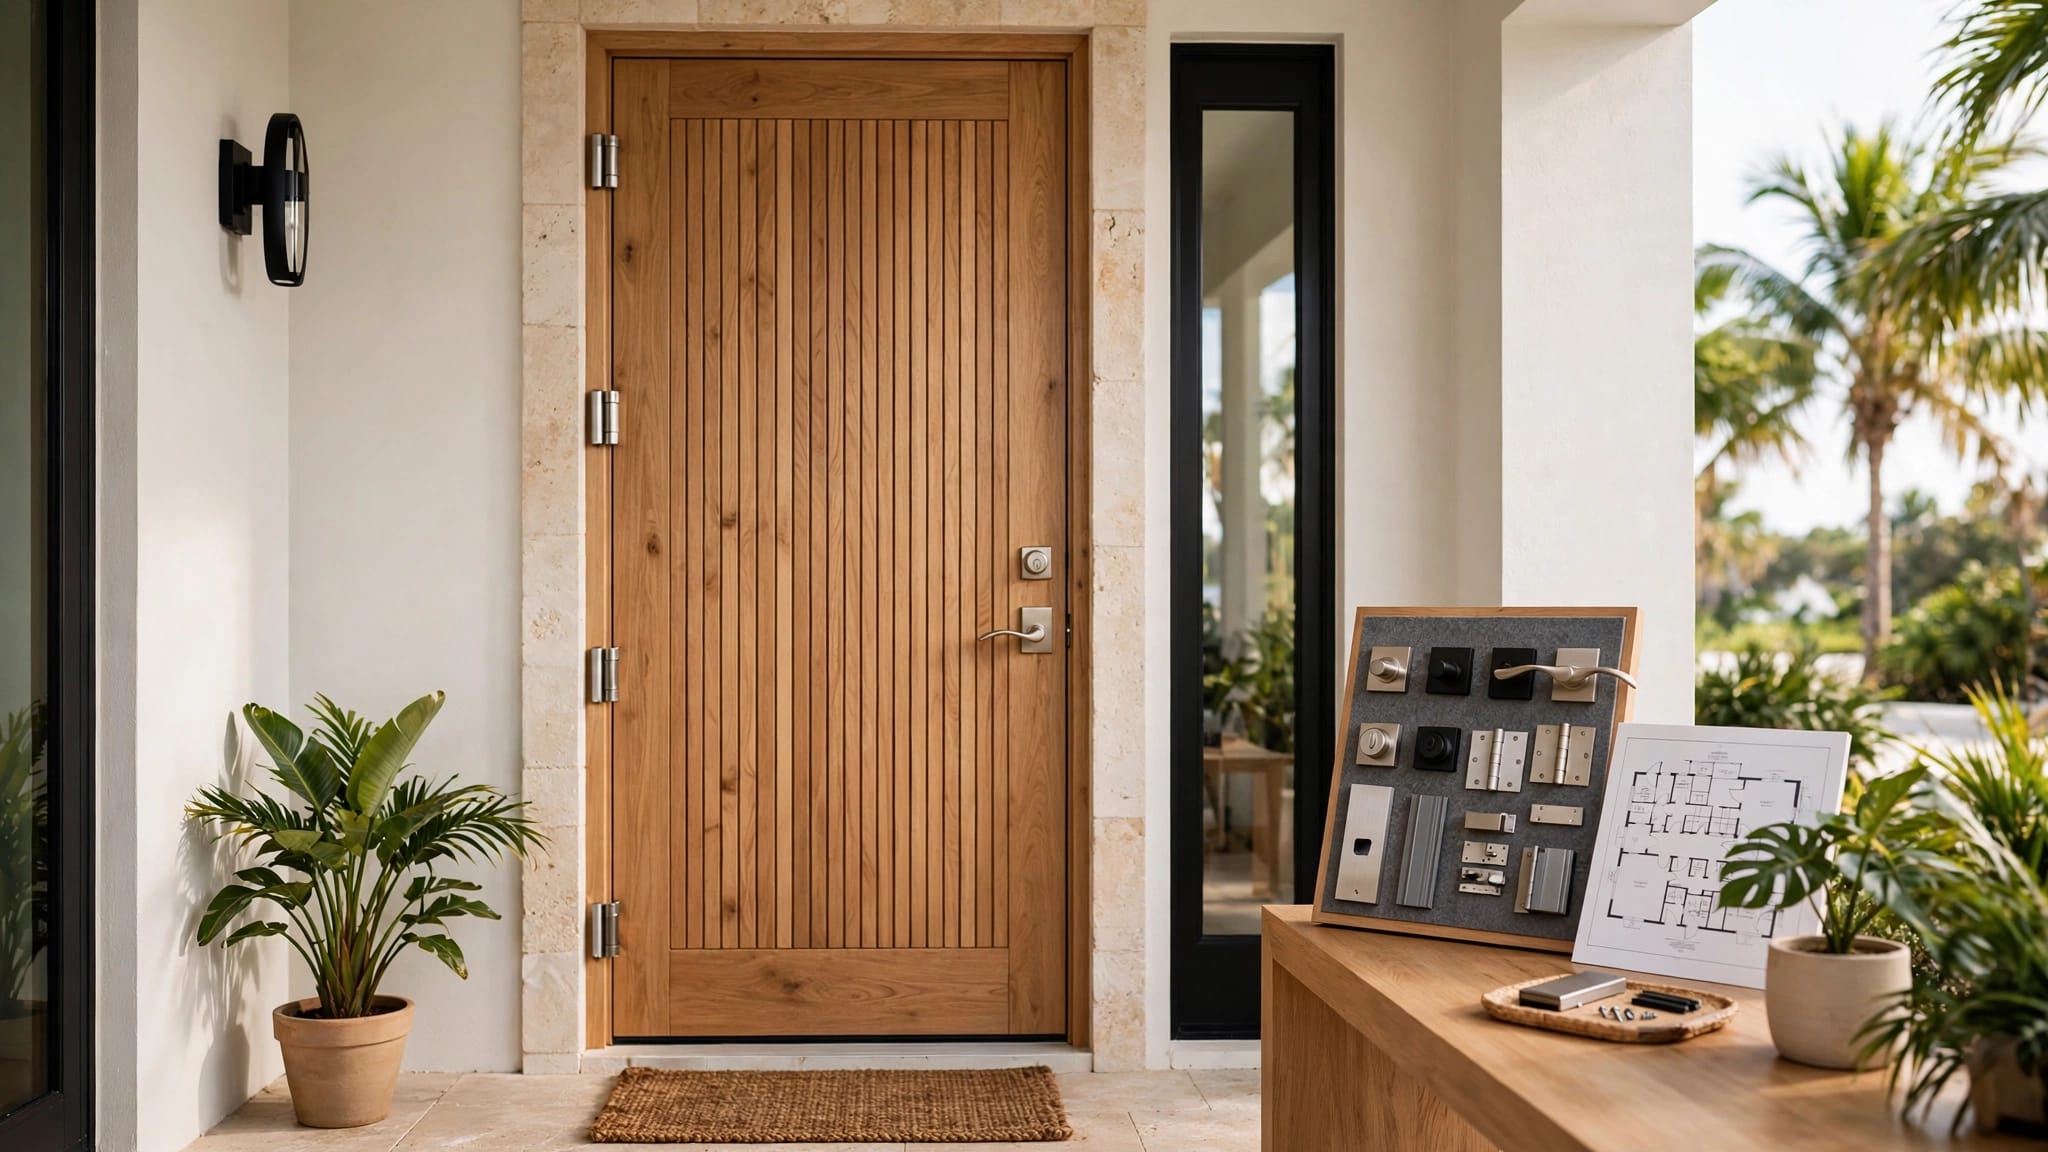
Open, close, and lock every accessible window and exterior door. Sliding doors should move smoothly, while locks should engage without forcing the frame. Inspect weatherstripping for gaps, tears, or loose sections.
After rain, examine window corners, thresholds, and adjacent finishes for dampness or staining. Photograph the location and weather conditions if water appears. Don't use an improvised high-pressure hose test; a qualified professional should select any water-testing method.
Keep window drainage openings clear. Adding sealant indiscriminately can block intended drainage, and perimeter caulk doesn't replace properly layered flashing.
Ask for window and door identification, applicable product approvals, and installation documents. A unit can fit an opening while differing from the approved impact or design-pressure requirements.
For shutters or removable panels, have the builder demonstrate installation and identify hardware for each opening. Successful handover includes labeled components, accessible storage, and instructions you can follow before severe weather.
A wind mitigation assessment for your home can document relevant construction features. It doesn't guarantee hurricane performance or replace missing installation records. Any mismatch between installed products and project documents needs builder review before acceptance.
Observe Roof Runoff and Lot Drainage
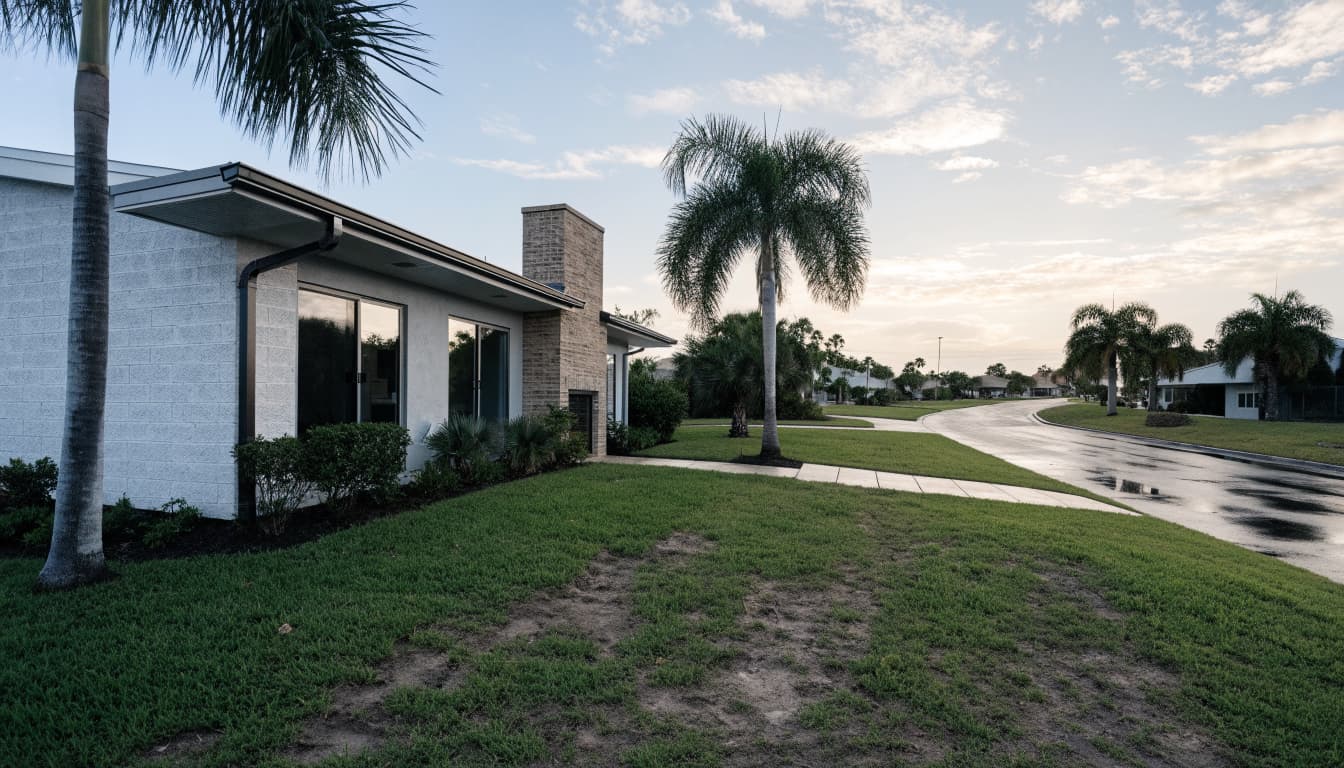
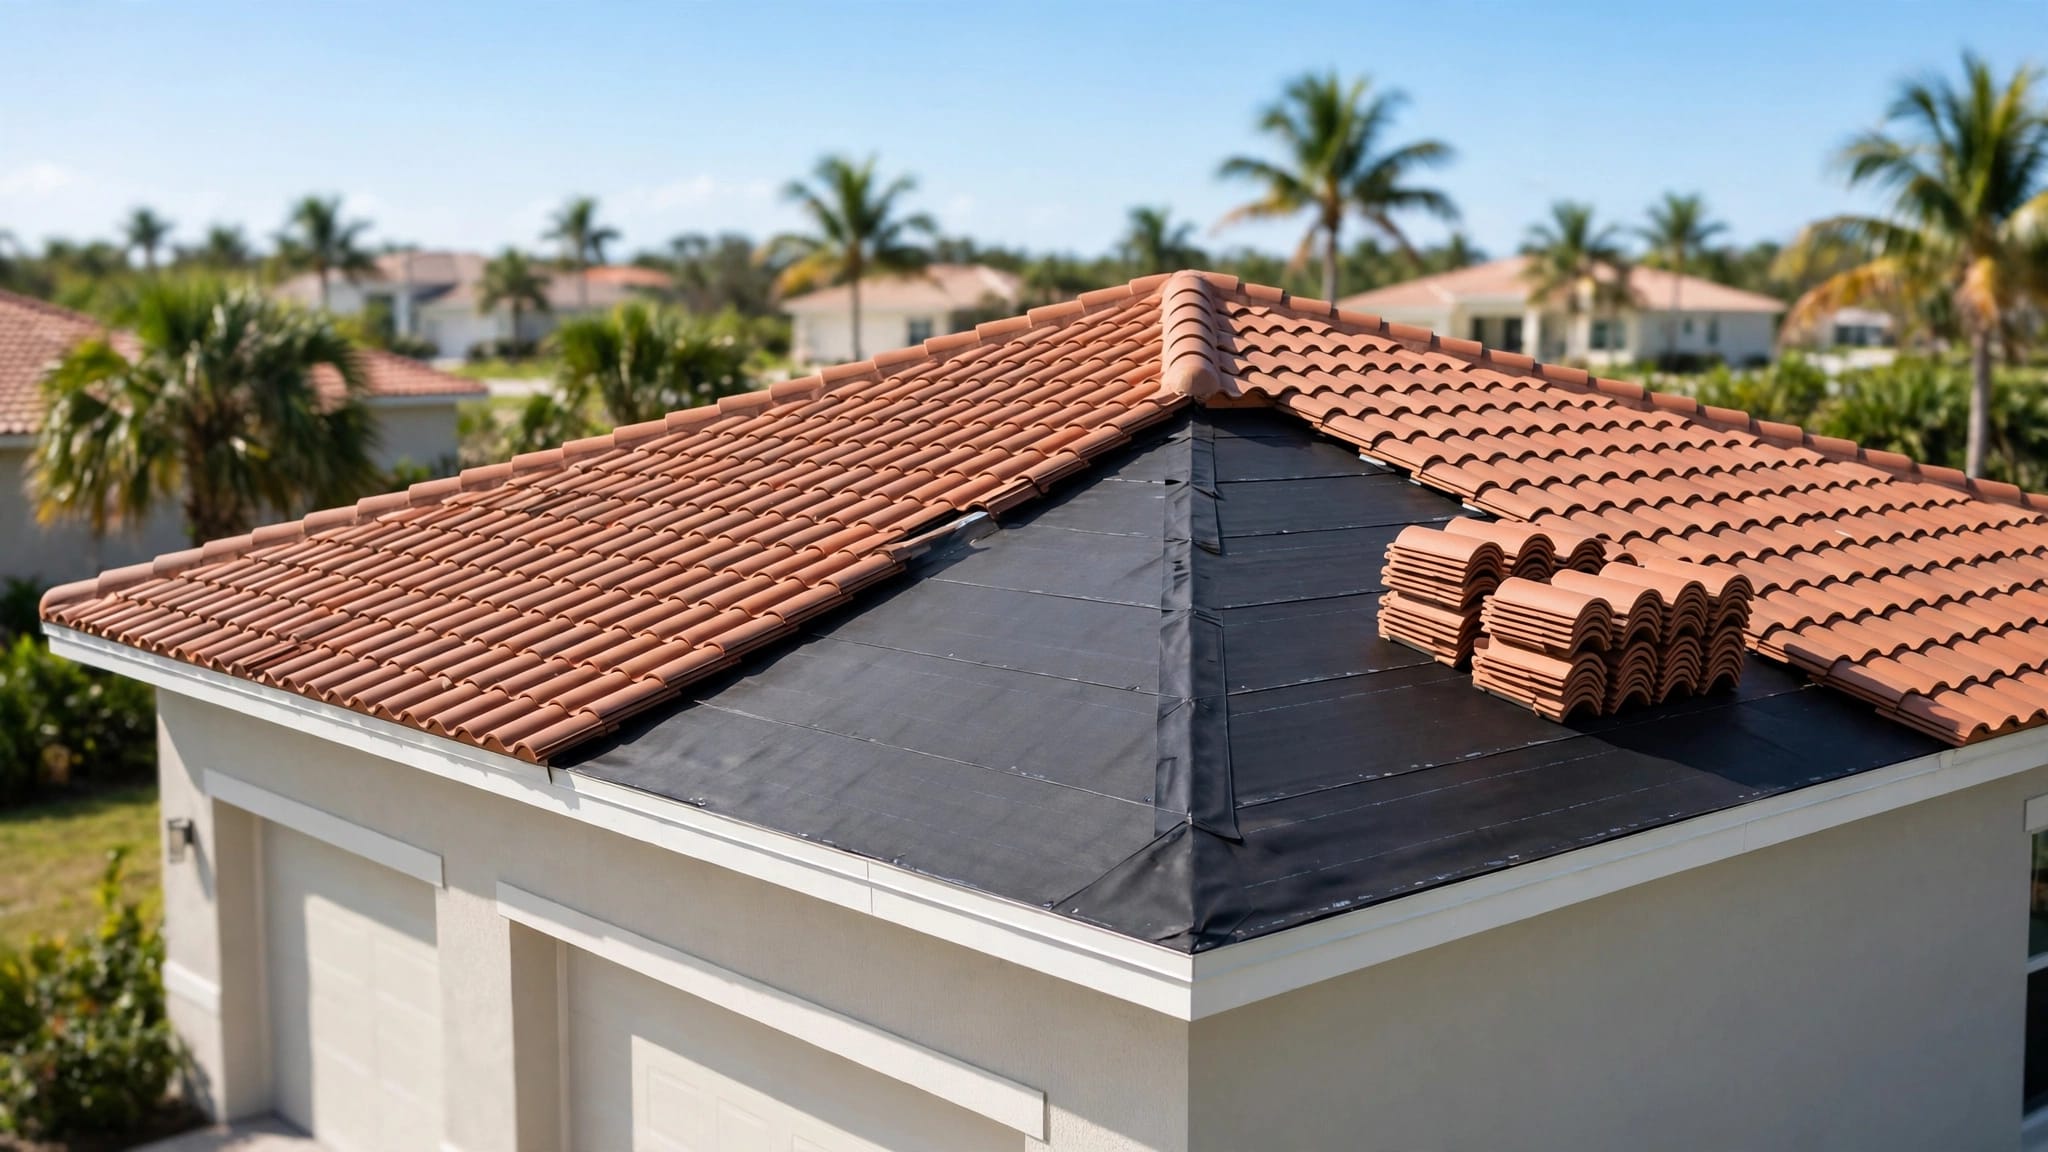
Inspect roof edges and visible surfaces from the ground. Note damaged roofing, loose gutters, disconnected downspouts, or staining beneath roof intersections. Leave roof access and concealed attachment checks to a qualified roofer.
During or after rain, observe water movement from a safe location. Gutters should discharge as intended, and runoff should follow the approved drainage arrangement without entering the home.
Check garage thresholds, lanais, pool decks, and low areas beside the foundation. Water against a doorway, overflowing gutters, or ponding that persists after surrounding areas drain warrants documentation.
Photograph the same locations during rainfall and afterward. Include the observation time so the builder can distinguish temporary wetting from persistent drainage problems.
Don't redirect downspouts, fill drainage swales, or regrade the yard yourself. Changes can interfere with the approved plan or affect neighboring properties.
If rain hasn't occurred before handover, arrange a post-rain follow-up. A dry-day walkthrough can't demonstrate stormwater performance. Active water entry needs prompt builder attention, while roof or grading concerns may require the appropriate trade professional.
Commission the Pool Before Anyone Swims
If the home includes a pool, coordinate its handover with the pool contractor. Ask for startup instructions, equipment settings, water-care guidance, and completed inspection records.
Have the contractor demonstrate circulation, lighting, automation, and installed heating equipment. Look for visible leaks, abnormal vibration, or recurring equipment faults. Don't open electrical equipment or change unfamiliar valves.
Test installed gates and alarms according to their instructions. Where a self-closing, self-latching gate is part of the approved barrier, confirm it closes and latches without assistance. Remove furniture or stored materials that provide climbing access.
Florida Statutes §515.27 provides residential-pool safety options. Verify the measures approved for your project rather than assuming every pool requires the same combination.
For custom pool construction in Southwest Florida, equipment startup and safety-feature demonstrations belong in the handover schedule.
Keep the pool inaccessible if a barrier, latch, or required alarm fails. Contact the builder or pool contractor immediately. Ask a qualified professional to resolve missing electrical, bonding, or safety documentation before use.
Document Problems and Verify the Repairs
A useful commissioning record describes observable behavior. "Guest bathroom sink leaks at the drain connection during discharge" gives the builder more direction than "plumbing problem."
Use one shared issue log and follow this sequence:
- Record the location, date, operating conditions, and what happened. Attach a clear photo or short video.
- Send the issue through the builder's designated reporting channel. Request the responsible trade and an expected response date.
- Repeat the original check after repair, then record the result before marking the item complete.
Separate urgent safety or water-entry concerns from cosmetic touch-ups. Don't wait for a routine punch-list visit when water is damaging finishes or electrical equipment appears unsafe.
A transparent new home design and construction process should include an organized handover discussion. Confirm maintenance duties, reporting procedures, and any agreed follow-up in writing.
Use the contract and applicable warranty documents for deadlines and coverage questions. A walkthrough doesn't create universal warranty rights or replace required notices.
Move In With Verified Performance
New home commissioning gives you a clearer picture of how the house operates before daily life makes problems harder to trace. In Southwest Florida, cooling, moisture control, drainage, and storm-protection records deserve careful attention.
Keep documented results alongside approvals and manuals. Resolve safety concerns promptly, verify repairs, and retain a written plan for checks that weather or scheduling prevented before move-in.