Plan a Recessed Medicine Cabinet for a Cape Coral Bath
Explore Our Services
Contact Us Today!
(239) 322-9295
A medicine cabinet can solve a storage problem without stealing elbow room from a small vanity. When it sits inside the wall, the mirror stays nearly flush and everyday items stay close at hand.
For Cape Coral homeowners, a recessed medicine cabinet needs planning before tile, lighting, plumbing, and drywall lock the wall into place. The best time to choose one is early in the remodel, when changing the layout is still manageable.
Why a recessed medicine cabinet works in a bathroom remodel
A recessed cabinet gives you storage without the forward projection of a surface-mounted model. That extra clearance matters beside a narrow vanity, in a guest bath, or along a busy hallway.
It also creates a cleaner mirror wall. However, the visual simplicity depends on work hidden behind the finish. The wall needs enough open depth, solid fastening points, and room away from pipes and wiring.
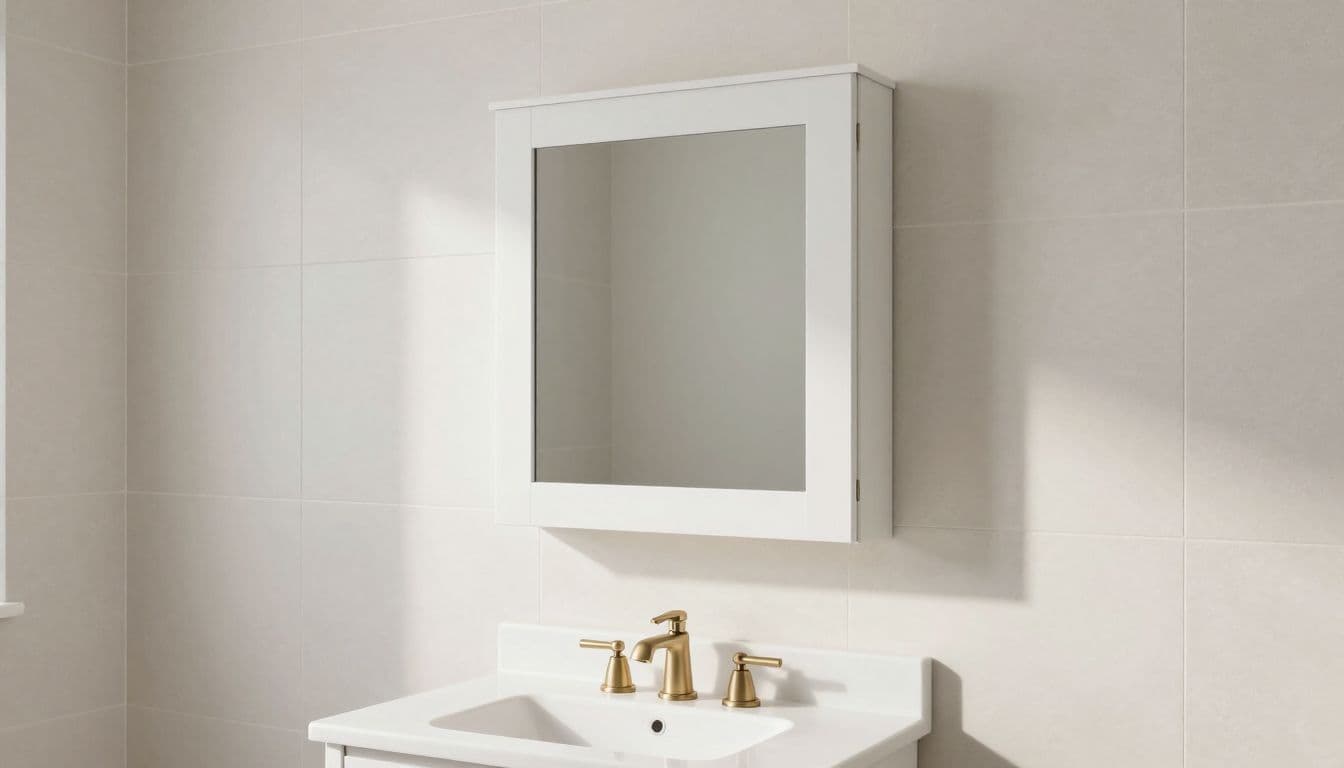
Storage without a bulky mirror
Most recessed models provide shallow shelves for toothpaste, skincare, prescriptions, and grooming supplies. A cabinet won't replace a linen closet, but it can keep the vanity counter from becoming a daily drop zone.
Choose adjustable shelves if several people share the bath. Glass shelves look light and are easy to wipe, while metal shelf clips should resist corrosion.
A choice that affects the whole wall
The cabinet's visible mirror is only part of its footprint. The recessed box, door swing, lighting, backsplash height, and faucet placement all need to work together.
A wide double-sink vanity may need two cabinets or one larger unit. In contrast, a compact powder room often benefits from one narrow cabinet centered over the sink.
Check the wall before ordering a recessed medicine cabinet
Never select a cabinet by face dimensions alone. The rough opening and required recess depth determine whether it fits the actual wall.
Open the wall only after confirming the vanity centerline and mirror height. Then have the contractor inspect what sits behind the drywall before framing a new cavity.
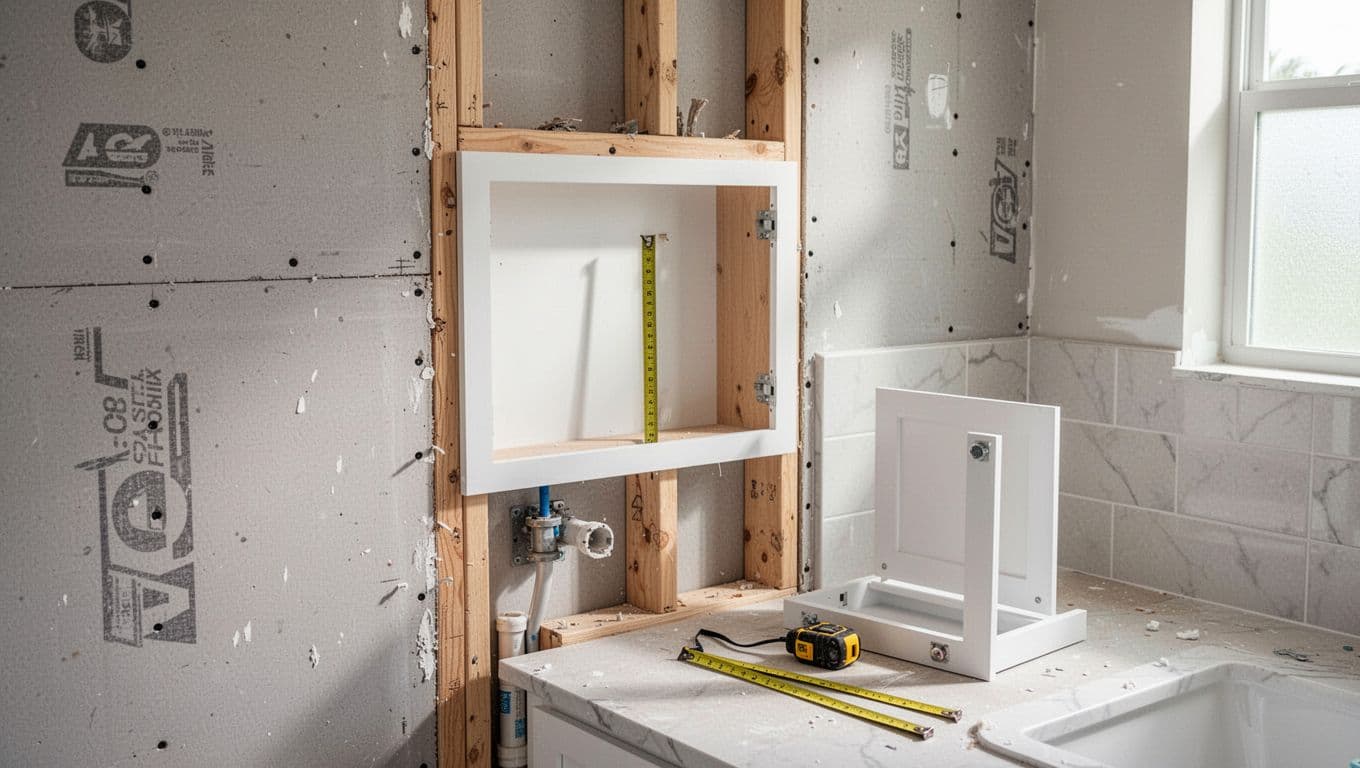
Look for studs, pipes, drains, and wiring
A wall behind a sink often carries water lines, drain pipes, vent piping, electrical wiring, or all of them. Kohler's recess-mount guidance says water lines and electrical wires in the cabinet area may need rerouting. It also advises professional review when drain or vent piping is present, or when the wall carries structural loads.
Stud locations matter just as much. Moving a cabinet a few inches can avoid a major obstruction. Yet don't cut or alter framing without a qualified professional's direction.
The easiest cabinet installation is usually the one planned around the existing wall cavity, not forced into the exact center of a sketch.
Confirm usable depth, not just stud depth
Many recessed cabinets require about 3-1/2 to 4 inches of cavity depth. A Bobrick B-397 calls for at least 3-1/2 inches, while one Kohler recessed model calls for a 3-11/16-inch-deep cutout.
Those numbers don't mean every wall will accept every cabinet. Tile build-up, backer board, wallboard thickness, insulation, plumbing clearances, and the cabinet's mounting flange all change the available space. Get the manufacturer's installation sheet before any opening is cut.
Choose cabinet dimensions that fit the vanity
A cabinet should look proportionate to the vanity and still leave room for sconces, outlets, and wall tile. Start with the usable wall area, then compare the cabinet's face size and rough opening.
The opening is usually smaller than the mirror face because the frame overlaps the finished wall. For example, a Bobrick B-397 needs a 14-inch-wide by 23-5/8-inch-high rough opening, while its finished face is wider and taller.
Match the width to how the sink is used
For one sink, a cabinet roughly aligned with the vanity's center often feels balanced. A very narrow cabinet over a wide vanity can look undersized and provide less storage than expected.
With two sinks, measure each user's mirror zone. Two individual cabinets allow independent storage and can frame a central light fixture. One broad cabinet creates a quieter look but needs a clear, uninterrupted wall cavity.
Check door clearance before finalizing the model
A hinged door needs open space without striking a sconce, adjacent wall, faucet, or another mirror. Reversible hinges offer more flexibility when the cabinet sits near a corner.
Some models have mirrored interiors, soft-close hinges, or sliding doors. Those features can suit tight spaces, but the cabinet should remain easy to open while someone stands at the sink.
Pick materials suited to Cape Coral humidity
Bathrooms collect steam, splashes, and condensation. Cape Coral's warm, humid conditions add more reason to avoid materials that swell, rust, or break down when moisture reaches an edge.
A well-built aluminum or stainless-steel cabinet is often a practical choice for a humid bath. Powder-coated metal can also perform well when the coating is intact. For a framed wood look, check that the construction and finish are rated for bathroom use.
Avoid weak edges and absorbent cabinet boxes
Particleboard and low-grade fiberboard can swell after repeated moisture exposure. Once an edge lifts, the door may stop sitting flat and the finish can peel.
Look for sealed seams, corrosion-resistant hardware, and a cabinet box that can tolerate damp conditions. The same material choices matter across the room, so review these moisture-resistant bathroom materials before finalizing cabinetry, trim, and finishes.
Seal the finished opening carefully
Tile and grout are not a complete moisture barrier. The installer should finish the wall opening cleanly, follow the cabinet manufacturer's mounting instructions, and use compatible sealant where the installation calls for it.
Keep the exhaust fan running long enough to clear shower steam. Wipe standing water from the counter and don't store damp washcloths inside the cabinet. These simple habits protect hinges, mirrors, and shelf supports.
Set the right height for mirrors, lighting, and people
Cabinet height should suit the people who use the room, not a generic showroom display. Before installation, stand in front of a taped outline on the wall and check your sightline.
The mirror should show your face and upper body without forcing you to stoop. At the same time, its bottom edge needs enough clearance over the faucet and backsplash.
Use manufacturer guidance as a starting point
Some commercial cabinet specifications suggest mounting around 72 to 73 inches above the finished floor. Accessible mounting guidance can place the mirror lower. Those figures are starting references, not a universal rule for every home.
Vanity height, sink style, household needs, and the cabinet's overall height all affect the final placement. Confirm the dimensions after the finished-floor height is known, especially if new tile changes it.
Keep lighting out of the door's path
Side sconces can give more even facial light than a single fixture above the mirror. Still, they need enough spacing for cabinet doors to open fully.
Plan the electrical layout at the same time as the cabinet. A light fixture that looks balanced on paper may conflict with a taller mirrored door once installed.
Coordinate the cabinet with tile and vanity work
Ordering the cabinet early prevents a costly pause during the finish stage. The installation team needs the exact rough-opening drawing before wallboard and tile go up.
Share the cabinet model with anyone handling plumbing, electrical work, framing, drywall, tile, and the vanity. A Southwest Florida bathroom remodeling team can coordinate those trades around one approved layout.
Install in the right sequence
The wall cavity and blocking come first. Next, plumbing and electrical locations need confirmation before the wall closes. Tile installers also need to know whether the cabinet flange overlaps the tile or sits within a finished opening.
Protect the cabinet door and mirror during nearby tile work. Installing delicate shelves and interior accessories near the end reduces the chance of scratches or grout haze.
Verify local requirements for your scope
A simple cabinet replacement differs from work that moves plumbing, rewires lighting, changes framing, or opens a structural wall. Permit needs depend on the full scope, not the cabinet alone.
The City of Cape Coral's Residential Remodel guidance directs applicants to its CSS portal and lists documents that may apply based on the project. Confirm current requirements with a licensed professional or the appropriate local authority before work begins. For added context, review this overview of Cape Coral remodeling permits.
Recessed medicine cabinet planning checklist
Use this short list before placing an order:
- Measure the vanity, faucet reach, backsplash, and available wall width.
- Save the manufacturer's rough-opening, depth, and mounting requirements.
- Confirm stud locations and inspect the wall for plumbing, vents, and wiring.
- Choose a cabinet box and hardware suited to a humid bathroom.
- Test the planned height with painter's tape on the wall.
- Check that doors clear sconces, side walls, and nearby mirrors.
- Coordinate framing and cabinet placement before drywall and tile.
- Verify current permit requirements if the work affects electrical, plumbing, or framing.
Final thoughts on a better-planned bathroom wall
A recessed medicine cabinet looks simple after installation because the important decisions happened earlier. The right model fits the available cavity, handles bathroom moisture, and opens without fighting the room's lighting or layout.
Measure the wall, confirm what is inside it, and select the cabinet before finish work begins. That preparation keeps a useful storage upgrade from becoming an avoidable remodel change order.