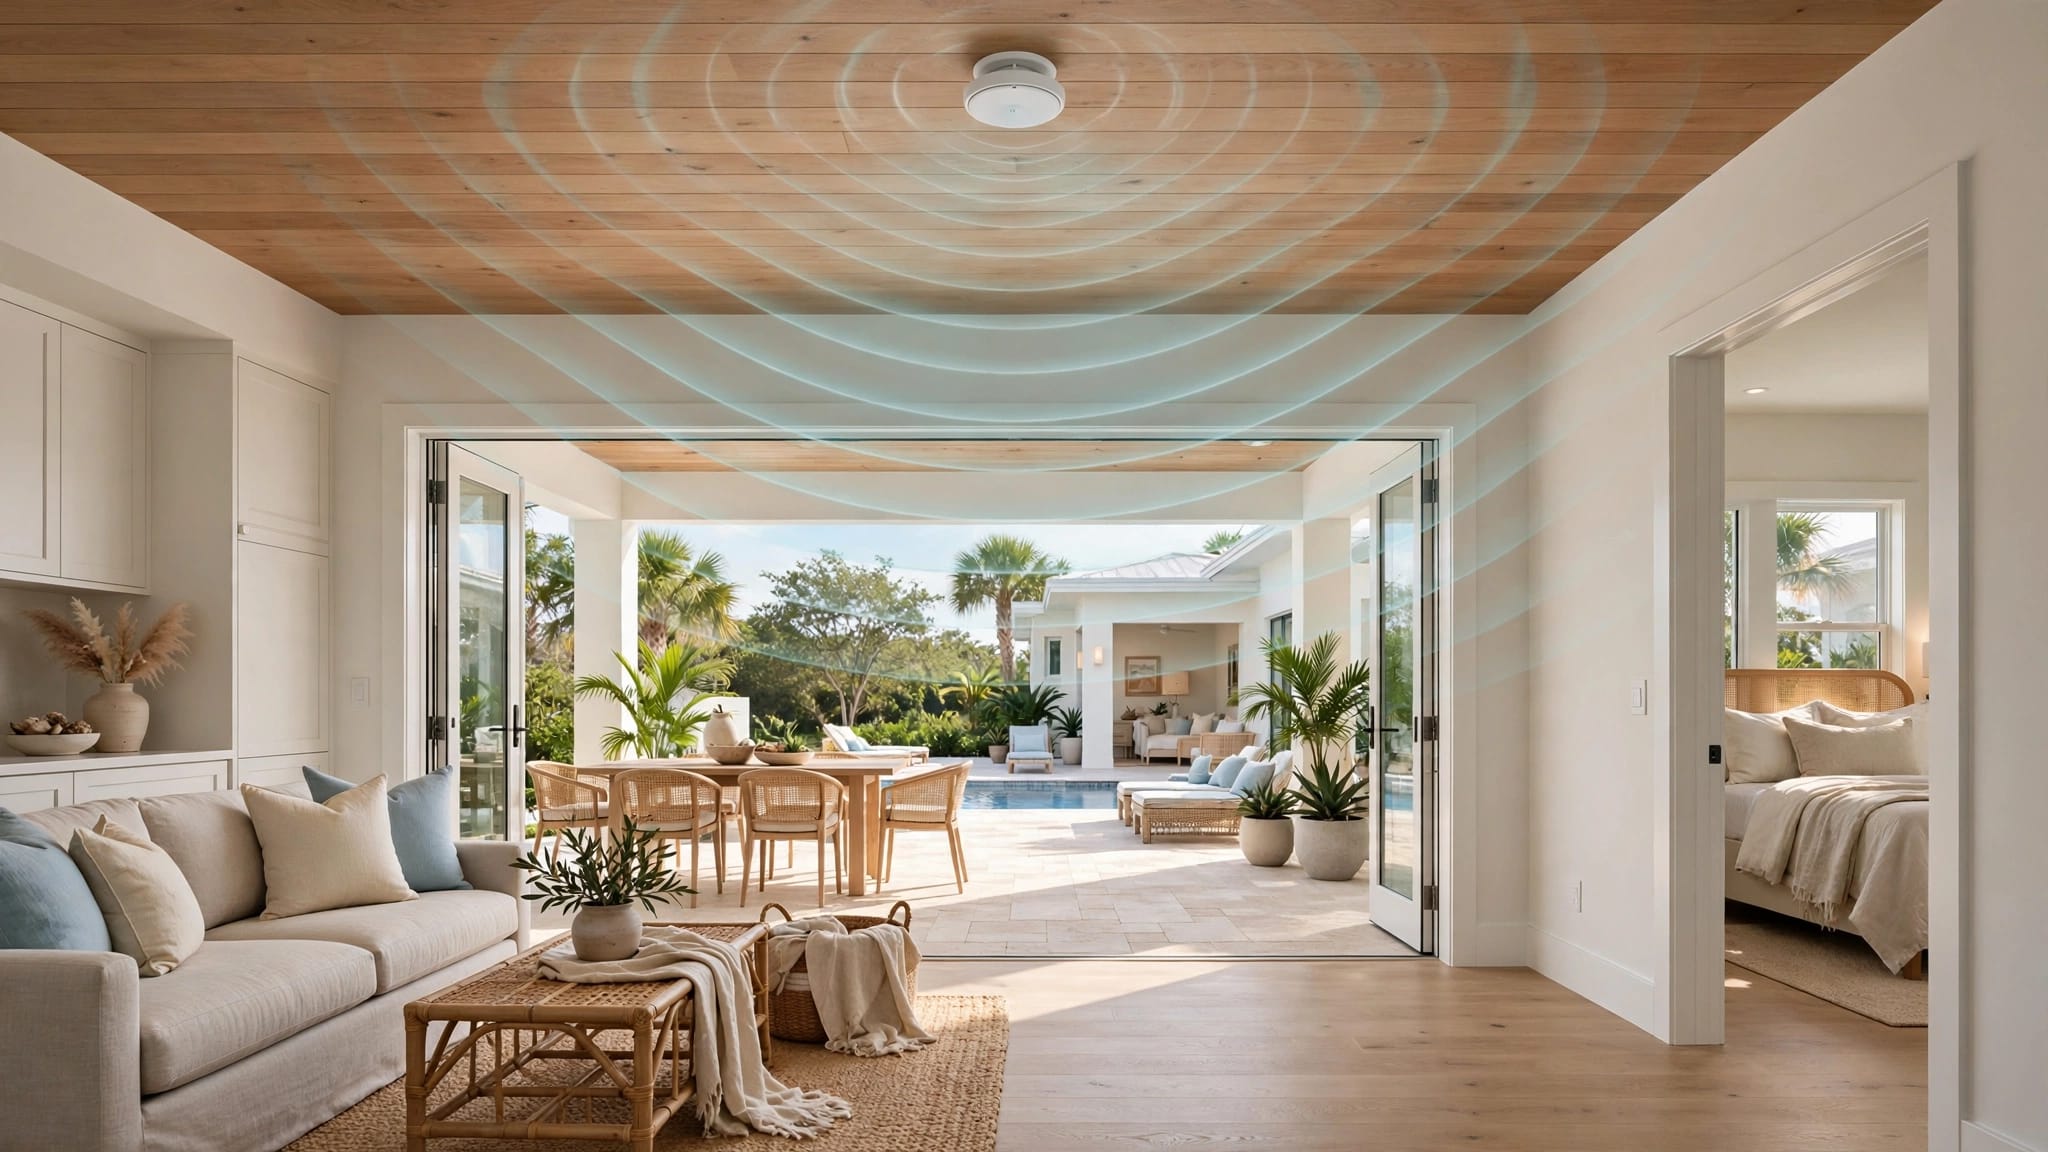
Recessed Lighting Layout for a Fort Myers New Home
Explore Our Services
Contact Us Today!
(239) 322-9295
A downlight that looks centered on a floor plan can land beside an air-conditioning duct once framing goes up. In a Fort Myers new build, your best chance to catch that conflict is before the electrician starts rough-in. A good recessed lighting layout begins with how you'll use each room, then adapts to the ceiling that will actually be built.
Decide on fixture locations, controls, and ceiling details with your builder and licensed electrician while changes are still practical. The first step is to put the lighting plan beside the framing and mechanical plans.
Set the lighting plan before electrical rough-in
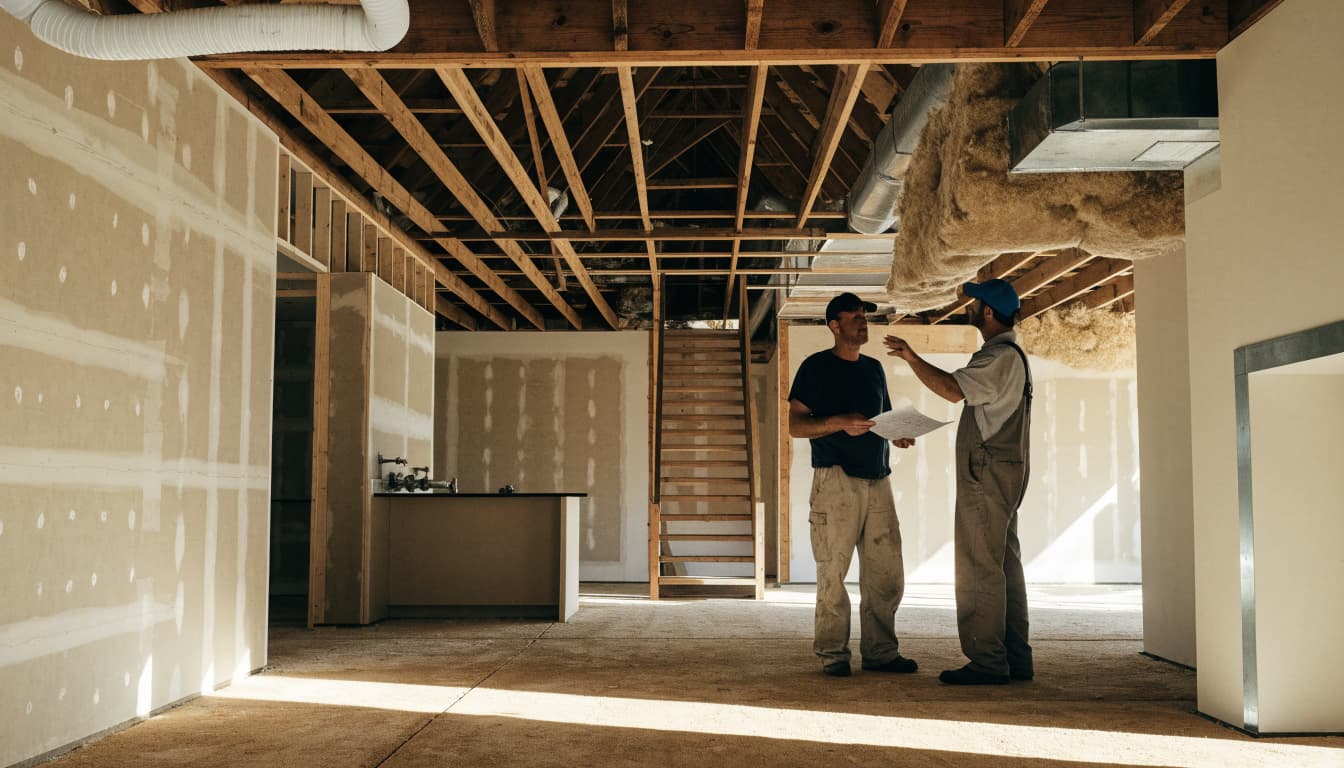
Electrical rough-in is when the electrician installs boxes and runs wiring before walls and ceilings are closed. At that point, an unresolved light location can affect more than one trade. Moving it may also change a switch leg, a duct route, or the finished ceiling pattern.
Put furniture and built-ins on the drawing
Start with the rooms as you'll use them. Show the kitchen island, dining table, sofa, beds, bathroom mirrors, and any planned built-ins. Then mark where you want general light, task light, or a feature illuminated.
A centered ceiling fixture won't necessarily be centered over a dining table. Likewise, a row of lights drawn across an empty kitchen may fall behind the person working at the counter. In custom home planning and design, these decisions are easier to make while room dimensions and furniture positions are still open for discussion.
Compare the drawing with the actual framing
Have the builder and electrician review proposed locations against beams, trusses, ductwork, plumbing, and ceiling details. A tray ceiling, dropped soffit, or future ceiling fan can change where a light belongs.
Marking positions on site helps reveal conflicts that a two-dimensional drawing hides. If a location can't work, revise the plan rather than letting the field crew choose a substitute without considering the room's lighting.
Build the recessed lighting layout around each room
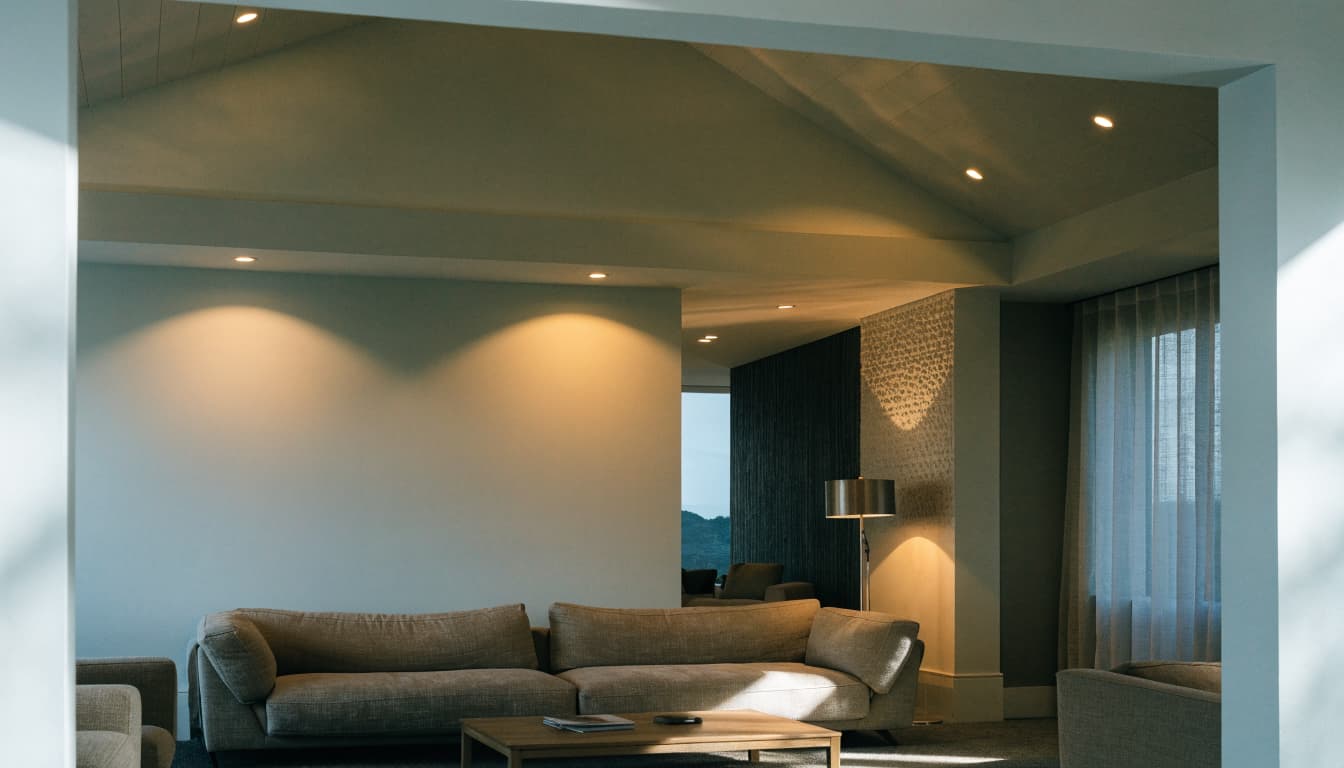
A uniform grid looks orderly on paper, but it can leave countertops dim and put glare directly over a sofa. Place lights where they do work, and let other fixtures handle jobs downlights can't do well.
Give kitchen tasks their own light
In the kitchen, check the island size, counter runs, cabinet locations, and range hood before marking ceiling openings. Lights placed behind someone standing at a counter can throw that person's shadow onto the work surface. Under-cabinet lighting can help with food preparation, while island pendants can provide a different effect.
Keep pendant locations on the same drawing as the recessed lights. Otherwise, the completed ceiling may look crowded. If the island design changes during construction, revisit both sets of fixtures before wiring begins.
Light living areas for more than one activity
A Fort Myers great room may be used for conversation, television, reading, and access to a lanai. Those activities don't need the same light level or direction. Consider downlights near circulation paths or selected walls, with lamps or decorative fixtures serving the seating area.
In bedrooms, check the bed position before placing a bright downlight above the pillows. In bathrooms, plan mirror lighting separately; a ceiling light directly overhead can leave shadows on a face. The goal is a room that feels comfortable when several lights are off, not a ceiling that depends on every fixture being on.
Choose spacing after you know the ceiling and fixture
There is no dependable one-size-fits-all spacing formula for a recessed lighting layout. Ceiling height, beam and duct locations, fixture type, and the intended effect all change the answer. A plan for a flat bedroom ceiling won't transfer unchanged to a taller great room or a kitchen with soffits.
Check the light pattern, not just the distance
A fixture's beam spread affects how much floor, counter, or wall it illuminates. Wider distributions can support general lighting; narrower ones may suit a selected feature. The result also depends on mounting height and where the light points.
Ask your lighting supplier or electrician for the selected fixture's specifications and manufacturer layout guidance. Juno, for example, publishes recessed-lighting design guidance for different applications. Treat that guidance as a design starting point, then check it against the actual ceiling and the effect you want.
Equal distances between fixtures don't guarantee even light where you need it. Check the work surface and seating area, not just the ceiling pattern.
Decide on the product before fixing its opening
A traditional recessed housing and a slim canless fixture may need different space above the ceiling. Their cutouts, drivers, mounting methods, and installation instructions can differ too. Don't assume a slim fixture will fit every location simply because it has a shallow profile.
Select the intended product or an approved equivalent early enough for the electrician to check the framing and wiring plan. If the builder's allowance names only a general fixture category, ask what specifications will govern substitutions. That protects both the layout and the finished appearance.
Account for Fort Myers ceiling and outdoor conditions
The ceiling isn't empty space waiting for light fixtures. In a Southwest Florida home, it may contain cooling ducts, structural members, insulation, and part of the building's air barrier. Placement and product selection need to respect all of them.
Check the thermal envelope
Where a recessed fixture enters the building's thermal envelope, its listing and installation details matter. Ask the licensed electrician and builder to confirm the selected product's insulation-contact and air-leakage suitability, along with any required sealing at the ceiling.
As of September 2026, the Florida Building Code, 8th Edition (2023), remains the statewide code base. The 9th Edition (2026) is scheduled to take effect on December 31, 2026. Your team should verify the requirements that apply to your permit and approved plans rather than relying on an assumed rule for every recessed product.
Plan lanais as separate spaces
A covered lanai often connects visually to the great room, but its fixture selection and switching deserve a separate review. Exposure conditions vary by exact location. Have the electrician confirm the appropriate product listing for each position instead of assuming an indoor downlight belongs outdoors.
Also check ceiling fans, patio furniture, outdoor kitchen equipment, and future pool-area lighting. A fixture centered in an empty lanai may end up too close to a fan or over a dining seat once the space is furnished.
Set switches, dimmers, and the lighting budget together
Fixture positions are only half the plan. Decide which lights should operate together, where you'll enter each room, and whether you want separate control of task and ambient lighting. Those choices affect wiring during rough-in.
Divide open rooms into useful zones
An open kitchen and living area may benefit from separate controls for kitchen downlights, island fixtures, and living-room lights. That lets you use the kitchen without lighting the whole great room. For a hallway or room with multiple entrances, discuss convenient switch locations before walls close.
If you want dimming, confirm that the selected LED fixtures and dimmers are compatible. Also compare actual light samples where possible. Warmth and brightness can look different against the finishes you've chosen, especially in rooms with large windows and strong daytime light.
Price changes before approving them
Adding a downlight can affect the fixture allowance, labor, wiring, and control plan. Ask for a clear distinction between the cost of the fixture and the cost of installing its circuit and switches. A decorative pendant or under-cabinet run may also need a separate allowance.
Review Southwest Florida new-home lighting costs when comparing fixture choices. For the wiring side, use new-home electrical rough-in costs to frame questions about what a bid includes. Get the price of proposed changes in writing before approving them.
Walk the house and approve the final plan
A drawing is useful, but a site walk shows the ceiling you're going to get. Schedule one after framing and mechanical routes are clear, while there's still time to adjust light positions before electrical rough-in.
Review each location at the job site
Bring the reflected ceiling plan, furniture layout, and selected fixture information. Stand where you'll cook, sit, read, and enter each room. Then check the proposed lights against beams, ducts, fan locations, cabinet edges, and door swings.
Before the electrician begins, settle these points with the builder:
- Mark the intended fixture locations and identify any positions that need field adjustment.
- Confirm which lights share switches or dimmers and where those controls belong.
- Record the approved fixture selections, substitutions, and any change in cost.
Keep revisions on the working plan so the builder and electrician have the same version. A verbal change made in one room can otherwise be missed when another crew arrives.
Confirm the inspection path before concealment
The permit jurisdiction depends on the property address. A home in the City of Fort Myers may follow a different process from one in unincorporated Lee County, so let the builder confirm the correct authority and inspection schedule.
Lee County's electrical guide identifies rough electrical inspection as occurring after boxes and rough wiring are installed, before concealment. It calls for the permit, approved plans, and manufacturer specifications to be onsite for inspection. Coordinate any lighting changes through the builder and licensed electrician so the installed work matches the approved plan.
Key takeaways
- Place recessed lights around furniture, work surfaces, and the effect you want, rather than applying a standard grid.
- Check proposed locations against ceiling height, framing, ducts, insulation, fans, and the selected fixture's instructions.
- Set fixture choices, switching, and pricing with your builder and licensed electrician before rough-in .
- Walk the framed home together and document changes before wiring is installed.
Frequently asked questions
How far apart should recessed lights be in a new home?
There isn't one spacing measurement that works across every Fort Myers home. Height, fixture distribution, obstructions, and whether you want general, task, or accent light all affect placement. Use the selected product's guidance and review the result with your electrician against the actual room.
Can recessed light locations change after rough-in?
They can, but a later change may require new wiring, a revised location, additional labor, or repair to finished surfaces. Talk to the builder and electrician as soon as you spot a problem. They'll determine what's practical and whether the change affects the approved plans or inspection schedule.
Should the kitchen and great room use one switch?
Separate controls usually give you more flexibility in an open floor plan. You may want kitchen work lights on while living-room lights stay dim or off. Decide how you'll use the space, then have your electrician confirm the switching and compatible controls before rough-in.
Conclusion
The ceiling conflict you catch during framing is far easier to address than one discovered after drywall. A useful recessed lighting layout starts with daily activities and ends with a site-checked plan that fits the home's structure and systems.
Before electrical rough-in, confirm the final fixture locations, products, and controls with your licensed electrician and builder.