Stone Veneer Attachment for Estero Home Exteriors
Explore Our Services
Contact Us Today!
(239) 322-9295
Stone veneer attachment starts with the wall behind the stone. In Estero, a durable exterior needs a continuous route for water to drain , along with an attachment system suited to the veneer, substrate, and wind exposure.
The details change depending on whether your home has concrete masonry walls, framed walls, adhered thin veneer, or heavier anchored stone. Before choosing a finish, it's worth understanding how those choices affect the whole exterior.
Start With the Type of Stone Veneer
Stone veneer comes in several forms, and they don't all attach the same way. The home's design should identify the product and support system before the exterior wall is built.
Adhered thin veneer
Adhered veneer uses mortar or another specified bonding system to hold individual pieces against a prepared backing. It can be natural thin stone or manufactured stone made to resemble natural material.
The assembly may include a scratch coat over metal lath, particularly on framed walls. Some suitable masonry surfaces can accept a direct application after proper preparation. The chosen product and wall construction determine which approach applies.
Anchored stone veneer
Heavier stone may rely on mechanical anchors and structural support rather than a mortar bond alone. Its design can include a supporting ledge and a drainage space behind the stone.
Anchored veneer is a different assembly from adhered thin stone. Its weight, anchors, backing, and wind resistance need to work together. A custom home's designer and structural engineer should address those details in the plans.
Choose a Suitable Wall Substrate
The substrate is the surface supporting the veneer system. In Southwest Florida, a custom home may combine concrete masonry walls with framed sections around entries, upper floors, or decorative features.
Concrete and masonry walls
Sound concrete or concrete masonry can provide a solid backing for an adhered system. The surface must also be suitable for the specified bond. Dirt, loose material, paint, coatings, or sealers can interfere with adhesion.
If an existing wall has cracks, damp areas, or deteriorated material, those conditions need attention before new stone goes on. Covering them can make the underlying problem harder to find and repair.
Framed walls and sheathing
Framed walls need a backing assembly that transfers the veneer's weight and wind forces to the structure. Sheathing alone isn't a substitute for the structural support required by the selected system.
The plans should also account for moisture protection over the sheathing. As a result, a framed section may need more layers than an adjacent masonry wall, even when both receive the same stone finish.
Give Water a Route Behind the Veneer
Stone and mortar shed much of the rain, but water can reach the layers behind them. In Estero, wind-driven rain makes that possibility especially important at exposed walls and openings.
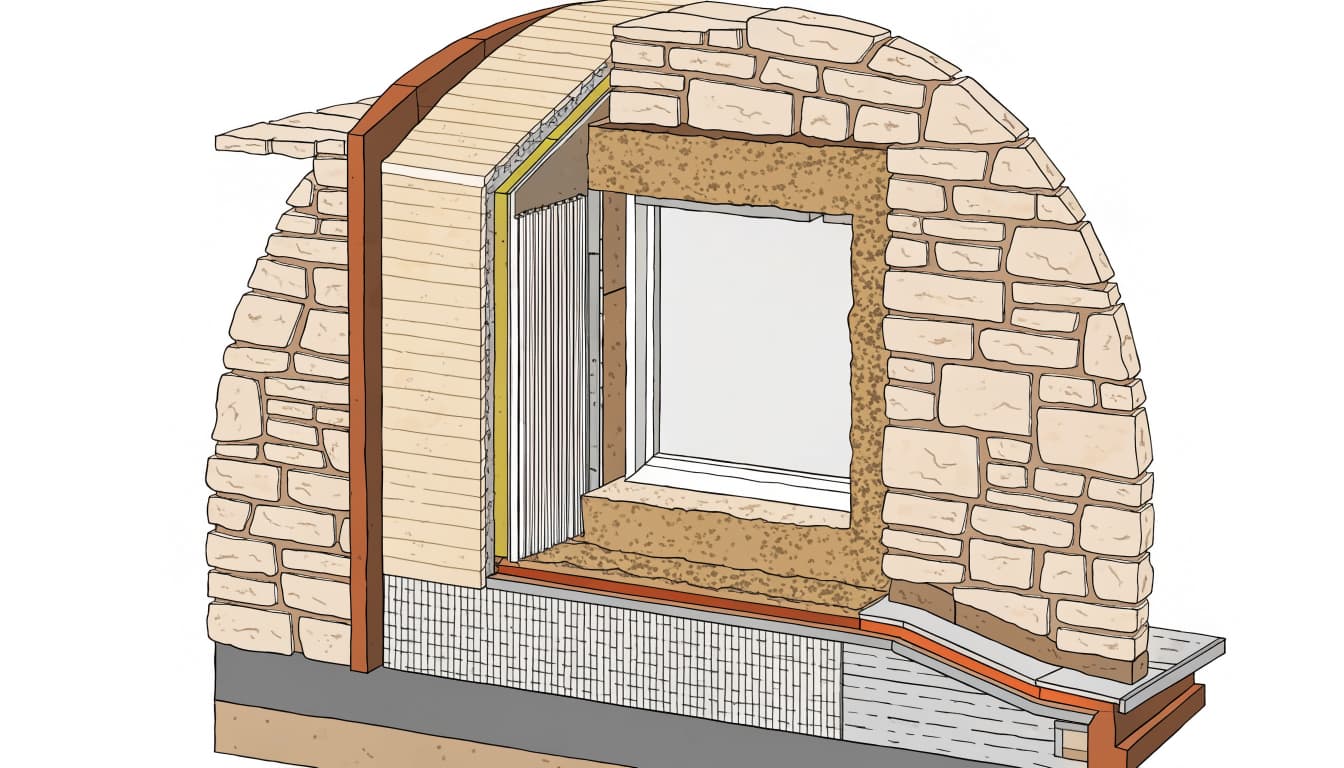
Wall layers vary by substrate and veneer system.
Connect the barrier and flashing
On a framed wall, a water-resistive barrier, often called a WRB, helps protect the sheathing. Its laps and connections should direct water downward and outward.
Flashing at openings and transitions must connect to that drainage plane. Upper layers overlap lower layers so water doesn't run behind the barrier. Sealant has a role at selected joints, but it can't replace a missing flashing detail.
Keep drainage paths open
Depending on the wall system, a drainage space or drainage layer can help water move behind the cladding. At the bottom of the assembly, flashing and an appropriate outlet need to give that water a way out.
Mortar buildup or landscaping against the wall can obstruct drainage. A cavity also gives a wet wall an opportunity to dry, although ventilation alone can't correct a leak or a poorly connected barrier.
Match Lath and Fasteners to the Wall
Metal lath provides a base for mortar in many adhered veneer assemblies. It's especially relevant over framed walls, where the stone doesn't bond directly to wood sheathing.
Attach lath to sound support
The installer fastens lath through the wall layers to the support specified for the assembly. The fasteners, attachment pattern, and backing need to suit the veneer load and the home's design wind pressures.
Lath must also sit correctly against the backing and form a suitable surface for the mortar. The approved assembly determines how it is installed at laps, edges, and openings. A surface that looks secure before stone installation isn't enough to establish that the full wall has the required support.
Plan for coastal exposure
Humidity, repeated wetting, and salt carried inland by wind can affect metal components. The exposure depends on the property's location as well as how much shelter the wall receives.
Lath, fasteners, flashing, and adjoining metals need compatible corrosion protection for the conditions and the selected system. A Gulf-exposed wall may need different material choices than a sheltered inland wall. Concealed metal deserves particular care because replacing it can require removal of the finished veneer.
Apply Mortar for a Consistent Bond
Mortar connects the stone to its prepared backing, but its performance depends on the work underneath and the conditions during installation.
Prepare the backing and stone
Where the assembly uses lath, the installer applies a mortar scratch coat and prepares its surface for the setting coat. On an eligible masonry substrate, the preparation and bonding method may differ.
The setting mortar must suit both the stone and the backing. Installers apply it according to the selected system, including the required coverage on the back of each stone. A thin smear over dusty or unsuitable surfaces can leave weak areas in the bond.
Protect the work from weather
Estero's sun and heat can dry mortar too quickly. Rain can also disrupt fresh work, while wet or contaminated surfaces can affect adhesion.
The installation plan should account for shade, surface preparation, curing, and protection from forecast rain. These steps matter even on a small accent wall. Once the veneer covers the backing, gaps in mortar coverage aren't easy for a homeowner to see.
Plan Joints, Corners, and Wall Movement
A stone exterior has to accommodate the movement of the building and its different materials. Joint locations belong in the design, rather than being left to the last row of stone.
Separate movement joints from mortar joints
The visible joints between individual stones are usually filled or finished as the veneer system requires. A movement joint has a different purpose: it gives adjoining portions of the assembly room to move without forcing all that stress into the finish.
Movement in the supporting wall should be carried through the veneer where the design requires it. The joint detail may include a compatible backer and flexible sealant. Mortar shouldn't bridge a joint intended to move.
Detail inside and outside corners
Corner pieces can give thin veneer the appearance of full-depth stone, but the corner still needs proper backing, attachment, and water management. Inside corners also need a planned joint where adjoining wall planes can move differently.
Where stone meets stucco, the two finishes may have separate movement needs. Our guide to stucco control joints for new homes explains how joints divide a plaster surface. The stone transition needs its own coordinated detail as well.
Protect Windows, Roof Lines, and Cladding Transitions
Openings and changes in material interrupt the wall's layers. Those interruptions need a clear water path before the stone covers them.
Windows and doors
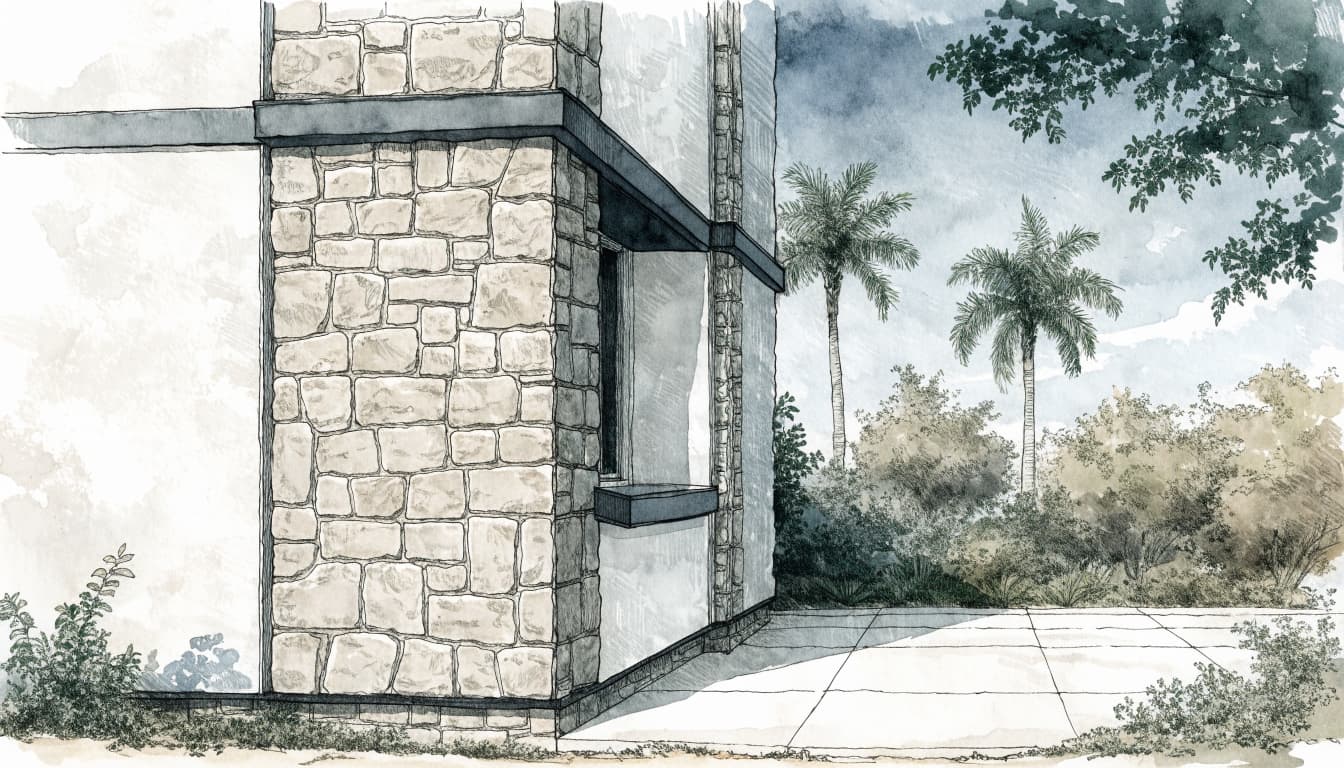
A window detail typically brings together sill, jamb, and head flashing with the surrounding barrier. At the sill, a pan directs water toward the exterior rather than into the wall.
Stone trim and sills should also shed water away from the opening. Sealant can close the intended perimeter joint, but the concealed flashing remains important if water gets past that joint.
Roof intersections and adjoining finishes
Where a roof ends against a stone wall, runoff needs to leave the roof without entering the cladding. Step flashing and a kickout detail work together at many roof-to-wall intersections. Our guide to roof-to-wall kickout flashing details explains how that connection directs runoff.
Transitions to stucco, siding, or trim need coordinated flashing and movement details too. At the base of the wall, the design must preserve the required separation from finished grade and paving while keeping drainage outlets clear.
Account for Estero's Weather and Exposure
The same stone can face different conditions on different sides of a home. An exposed elevation may receive direct afternoon sun and wind-driven rain, while a covered lanai stays shaded but experiences humidity and pool-area moisture.
Wind design also affects attachment. Building height, location, surrounding exposure, and the position of the veneer on the wall all matter. The wall assembly needs to address those conditions as a system, including the substrate and its connections.
After construction, a ground-level walk-around can reveal staining, open sealant joints, damaged mortar, or drainage outlets blocked by mulch. Following a major storm, look for loose pieces or changes around openings. Avoid pressure washing or chemical cleaners unless the stone manufacturer permits them, and don't attempt to pull loose stone off an elevated wall yourself.
Questions to Ask Your Builder or Installer
A useful discussion starts before the exterior finish is ordered. Ask which stone product is specified and whether it will be adhered or mechanically anchored. Then ask what backing supports it on each part of the home.
For a framed wall, ask how the water-resistive barrier connects to the window flashing and where water behind the veneer will exit. If the home combines masonry and framing, ask how the assembly changes at that transition.
It's also reasonable to ask how the lath and fasteners suit the site's wind and coastal exposure. At windows, roof intersections, and changes to stucco, request a description of the flashing and movement joints before those details are covered.
Finally, ask what protection the mortar needs during hot or rainy weather and how the finished stone should be maintained. Those answers help you understand the work that remains hidden after installation.
Build the Details Into the Plan
Stone veneer attachment depends on the complete wall, not the appearance of the stone alone. The substrate carries the load, while the barrier, flashing, and drainage details manage water that reaches the assembly.
For an Estero custom home, resolve those connections before the veneer goes up. A clear plan gives your builder and installer a shared way to protect the wall behind the finish .