Pool Valve Leaks After Equipment Replacement
Explore Our Services
Contact Us Today!
(239) 322-9295
Pool valve leaks that appear after a pump, filter, or other equipment is replaced need a closer look at the equipment pad. The location of the water and the timing of the leak can help a pool professional narrow the problem, but timing alone doesn't establish the cause .
For Bonita Springs homeowners, the first step is to observe the system safely. A few details about where water appears and when it collects can help focus the inspection.
Start With the Equipment Pad
Your pool's circulation system draws water through suction lines, usually connected to the skimmer and main drains. The pump then pushes water through the filter and back to the pool through return lines. A spa, heater, cleaner, or water feature may add equipment or branches to that route.
Valves direct water through different parts of the system. Unions are connections that allow equipment to be removed for service. Both may sit close to the pump, filter, or other components, so water on the pad doesn't automatically identify the leaking part.
After equipment replacement, note which components were included in the work. Keep any paperwork that describes the equipment and connections involved. That information gives a technician a starting point, especially if the leak appears only when a particular feature operates.
A pool can continue to circulate while water escapes at the equipment pad. Normal-looking flow is useful to note, but it doesn't rule out a leak.
How to Locate Pool Valve Leaks
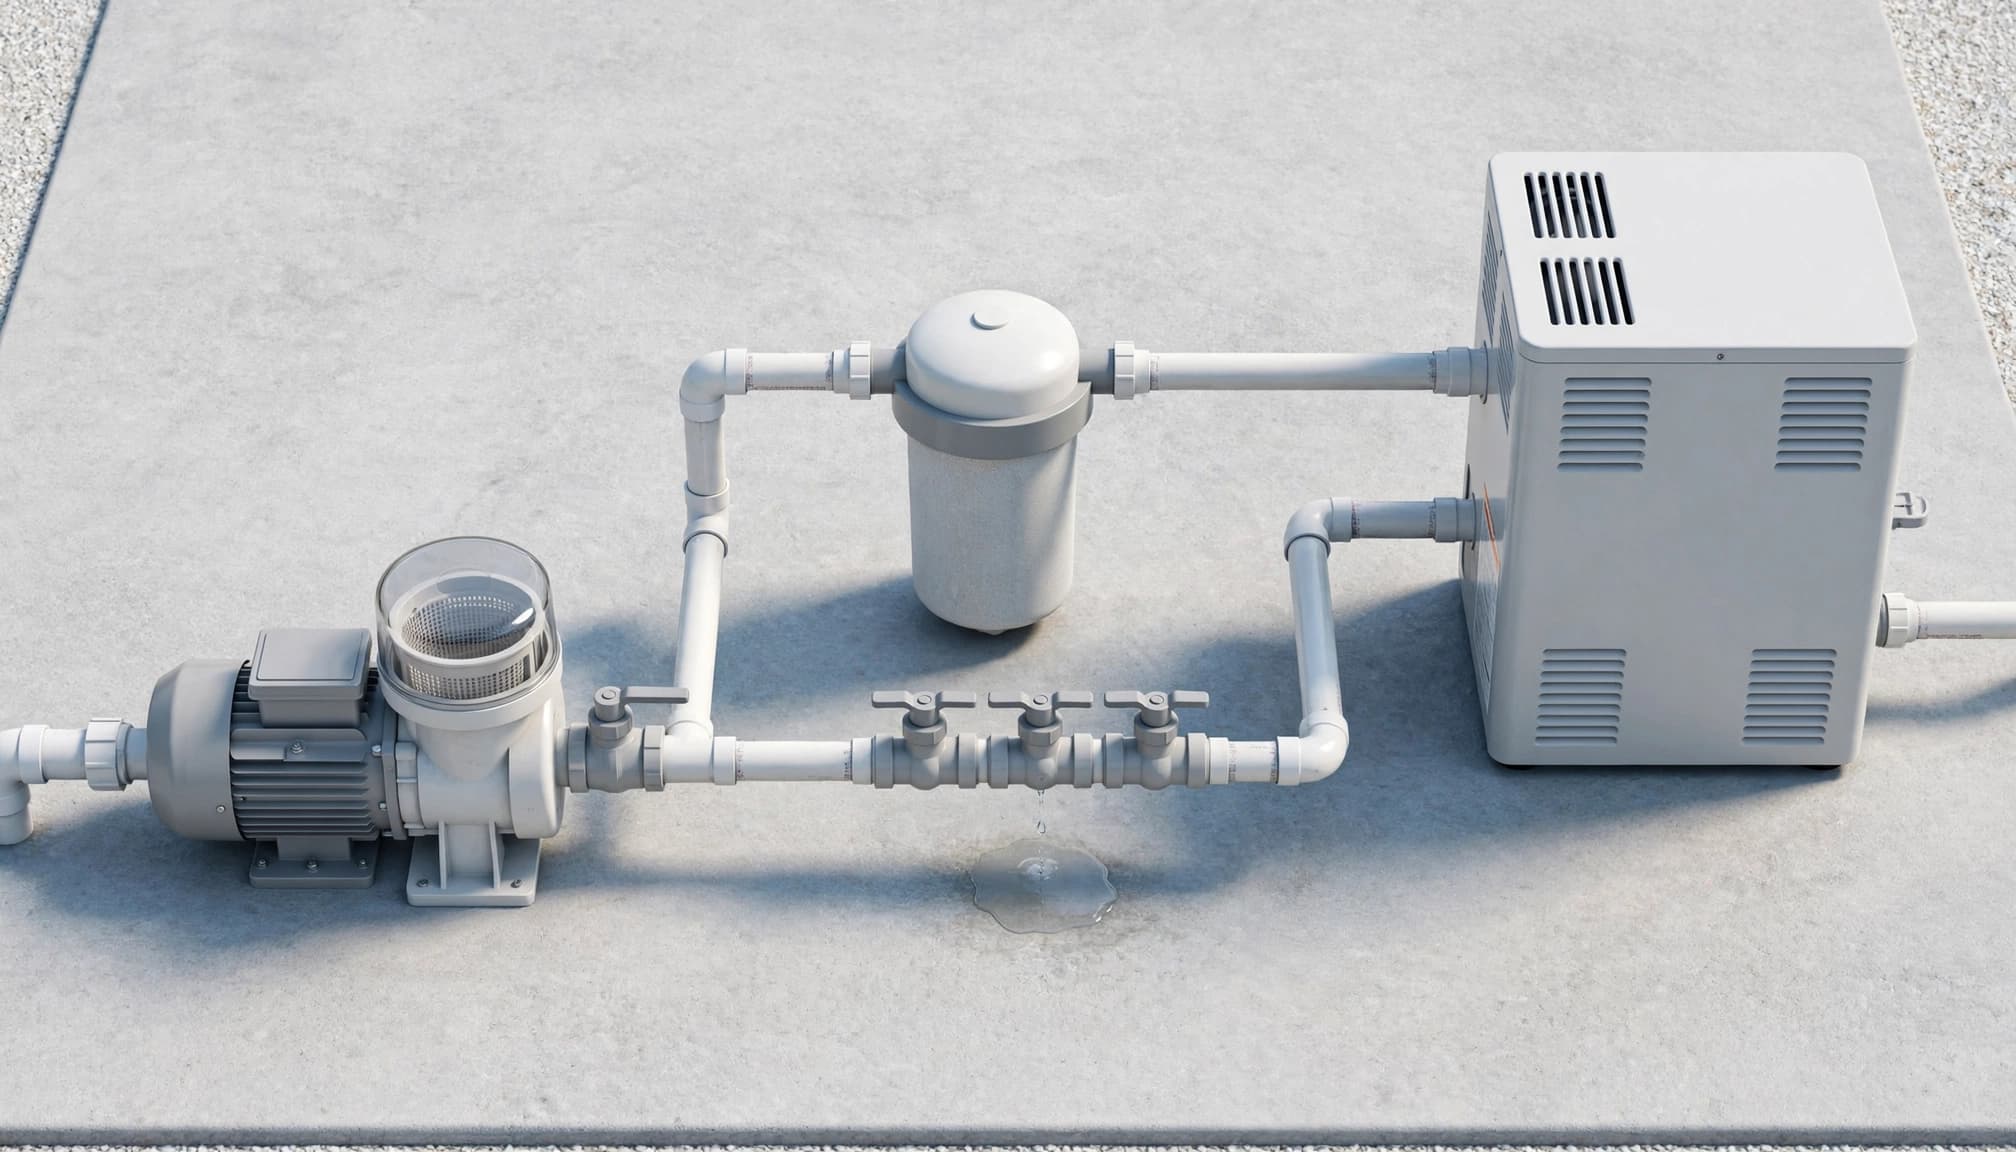
Start by looking for the highest point where fresh water appears . Water can travel along a pipe or down the side of a valve before it reaches the ground. A puddle directly underneath a valve may have started at a connection above or beside it.
Look at the valve and nearby connections
From a safe distance, observe the valve body, the area around its handle, its cover, and the connections on either side. Also look at the pump, filter, and other nearby equipment. Try to identify whether a droplet forms at one point or whether the area is already wet before you can see its path.
A dry, sunny period can make a small drip easier to distinguish from rain or irrigation. If the area is safely accessible and away from electrical equipment, you can use a dry cloth to blot exterior surfaces and watch for fresh moisture. Don't reach behind equipment or wipe near wiring and controls.
Note what you can see
Take a clear photo or short video of the first visible drip. Include a wider view showing the valve's position relative to the pump or filter. If the water appears only intermittently, record the time and which equipment was operating.
These observations give the technician useful starting points. They don't establish what's happening inside a valve or beneath the deck.
Compare the Leak With the Pump On and Off
The pump schedule can provide useful context. Observe the equipment during its normal operation, then note what happens after the pump stops on its regular schedule. Don't restart a system that has lost prime or is making unusual noises just to repeat the observation.
Water visible during circulation
A drip that appears while the pump runs may be easier to locate because you can watch fresh water form. Record whether it continues throughout the cycle or appears when a heater, spa, or water feature is operating.
Water loss that increases during circulation may point toward equipment or return-side plumbing. It's a clue for further inspection, not proof that a particular valve or buried line is leaking.
Air and flow symptoms
On the suction side, an opening may draw air into the system without producing an obvious exterior drip. Repeated bubbles at the pool returns, air collecting in the pump basket, or trouble maintaining prime can give a technician more to investigate.
A low pool water level can also allow the skimmer to draw air. Note the waterline and whether the symptoms change after the pool reaches its normal operating level. One small air pocket or a single bubble isn't enough to identify a fault.
Safe Checks You Can Make at Home
Stay with observations that don't require opening plumbing or electrical equipment. If water is reaching electrical controls, wiring, or a motor, keep away from the wet area and arrange professional service. If you can safely shut the system down using its normal controls, leave it off until it has been assessed.
Don't open a filter or loosen a union while the system is operating or under pressure. Avoid moving several valve handles to see what happens. Changing the configuration can make the original symptoms harder to reproduce and may interrupt water flow.
You can still gather useful information without taking anything apart:
- Note whether the pad is wet before the pump starts or only after it has been running.
- Record the pool water level and whether the automatic fill is adding water.
- Photograph the valve position and any fresh water at the suspected location.
- Write down whether the spa, cleaner, heater, or water feature was operating.
If the pump repeatedly loses prime, leave it off and arrange service rather than restarting it repeatedly. Running a pump without water can damage equipment. When you're unsure how to shut down or restart the system safely, leave that work to a pool professional.
Separate Equipment Leaks From Other Water Loss
A wet pad and a falling pool level deserve attention, but they don't always have the same source. Rain, irrigation, wash water, and drainage can leave moisture around equipment. Meanwhile, sun, wind, swimming, and water features can affect the pool's water level.
In Bonita Springs, rain can make short-term observations harder to interpret. An automatic fill can also mask water loss by adding water as the level drops. Keep a simple record of rainfall, pump operation, and fill activity when you notice a change.
A bucket test can help compare pool water loss with evaporation. Place a weighted container on a pool step, fill it with pool water, and mark the water levels inside the container and in the pool. After a measured period with similar conditions, compare the two changes. If the pool level falls more than the water in the container, a leak becomes more likely.
The test doesn't locate a leak or distinguish an equipment problem from a shell or plumbing issue. Our guide to pool leak detection before demolition describes how targeted inspection can narrow the search before anyone removes decking.
When a Pool Professional Should Inspect the System
Arrange an inspection when a visible drip persists, the pump repeatedly loses prime, the pool needs frequent refilling, or you can't determine where the water starts. Service is also appropriate when the wet area is close to electrical equipment or the system can't run normally.
Inspect the accessible equipment first
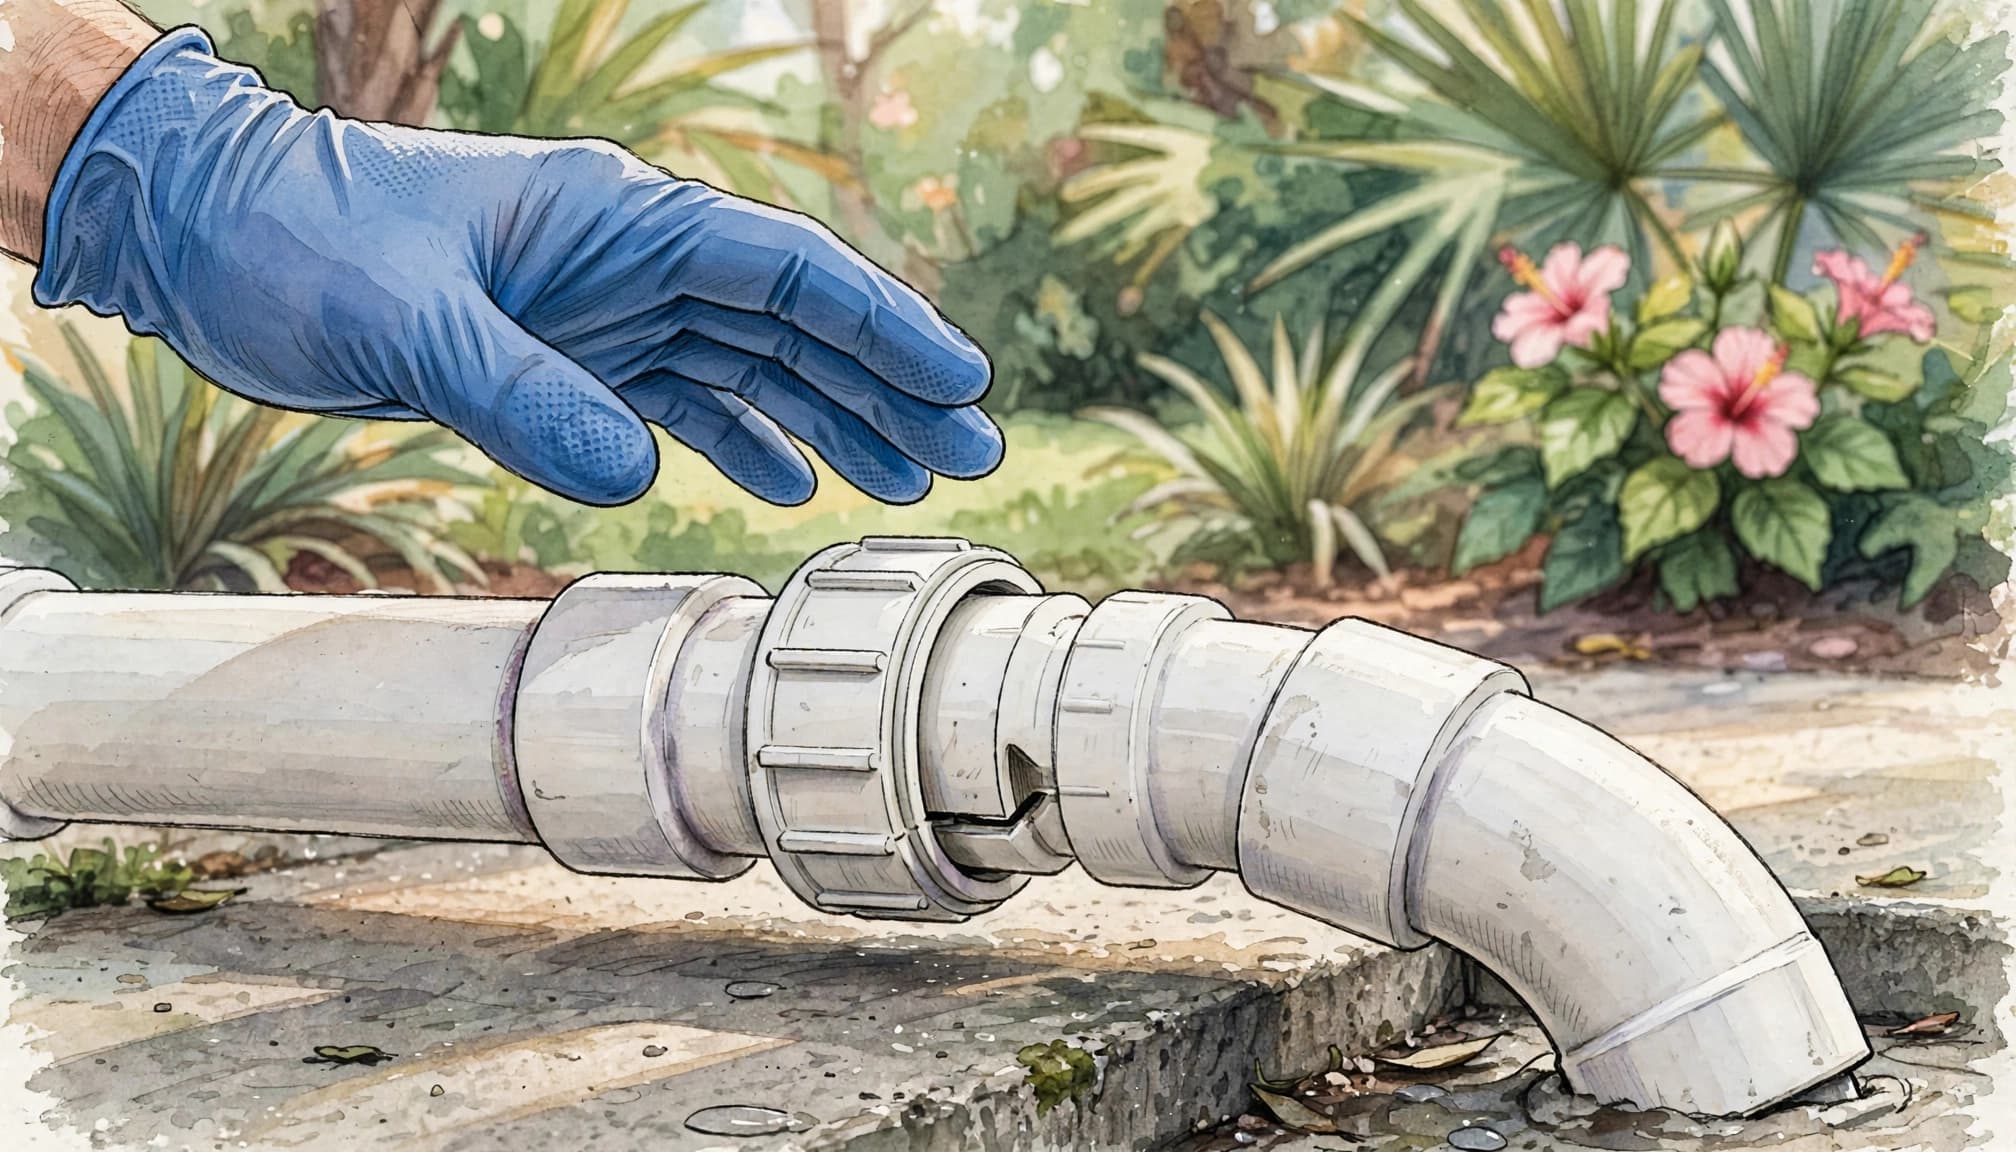
A pool professional can review the equipment pad, observe the system in operation when safe, and inspect accessible valves and connections. Your photos and notes can help reproduce an intermittent symptom.
A useful assessment separates what the technician directly observes from what remains uncertain. For example, water visibly escaping at a connection is a different finding from a suspicion that a buried line is losing water.
Test individual plumbing branches
If the visible equipment doesn't explain the loss, a technician may isolate plumbing branches with valves and plugs. Pressure testing can show whether an isolated line holds pressure. Additional locating methods may then help narrow the repair area.
That process matters because wet soil or a low water level alone doesn't identify a failed underground pipe. Testing individual branches can direct the repair toward the affected area rather than treating the entire pool as one problem.
Pressure testing is also useful during construction, before lines are covered. Our article on pool plumbing pressure testing before backfill explains how accessible lines make inspection and repair easier.
What a Valve or Plumbing Repair May Involve
The repair should follow the finding. For an accessible connection, a professional may take the assembly apart, inspect its components, and reseat the connection. Other situations may call for replacing a valve or another component, or replumbing part of the equipment pad.
The scope also depends on access. A valve surrounded by closely packed equipment can take more work to reach than one with clear space around it. Where a section needs to be removed, the technician must leave a workable connection for the equipment that remains.
After the work, the system needs an operating check. The technician can observe the repaired area during circulation and confirm that the equipment operates in the intended configuration. If the original symptom appeared only with the spa or another feature running, that operating condition belongs in the follow-up check too.
Avoid applying tape, glue, or a patch over a suspected leak before the inspection. A temporary covering can hide the path of the water and make the source harder to identify. Keep the photos and service notes with your pool records so future technicians can see what was observed and what work was completed.
Plan for Access During Future Equipment Work
Replacement is a good time to consider how the pad will be serviced later. Valves should be reachable, and unions should leave room for equipment removal. A compact arrangement may save space, but it shouldn't make routine access unnecessarily difficult.
A longer plumbing route can sometimes provide better access than the shortest possible run. Our guide to pool equipment pad plumbing layout covers practical placement considerations for valves and equipment.
Keep records of the equipment installed and photographs of the finished pad. If your pool project includes new or exposed plumbing, photos taken before lines are covered can also help document their routes. Good pool valve and fitting layout planning makes those connections easier to identify and service later.
For a larger pool renovation, discuss access along with the equipment changes. That gives the project team a chance to account for service space while the layout is being planned.
A Focused Inspection Comes First
A leak that appears after equipment replacement deserves attention, but its timing doesn't identify the source. Look for fresh water, record the operating conditions, and avoid opening pressurized equipment.
The most useful next step is a focused inspection that separates visible findings from suspected problems. A pool professional can then choose a repair that fits the condition found, whether that means working on an accessible connection or investigating another part of the system.