Fort Myers Pool Plumbing Layout: Place Each Fitting Right
Explore Our Services
Contact Us Today!
(239) 322-9295
Pool problems often start underground. Poorly placed skimmers, returns, or drains can leave cloudy water, weak circulation, noisy equipment, and difficult repairs.
An effective pool plumbing layout matches the pool's shape, water features, equipment, and site conditions. Fort Myers homeowners also need a design that fits current Florida requirements and the correct local permitting process. Start with water movement, then place each fitting around that plan.
How a Fort Myers pool plumbing layout should move water
Water should travel across the surface, circulate through the full pool depth, and return to the equipment pad without unnecessary bends or restrictions. Skimmers collect surface debris, drains support deeper circulation, and return inlets push filtered water back into the pool.
The pool's shape determines how those parts work together. A simple rectangle may need a different return pattern than an L-shaped pool with a sun shelf, tanning ledge, raised spa, or attached water feature.
Build a circulation map before trenching
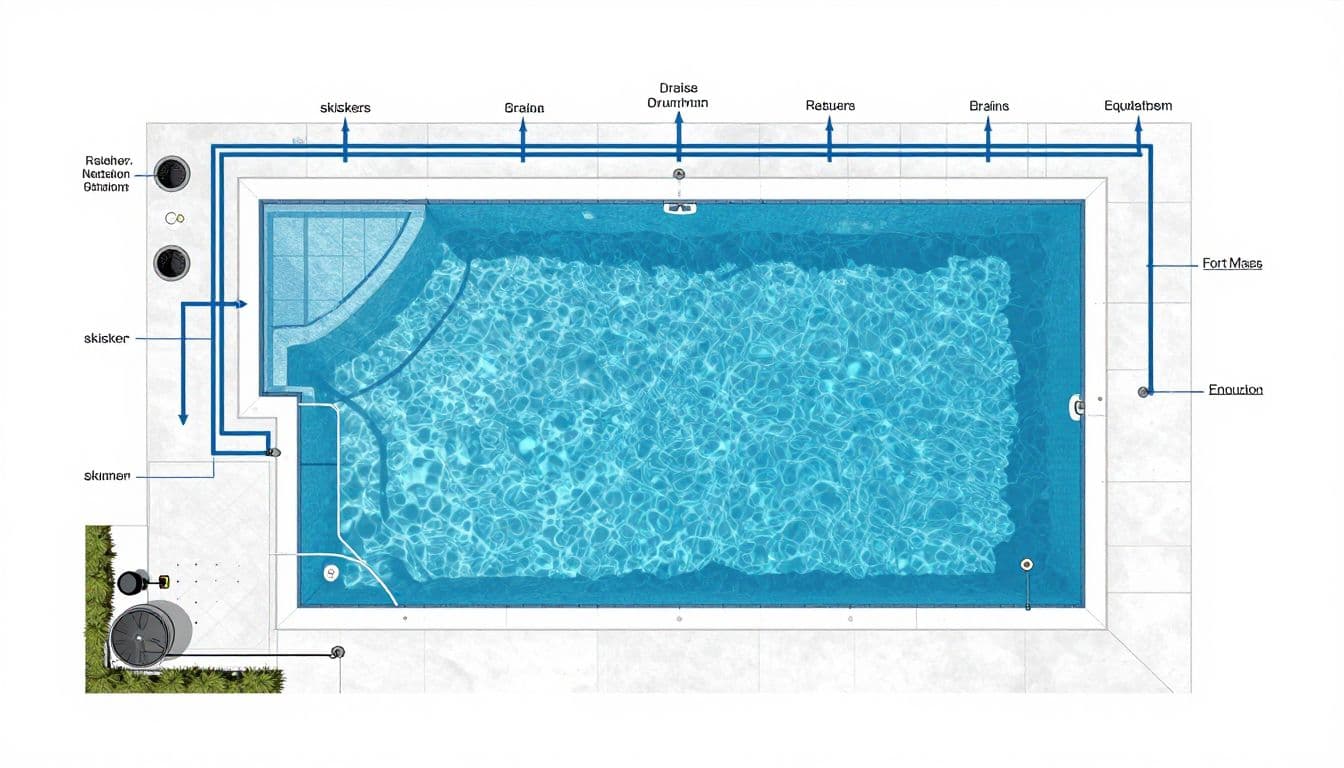
Mark the pool perimeter, waterline, steps, benches, shelves, spa spillways, and equipment pad on the plan. Then identify how water should move through each area.
Returns should create steady movement toward the skimmers instead of sending clean water directly back into a nearby suction opening. Drains should support areas where water could otherwise sit, such as deep sections, corners, and changes in floor elevation.
Eliminate dead zones
Dead zones are areas where water barely moves. They often develop behind raised walls, beside benches, in deep corners, or near steps. Debris and chemicals can collect there, even when the pump appears to be operating normally.
A balanced design uses return direction, suction locations, and pipe sizing together. A contractor should review the hydraulic plan before concrete work begins, especially when the pool includes multiple depths or attached features.
A return pattern can look balanced on paper but fail after a screened enclosure, bench, or spillover changes the water path.
Place skimmers where surface debris naturally travels
Skimmers remove leaves, pollen, insects, and floating debris before those materials sink. Their location affects cleaning performance, chemical distribution, and the amount of manual brushing required.
Use wind and backyard conditions as starting points
Wind commonly pushes floating debris toward one side of a pool. In Fort Myers, however, the final direction can change because of a house, privacy wall, screened enclosure, landscaping, or nearby structures.
Place skimmers where surface water is likely to collect after the return jets create their circulation pattern. Don't select a location based only on the pool's longest wall. The equipment plan and return flow must support the skimmer location.
Skimmer quantity also depends on pool size, shape, flow requirements, and the equipment selected. There is no single spacing rule that works for every residential pool.
Keep skimmers accessible
A skimmer lid should remain reachable after the deck, pavers, landscaping, and enclosure are installed. The basket needs regular cleaning, and the lid should not sit where furniture or planters block service access.
Skimmer throats should also sit at the correct finished waterline. A change in deck elevation or an incorrect waterline mark can affect both appearance and performance. Before the shell and deck are finished, confirm the skimmer position against the final grading and pool elevation plan.
When a pool has more than one skimmer, the plumbing should allow the system to draw from them in a controlled way. Accessible valves make it easier to balance flow and isolate one line during service.
Design main drains around safety and full-depth circulation
Main drains pull water from the pool floor and help move water through deeper areas. They are part of the circulation system, not a substitute for well-placed returns and skimmers.
Treat every suction line as a safety concern
A suction outlet can create an entrapment hazard when a drain cover is damaged, missing, blocked, or improperly matched to the system flow. The drain body, cover, sump, pipe, pump, and safety devices must work as one approved assembly.
Avoid treating a single floor drain as a default answer. The correct drain arrangement depends on the pool design, outlet type, hydraulic calculation, equipment, and current requirements. Many projects use a balanced suction arrangement, but the exact count and spacing aren't universal.
Keep drain covers visible, secure, and rated for the intended application. Never install a replacement cover based only on appearance. The replacement must match the drain body and approved flow characteristics.
Check the applicable Florida requirements
Florida Statutes section 514.0315 addresses entrapment protection for public swimming pools and spas. It requires an anti-entrapment system or device that complies with the applicable ASME/ANSI standard or its successor.
The statute also lists safety approaches for certain existing public pools, including safety vacuum release systems, suction-limiting vents, gravity drainage with a collector tank, automatic pump shutoff, and systems that disable the drain. Licensed pool contractors must install regulated entrapment features covered by that statute.
A private residential pool follows its own applicable code and permit review path, so don't copy a public-pool detail or an old plan without professional review. A licensed pool professional should confirm the drain covers, suction protection, and pipe arrangement before installation.
Aim returns to move water across the whole pool
Return inlets send filtered water back into the pool. Their placement affects surface debris, sanitizer distribution, temperature consistency, and the circulation of deep sections.
Direct flow toward the skimmers
Return inlets should create a controlled pattern that moves surface water toward the skimmers. That may involve directing some returns around the perimeter while others support the pool floor or deeper section.
Avoid aiming every return at one wall or placing all of them near the equipment side. That can create a short circulation path, where water returns to the skimmer before it reaches the rest of the pool.
The correct angle depends on the pool's geometry and the return fitting. A professional may adjust the direction after observing water movement during startup. Features such as bubblers, laminars, spillways, and attached spas need separate flow calculations because they can change circulation.
Balance each return branch
A return system should deliver useful flow to each part of the pool without starving distant fittings. Pipe length, bends, elevation changes, valves, and fitting types all affect resistance.
Use a clear manifold or branch arrangement when the design requires several return zones. Valves should remain accessible so a contractor can balance flow, shut down a feature, or service equipment without draining the entire pool.
The same principle applies to cleaner lines and water features. If those systems share plumbing without proper planning, normal filtration may become weak whenever a feature operates.
Plan the equipment pad before trenching
The equipment pad controls how easily the entire pool system can be operated and repaired. A neat-looking installation can still create problems if valves are buried, pipes cross service areas, or equipment sits too close together.
Keep valves, unions, and drains reachable
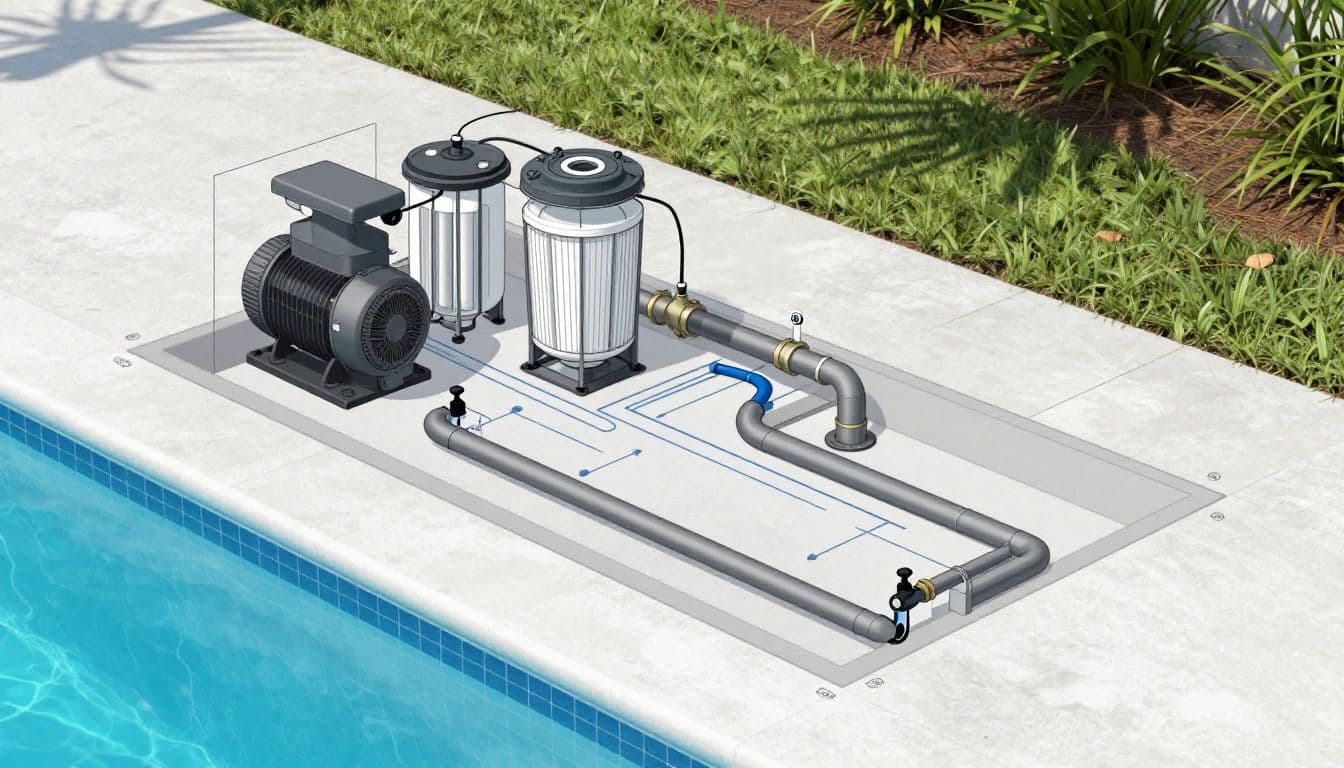
The equipment plan should show the pump, filter, heater, sanitation equipment, automation controls, suction manifold, return manifold, and isolation valves. The final order varies by system, but the flow path should remain easy to understand.
Provide enough space to remove pump lids, replace filter cartridges, open filter tanks, service heaters, and access electrical connections. Don't place a fence, wall, air-conditioning unit, or future landscaping where it blocks maintenance.
Use unions where equipment may need removal. Label valves in a durable way, and keep them above finished grade when possible. Flood exposure, drainage, and the lot's elevation can affect the pad location, so review those conditions during site planning.
Pressure-test before covering the pipes
Pressure testing must happen before trenches, soil, decks, or concrete hide the plumbing. The installer should test suction lines, return lines, feature lines, and other pool piping according to the approved plans and applicable requirements.
The current City of Fort Myers pool pressure-test affidavit references Florida Building Code 2023, Eighth Edition, section 454.2.12.1. The form calls for all pool piping to hold at least 35 PSI for 15 minutes and excludes circulating pumps from that testing requirement.
Use the current form for a City of Fort Myers project, and confirm the testing procedure for properties under another jurisdiction. A failed test should be corrected and documented before the work moves forward.
Verify permits and layout details before concrete
The right pool plumbing layout must match the approved site plan. A change in the pool shell, equipment pad, deck, drainage, or enclosure can affect the permit drawings and inspection sequence.
Confirm the correct reviewing jurisdiction
A property inside the City of Fort Myers follows the city's Community Development and permitting process. A property in unincorporated Lee County follows county guidance. Nearby municipalities, including Fort Myers Beach, can use separate forms and procedures.
The City of Fort Myers publishes a pool, spa, and fountain checklist along with a pool pressure-test certification form. Lee County publishes a residential and commercial pool application and permitting guide. Check the current documents before submitting plans because requirements and forms can change.
For site planning, review the Fort Myers pool setback requirements before fixing the pool and equipment locations. If the pool is part of a new house, the Fort Myers new home permit checklist can help coordinate site and construction documents.
Florida Department of Health operating permits apply to public pools. The department requires the operating-permit application before a building department can issue a construction or modification permit for a public pool. That process is different from a private residential pool.
Use a pre-pour verification checklist
Before the pool shell, deck, or backfill covers the plumbing, confirm that:
- Every skimmer matches the finished waterline and remains accessible.
- Return locations and directions match the approved circulation plan.
- Drain covers are approved for the drain bodies and system flow.
- Suction and return lines have clear labels or identification.
- Valves, unions, cleanouts, and equipment connections remain serviceable.
- Pipe penetrations are protected and properly supported.
- Pressure-test results are recorded on the correct local form.
- The plumbing plan agrees with the pool, electrical, structural, and site drawings.
Take clear photographs before covering the lines. Record pipe routes, valve locations, and connection points for future repairs. A simple photo record can prevent unnecessary deck or landscaping removal years later.
Conclusion
A reliable Fort Myers pool plumbing layout starts with circulation, not with isolated fitting locations. Skimmers should collect surface debris, returns should move water through every zone, and drains should support deep circulation with approved suction safety protection.
Because pool shape, equipment, site conditions, and local review requirements vary, fixed dimensions shouldn't replace a designed plan. Have a licensed pool professional coordinate the layout, pressure testing, permits, inspections, and final code verification before the plumbing disappears under concrete.