Bonita Springs Stucco Control Joints for New Home Exteriors
Explore Our Services
Contact Us Today!
(239) 322-9295
A smooth stucco wall can still move, shrink, and develop shrinkage stress as the cement-based finish cures under Southwest Florida sun. These joints give that movement a planned path, so a home is less likely to develop long, random cracks across its exterior.
For homeowners, joints can look like an unwanted interruption in a clean facade. When planned with the architecture, however, they become subtle lines that protect the finish and often improve the wall's visual proportions.
The best time for pre-plaster coordination is during exterior design and lath planning, before the first cement plaster coat goes on.
Key Takeaways
- Stucco control joints divide large plaster fields, helping manage curing-related shrinkage and limiting where random cracks may appear.
- Control joints and expansion joints serve different purposes; building separations must continue through the stucco system rather than being bridged by a standard plaster joint.
- Joint layouts should be coordinated with elevations, windows, doors, bands, wall-plane changes, and approved panel-size guidance before lath and plaster installation.
- Wire lath must stop at each control joint, while weather-resistive barriers, flashing, weep screeds, and drainage details remain continuous behind the stucco system.
- In Bonita Springs, material selection and installation should account for humidity, heavy rain, wind-driven water, and coastal exposure.
Why Stucco Control Joints Matter in Bonita Springs.
Cement stucco contains Portland cement, sand, water, and other approved ingredients. During curing, it shrinks. Temperature changes, sunlight, framing movement, and moisture variation can also stress the finish over time.
A control joint creates a deliberate break in a large plaster field. It divides the wall into smaller panels instead of letting stress choose its own path. This can help manage cracking, but it can't promise a completely crack-free exterior.
Shrinkage cracks and building movement are different
Fine hairline cracking can occur in cement-based finishes, even on well-built homes. Planned joints help limit where shrinkage-related cracks appear and can make future repairs less noticeable.
However, wide cracks, displaced wall sections, recurring leaks, or cracks through block, framing, and interior finishes deserve a closer look. These conditions may involve building movement, moisture intrusion, or another issue beyond stucco shrinkage.
A planned joint manages movement in the stucco finish. It doesn't correct an unstable substrate, failed flashing, or water entering behind the wall.
Wire lath must stop at the joint
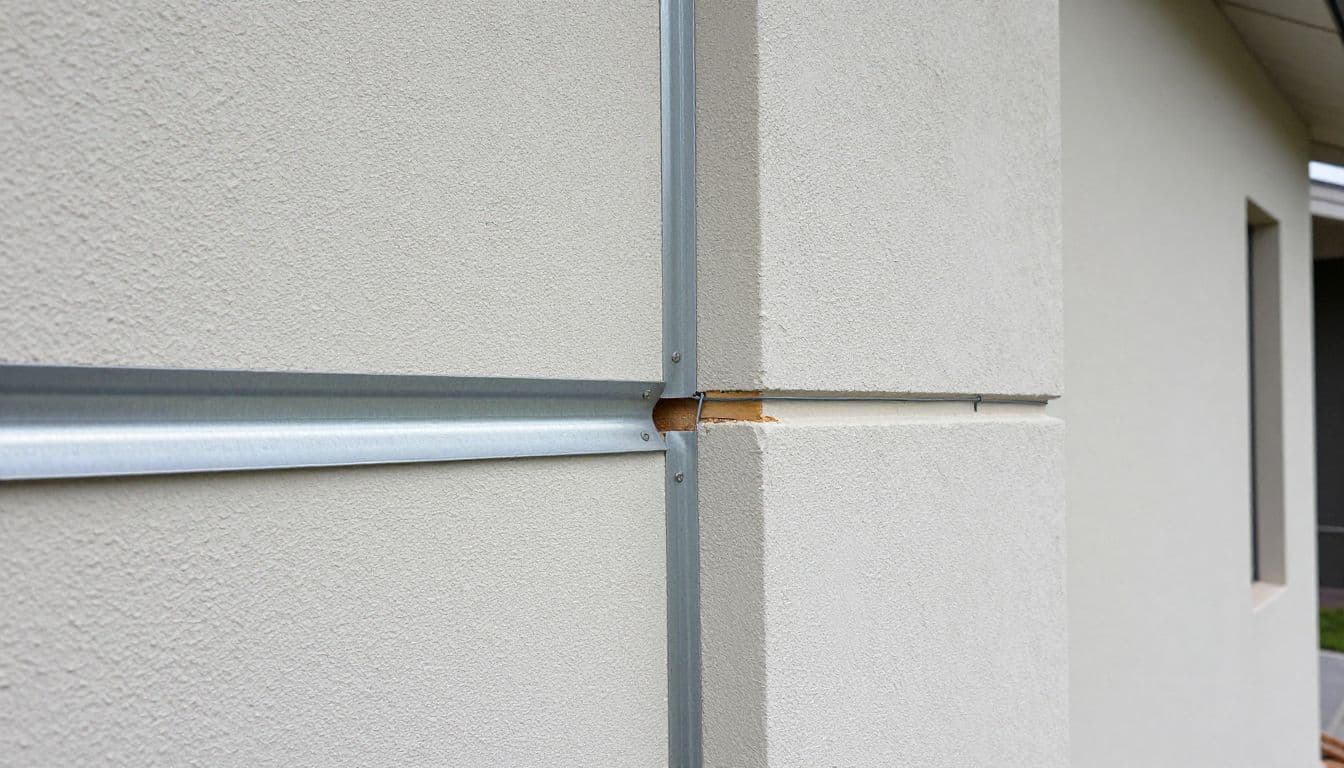
At a control joint, wire lath must be cut and terminated on both sides. Continuous lath can bridge the break and transfer stress across it.
The metal channel alone can't perform as intended when the reinforcing lath bridges the break. Installers should fasten the reinforcing lath properly on both sides and integrate the accessory into the plaster system according to approved details.
Control Joints and Expansion Joints Have Separate Jobs
These terms are often used interchangeably, but they address different kinds of movement. The distinction matters when new home plans shift between concrete masonry, framed features, decorative bands, lanais, and additions.
A control joint divides the plaster field
The plaster accessory divides a broad stucco surface into smaller panels. It is often formed with a channel screed, a metal channel installed within the finish system, but that accessory isn't automatically a substitute for a building-separation detail.
Its purpose is to accommodate normal shrinkage and limited movement within the stucco finish. The plaster joint's reveal also creates a crisp line that can align with architectural details.
A building separation carries movement
An expansion joint is a wider, more substantial separation that accommodates movement between building elements. Where an expansion joint occurs in the base wall, the stucco system should continue that separation rather than bridge it.
Material transitions need careful detailing where concrete masonry meets wood framing, decorative bands, lanais, or additions. Different materials can move differently as heat and moisture conditions change, so the appropriate detail depends on the approved wall-system design. The project may need an expansion joint configured as a two-piece component or another approved transition detail, rather than a standard plaster joint alone.
For homes with complex elevations, custom home construction in Southwest Florida benefits from early coordination among the designer, structural engineer, framing crew, and plaster contractor. This is good project practice when several wall systems meet.
ASTM C1063 Layout Guidance for Stucco Walls
Florida's current statewide baseline is the Florida Building Code, 8th Edition (2023), which took effect December 31, 2023. ASTM C1063 provides a reference for lath-supported cement-plaster installation.
These dimensions provide a starting point, not universal requirements. Adopted building codes, including the Florida Building Code, govern each project. Approved project documents, engineered details where applicable, product instructions, and the building official's interpretation also apply. Bonita Springs homeowners and contractors should confirm Lee County interpretations before work begins.
Common planning limits for cement plaster
The following reference values are widely used for exterior plastering with lath-supported cement stucco installations.
| Surface or layout measure | Common planning limit |
|---|---|
| Maximum wall panel area | 144 square feet |
| Maximum horizontal panel area | 100 square feet |
| Maximum distance between joints | 18 feet in either direction |
| Maximum panel shape | 2.5-to-1 length-to-width ratio |
These are planning references, not universal Florida requirements. Check the table against the current adopted code, approved plans, and selected stucco system before construction.
For example, an 8-foot by 18-foot wall panel equals 144 square feet, but a narrow 4-foot by 18-foot panel would exceed the 2.5-to-1 proportion. The layout must meet both the area and shape limits.
Start with the elevation, not the measuring tape
A joint plan should begin with the home's elevations. Window stacks, floor lines, recessed entries, garage corners, columns, and trim bands can provide logical visual reference lines.
After establishing these visual lines, the contractor can check panel dimensions. This sequence avoids an awkward grid of joints that meets a measurement but fights the home's design.
In Bonita Springs, the joint layout should appear on the architectural drawings and lath details.
Place Joints Where They Look Intentional
Control joints don't need to make a home look industrial. Well-placed recessed reveals can frame broad wall sections, create subtle shadow lines, and give a contemporary coastal exterior more order.
Align reveals with doors, windows, and changes in plane
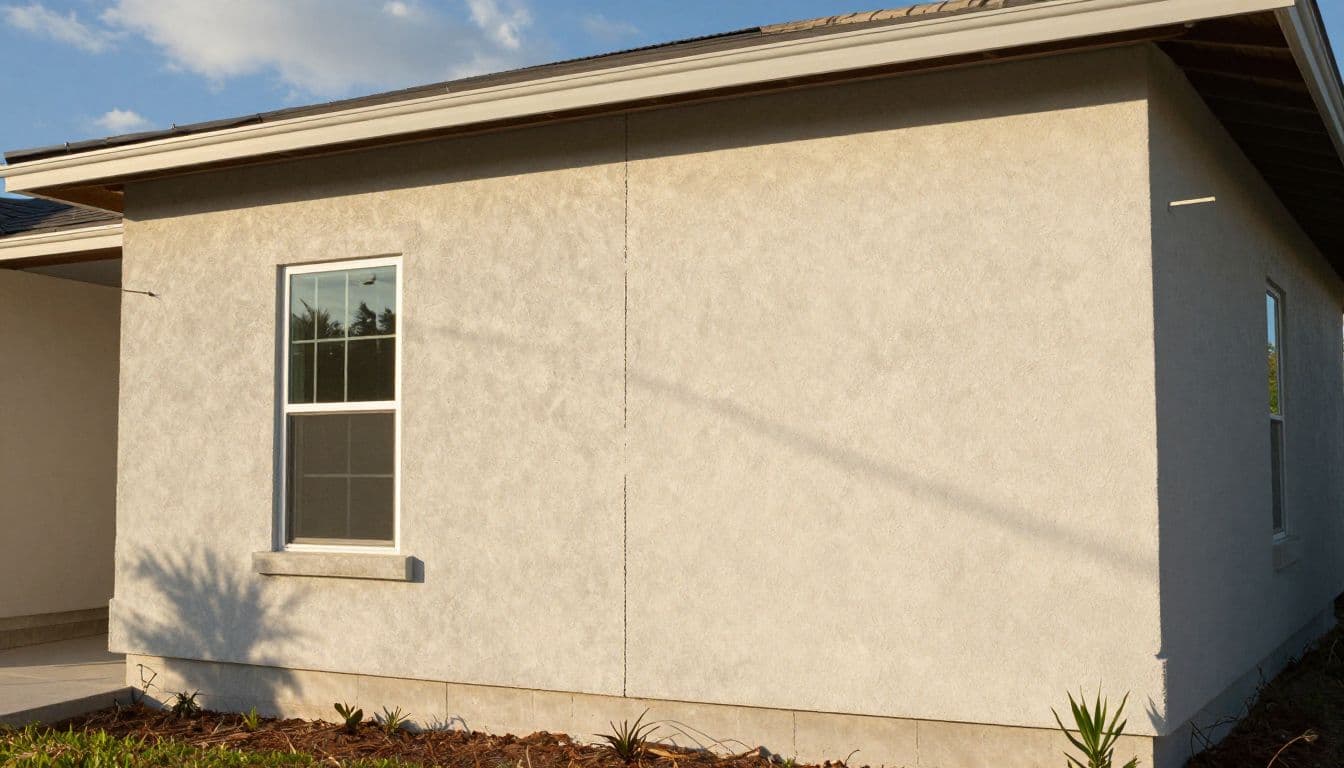
Vertical joints often work well when they align with a window edge, a door jamb, a garage opening, or the corner of a bump-out. Horizontal lines may align with a band, a floor transition, or a roof-related architectural break.
Random placement creates a patchwork appearance. Aligned joint lines look deliberate because they follow features already visible on the facade.
Avoid placing a joint where it creates a short, isolated strip of stucco beside an opening. That narrow piece can be hard to finish cleanly and may not improve panel sizing.
Choose profile dimensions for the wall assembly
Reveal screeds come in different profiles and sizes, with manufacturers such as Fry Reglet offering options for specific wall assemblies. An architectural reveal profile shouldn't be substituted for a movement joint when the wall assembly requires true separation.
For example, Fry Reglet publishes a 1/4-inch channel screed with a 3/4-inch reveal in its catalog. That example isn't a universal Florida requirement; before publication, compare current Fry Reglet profile data with the project specification. The selected reveal width affects the visible line, while reveal depth affects fit within the wall assembly. Coordinate both with planned stucco thickness, substrate, trim, and adjacent materials.
Some profiles use 6063-T5 aluminum alloy, but alloys and construction vary. A metal channel may have flanges or components; finish options include anodized aluminum, powder coat colors where available, or paint-compatible surfaces. Choose among these options based on exposure, wall thickness, corrosion considerations, and compatibility with the approved assembly.
Water Management Still Determines Exterior Performance
The joint accessory is part of the stucco finish system. It is not a drainage system, flashing detail, or substitute for a weather-resistive barrier.
Bonita Springs receives intense rain, humid conditions, salt-laden coastal air in some areas, and wind-driven water during storms. Those conditions make careful exterior detailing important, but they don't change the accessory's basic purpose.
Keep the weather-resistive barrier continuous
Weather-resistive barriers should remain continuous behind joint accessories. The detail must work with the wall's drainage plane, flashing, window integration, weep screeds, and properly located sealants.
At the base of a stucco wall, a proper weep screed gives moisture a way to exit. Around windows, doors, roof-to-wall intersections, and penetrations, flashing must direct water outward. A clean stucco finish can't make up for missing or poorly installed components behind it.
For broader planning, Southwest Florida hurricane requirements also affect roof lines, openings, drainage, and exterior design decisions.
Coastal exposure calls for disciplined material choices
Metal accessories, fasteners, sealants, and coatings should suit the home's exposure and approved specifications. Bonita Springs properties can have inland, near-coastal, or Gulf-exposed conditions, so material choices should follow the site's exposure and approved specifications.
Project documents should identify compatible materials and profile requirements. If a Fry Reglet profile is specified, confirm its material, finish, fasteners, sealants, and end conditions match the approved assembly. The installer should also seal accessory ends, intersections, and splices where required by the selected system. Those small details help prevent water from reaching places it shouldn't.
New Construction Checks Before Stucco Starts
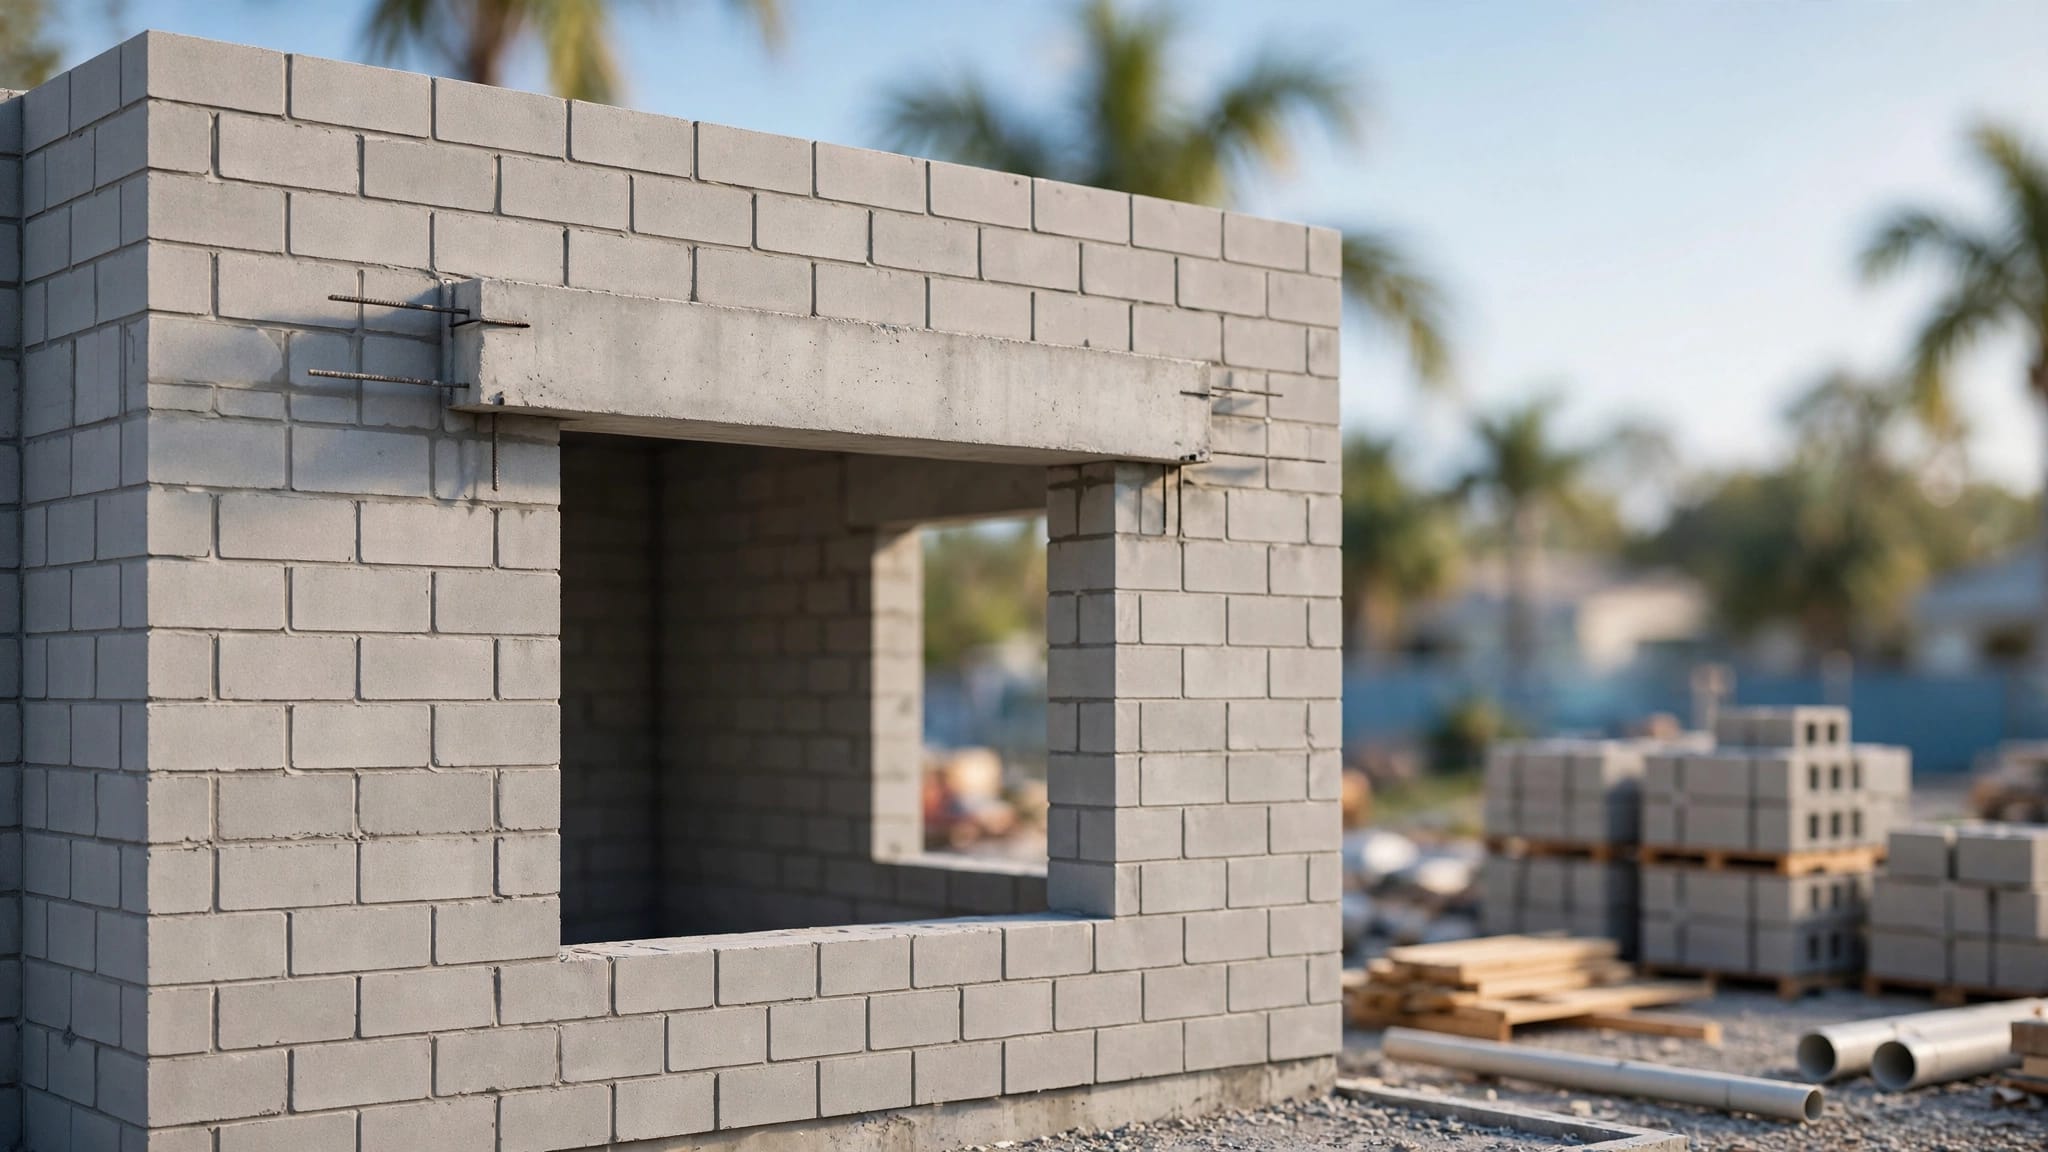
A quick walk-through before plaster begins can prevent expensive changes later. The owner, builder, and plaster contractor should review elevations together. Lath and lathing accessories should remain visible, including joint components, casing beads, and corner accessories.
Look for these practical items:
- Confirm that joint lines divide wall areas within the approved panel limits.
- Check that joint lines align with windows, doors, bands, and changes in wall plane where practical.
- Verify that lath stops at joints and does not bridge across them.
- Review flashing, weather-resistive barriers, and weep screeds before the scratch coat hides them.
- Compare accessory depth with the specified stucco thickness.
Why older homes may have fewer joints
Many 1950s stucco homes have few visible joints and may show limited cracking. The absence of visible joints does not, by itself, establish a structural necessity for retrofit work.
Older homes may have had smaller wall fields, different plaster mixes, thicker assemblies, more forgiving elevations, or simply favorable movement history. Some have also received repairs and repainting that obscure earlier cracks.
Modern construction should follow current approved requirements rather than copy an older house's exterior pattern.
Know when an existing wall needs attention
A home without visible joints does not automatically need retrofit work. Adding a control joint to finished stucco can disrupt the weather barrier. It can also create new water-management issues if the detail isn't designed carefully.
A qualified contractor should inspect walls with widening cracks, stains, soft areas, rust marks, failed sealant, or recurring moisture around openings. The right repair should address the actual cause. It may involve crack treatment, flashing correction, localized stucco replacement, or a broader wall-system assessment.
Frequently Asked Questions
What is the purpose of a stucco control joint?
A control joint creates a planned break in a large stucco surface. It helps divide the plaster into smaller panels so curing shrinkage and limited movement are less likely to produce random, visually disruptive cracks.
Are control joints and expansion joints the same thing?
No. A control joint manages movement within the stucco finish, while an expansion joint or building separation accommodates movement between different building elements. The stucco should continue the separation wherever the base wall has an expansion joint.
How far apart should stucco control joints be in Bonita Springs?
Common planning references include a maximum 144-square-foot wall panel, a maximum 100-square-foot horizontal panel, and no more than 18 feet between joints in either direction. These values must be checked against the current Florida Building Code, approved plans, engineered details, and the selected stucco system.
Should wire lath continue across a control joint?
No. Wire lath should be cut and terminated on both sides of the joint so it does not bridge the planned break and transfer stress across it. The accessory and reinforcing lath should be installed according to the approved wall-system details.
Can control joints fix leaks or major wall cracks?
No. A control joint only manages movement in the stucco finish and cannot correct failed flashing, water intrusion, an unstable substrate, or structural movement. Widening cracks, stains, soft areas, rust marks, or recurring moisture should be evaluated by a qualified contractor.
A Better Finish Starts With a Coordinated Joint Plan
Stucco control joints are modest details with a major role in a new home's exterior. They divide plaster into manageable fields and create clean reveal lines. They also reduce the likelihood that curing-related stress produces visually disruptive random cracking.
Still, joints work only as part of a complete wall assembly. Good stucco performance depends on a sound substrate, separated lath, continuous weather protection, correct flashing, drainage details, and skilled installation.
A well-drawn elevation resolves joint locations before the plaster crew starts. That keeps those choices intentional when the wall finish becomes permanent.