Cape Coral Drywall Repair After a Plumbing Leak
Explore Our Services
Contact Us Today!
(239) 322-9295
A plumbing leak can leave drywall looking worse than it is, or hide damage that extends well beyond a visible stain. For Cape Coral drywall repair, the right sequence matters: stop the leak, find where moisture traveled, dry the materials, then replace and finish the wall.
A quick patch can cover a mark without fixing damp insulation, framing, or a recurring leak. Use the steps below to decide what you can handle and when a professional moisture assessment or remediation may be needed.
Key Takeaways
- Stop the water and repair the plumbing source before working on the wall.
- Look beyond the visible stain. Moisture can spread inside wall cavities and under baseboards.
- Dry affected materials fully before installing new drywall.
- Persistent dampness, musty odors, recurring stains, or visible suspected mold call for further assessment.
- Replace damaged drywall only after the source is fixed and the affected area is dry.
Stop the leak before repairing the wall
A drywall repair won't last if water continues to enter the wall. If the leak comes from a sink, toilet, or appliance, close its shutoff valve if you can reach it safely. If the source isn't clear or the leak continues, shut off the home's water supply and arrange plumbing repair.
Find and fix the source
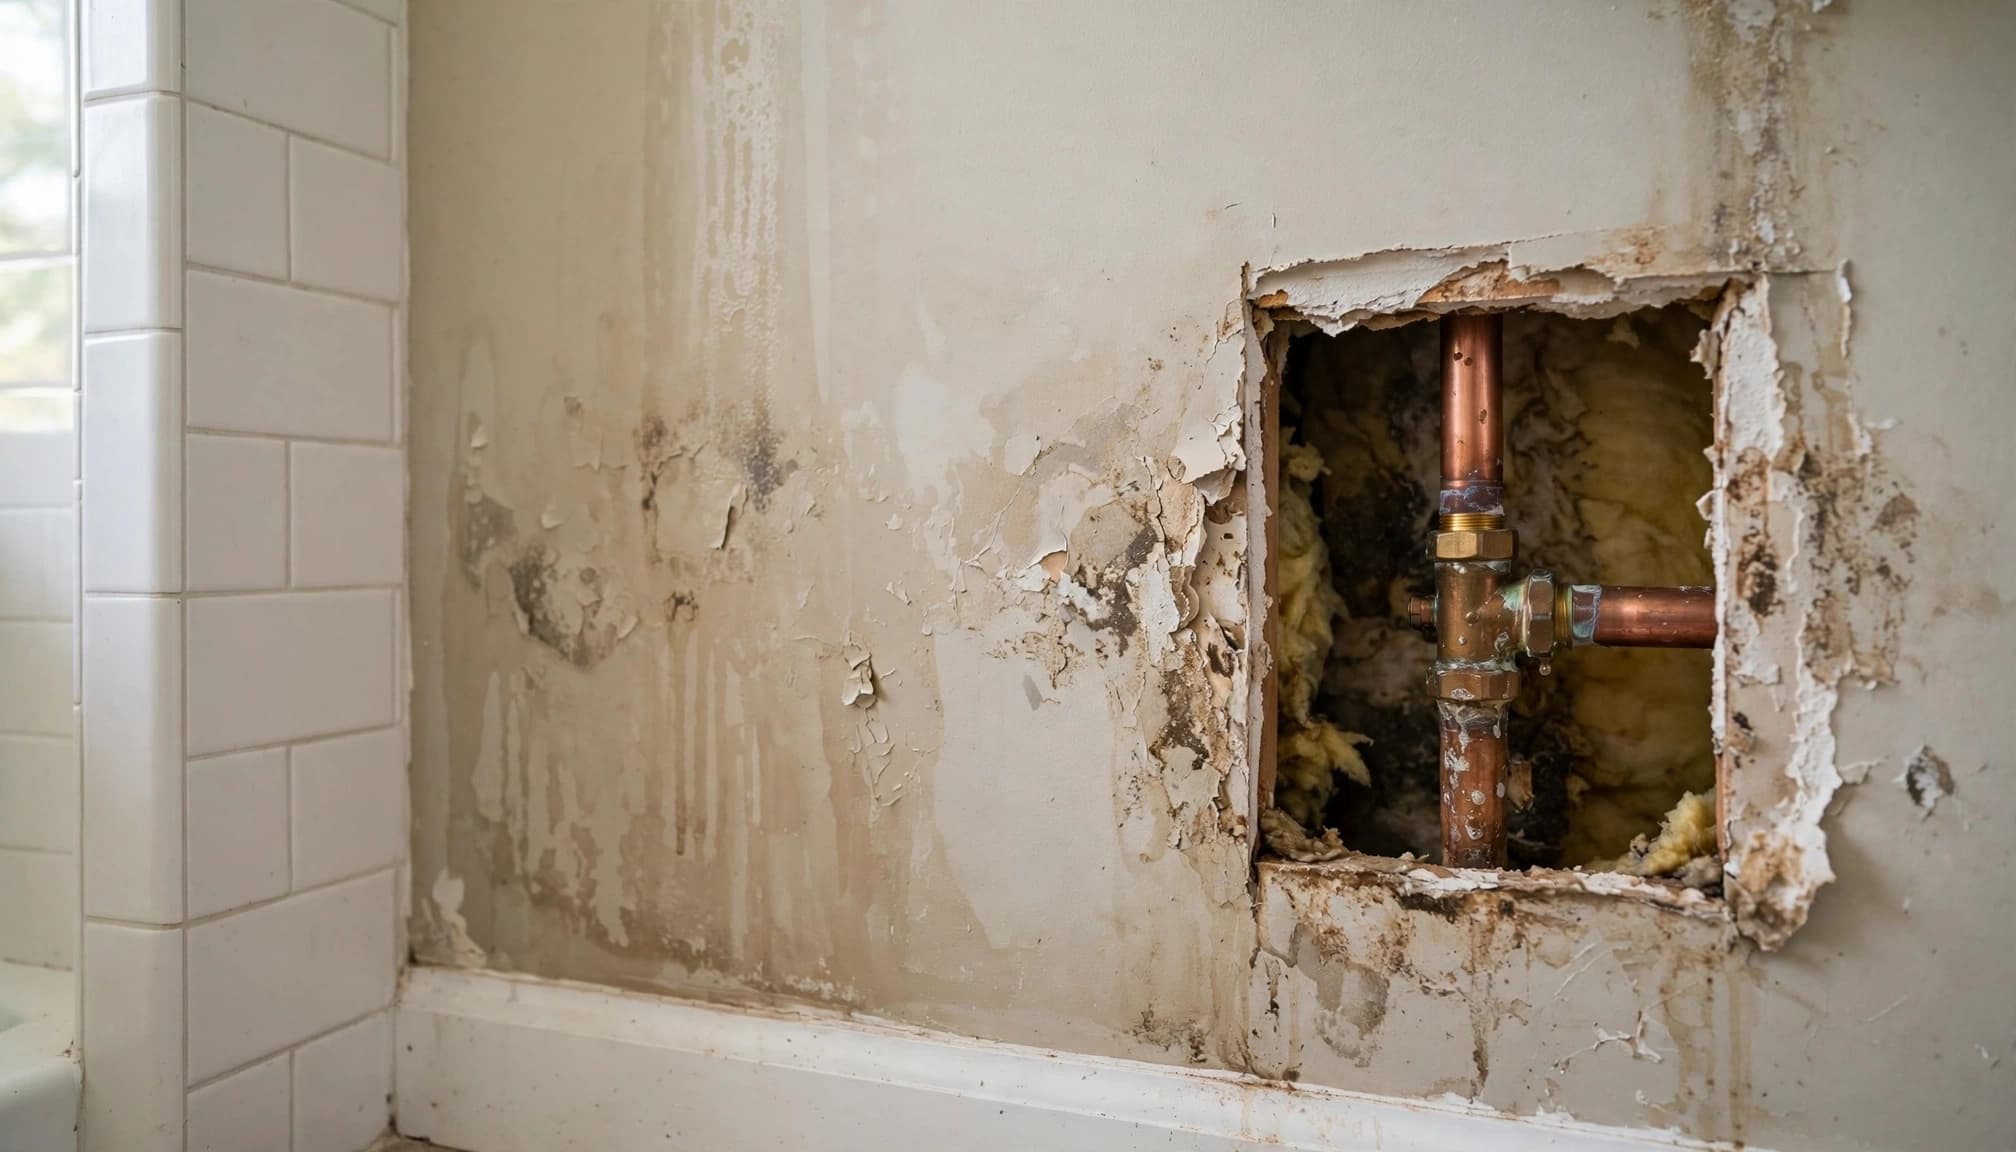
Water may travel along pipes, framing, or the back of a wall before appearing as a stain. The first damp spot you see may be below or beside the leak, rather than directly in front of it. A plumber can locate the source and repair the failed connection, supply line, drain, or fixture.
Don't rely on paint or joint compound to hide a mark while the leak remains active. Even a small, slow drip can keep materials wet and cause damage to spread.
Protect people and belongings
Move furniture, rugs, and stored items away from the affected area. If water has reached an outlet, light fixture, or electrical equipment, keep clear of the wet area and contact a qualified electrician. Don't touch wet switches or fixtures.
Photographs of the stain, damaged items, and any changes as the area dries can also help you keep a clear record of the damage.
Assess how far the moisture has traveled
Once the plumbing source is repaired, inspect the wall and nearby surfaces. A stain is one clue, but paint bubbles, soft drywall, swollen baseboards, peeling finishes, and a musty smell can point to a wider wet area. Check the floor and the opposite side of the wall as well.
Don't judge by the surface alone
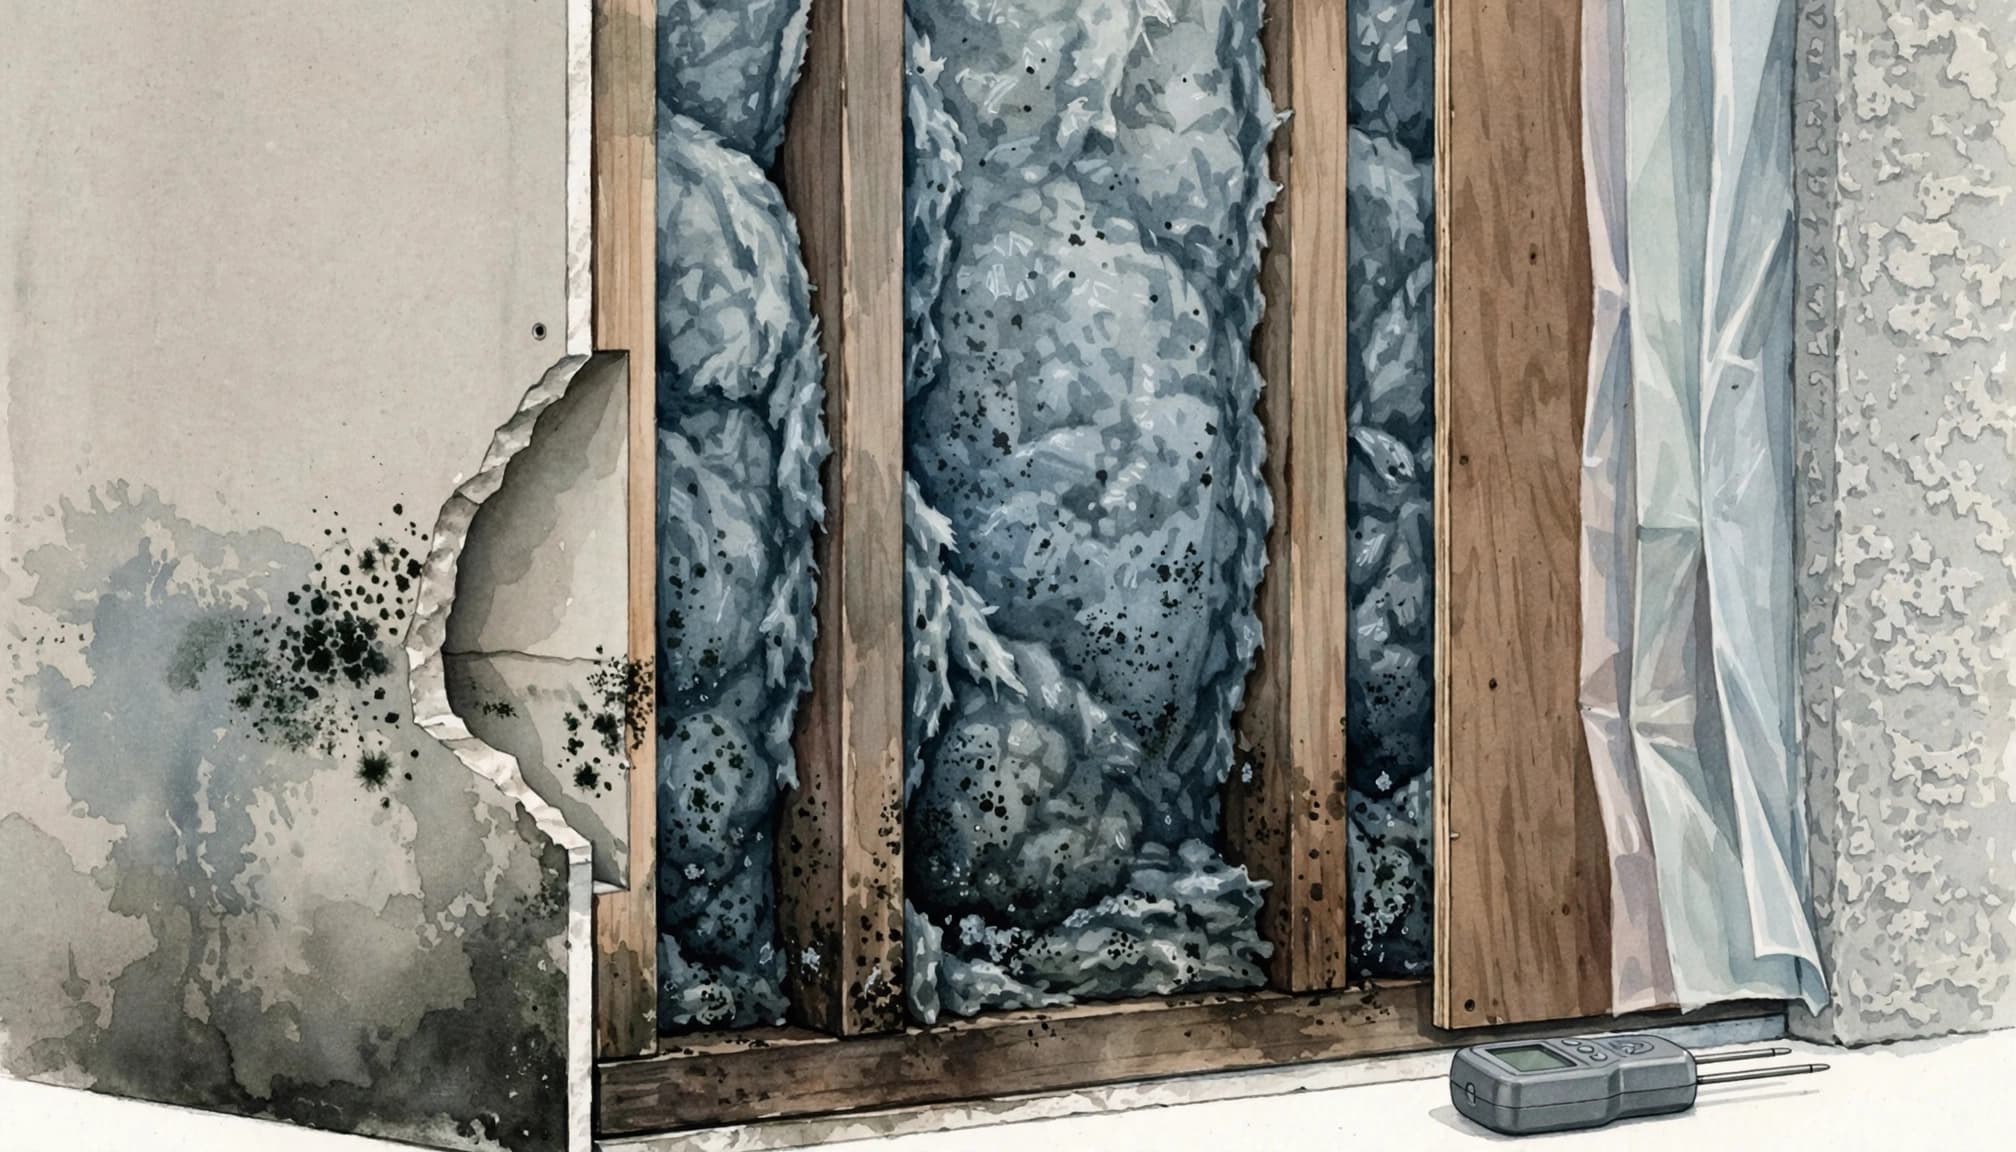
Drywall can feel dry at the face while moisture remains behind it. Water may also affect insulation, wood framing, cabinet sides, or flooring. A moisture meter can help assess building materials; an infrared tool can show temperature differences, but it can't prove mold is present by itself.
If the wet area is large, the source was active for a long time, or moisture seems to extend beyond the visible damage, a professional moisture assessment can help map the affected materials before demolition.
Watch for changes after the leak stops
A stain that grows, returns, or darkens after the plumbing repair may mean materials remain damp or the source wasn't fully resolved. Likewise, a musty odor that persists after the room appears dry deserves attention. These signs are reasons to investigate further, rather than covering the area with fresh paint.
Dry affected materials before closing the wall
Drying is a separate stage from repairing the drywall. New panels, tape, and paint can trap moisture if the wall cavity hasn't dried. In Southwest Florida, where indoor and outdoor air can be humid, drying may take longer than the surface appearance suggests.
Allow air to reach damp areas
Fans and dehumidifiers can help move air and remove moisture when used safely. Keep the affected area open to airflow, and don't direct air at electrical equipment or a suspected mold growth. If insulation is wet, compressed, or visibly damaged, it may need removal and replacement rather than drying in place.
There isn't a reliable one-size-fits-all drying time. The materials, amount of water, room conditions, and airflow all affect how long the process takes. Use moisture readings and an assessment of the affected materials, not a calendar guess, to decide when repair can begin.
Keep the wall open if moisture remains
If an access opening is needed to inspect or dry the cavity, don't rush to cover it. The exposed area lets a professional examine the framing and insulation and helps prevent damp materials from being sealed behind new drywall. When moisture remains, keep drying and assessment ahead of cosmetic work.
Check for hidden damage and possible mold
A small plumbing leak can leave a larger repair behind the wall if water has soaked into insulation or framing. Look for discoloration, soft or crumbly drywall, warped trim, peeling paint, and persistent odors. Repeated leaks, previous water damage, and poor ventilation also raise the need for a closer evaluation.
Know when to get a professional assessment
A moisture assessment is a sensible next step when water has entered a wall cavity, the wet area is hard to define, the odor persists, or stains return after the leak is fixed. A professional can evaluate moisture and identify materials that need removal or more attention.
Air sampling isn't always the first step for a localized concern. A visual inspection and moisture investigation may provide more useful information about where the problem is and what materials are affected. Testing may be considered when the extent of suspected contamination is unclear or documentation is needed.
Treat suspected mold as more than ordinary debris
Visible growth, recurring moisture, or older water-damaged materials can change how demolition should be handled. Suspected mold shouldn't be treated like routine drywall waste. Depending on the situation, work may call for containment, protective equipment, controlled disposal, and coordination with a licensed mold professional.
Before cutting into a wall with signs of possible mold, consider a mold inspection before opening walls. The assessment can help clarify the affected area and how to approach removal.
Replace drywall only after the area is dry
Once the source has been repaired and the cavity is dry, damaged drywall can be removed and replaced. The size of the opening depends on the extent of the damage and the need to reach sound material. If water affected insulation or framing, address those components before closing the wall.
Match the repair to the damage
A small, isolated area may need a limited patch. Broader damage can require a larger drywall section, especially if the surrounding panel has softened, crumbled, or lost its shape. Remove loose material and create a clean edge that can be secured to framing or appropriate backing.
If the wall contains plumbing, take care not to damage pipes or wiring during removal. When the extent of damage is uncertain, a contractor can assess what needs to come out before the opening is enlarged.
Finish the surface after replacement
New drywall needs joint tape and compound, followed by sanding, primer, and paint. Each layer should dry as directed before the next one goes on. Rushing compound or paint over damp materials can lead to poor adhesion, uneven finishes, or the return of visible damage.
For a patch in a bathroom or laundry area, restore any affected trim, caulk, or finish details as part of the repair. A neat surface matters, but it comes after the leak and hidden moisture have been addressed.
Avoid common shortcuts after a leak
Some quick fixes can make the repair harder. Painting over a water mark may conceal the evidence while leaving damp materials in place. Sealing a wall before it has dried can also hide the condition of the cavity and delay needed work.
Avoid relying on smell alone to decide whether the wall is dry. Odors can point to a moisture problem, but their absence doesn't confirm that every material behind the wall is dry. Likewise, a dry-looking surface doesn't show whether insulation or framing still holds moisture.
Keep the repair focused on the full path of the water. If the leak affected cabinets, flooring, or baseboards in addition to drywall, include those materials in the assessment. Restoring only the most visible patch may leave damaged materials in place.
FAQ about plumbing leaks and drywall repair
Can I patch drywall as soon as the plumber fixes the leak?
No. The plumbing repair stops new water from entering, but it doesn't dry the wall. Check the affected materials and allow the cavity to dry before installing replacement drywall. If water reached insulation or framing, assess those materials too.
How can I tell whether the drywall needs to be replaced?
Soft, swollen, crumbling, or badly stained drywall often needs removal. A small mark on otherwise firm material may need a different response, but the area behind the surface still matters. Persistent odor, returning stains, or suspected mold are reasons to get a closer assessment.
Does every water-damaged wall need mold testing?
No. For a localized concern, visual inspection and moisture assessment may be more useful as a first step. Testing can help when the extent of suspected growth is uncertain or documentation is needed, but a test result alone doesn't identify the moisture source.
Should I leave a wall open while it dries?
If moisture remains or the cavity needs inspection, leaving an appropriate access opening can help with airflow and assessment. Close the wall only after the affected area is dry and damaged materials have been addressed.
Restore the wall after the moisture is resolved
Cape Coral drywall repair after a plumbing leak starts with the water source, not the stain. Fix the plumbing, assess how far moisture traveled, and dry the affected materials before installing and finishing new drywall.
When the damage extends into a wall cavity, odors persist, or mold is suspected, professional assessment can guide the next steps. A careful repair restores the surface while addressing what happened behind it.