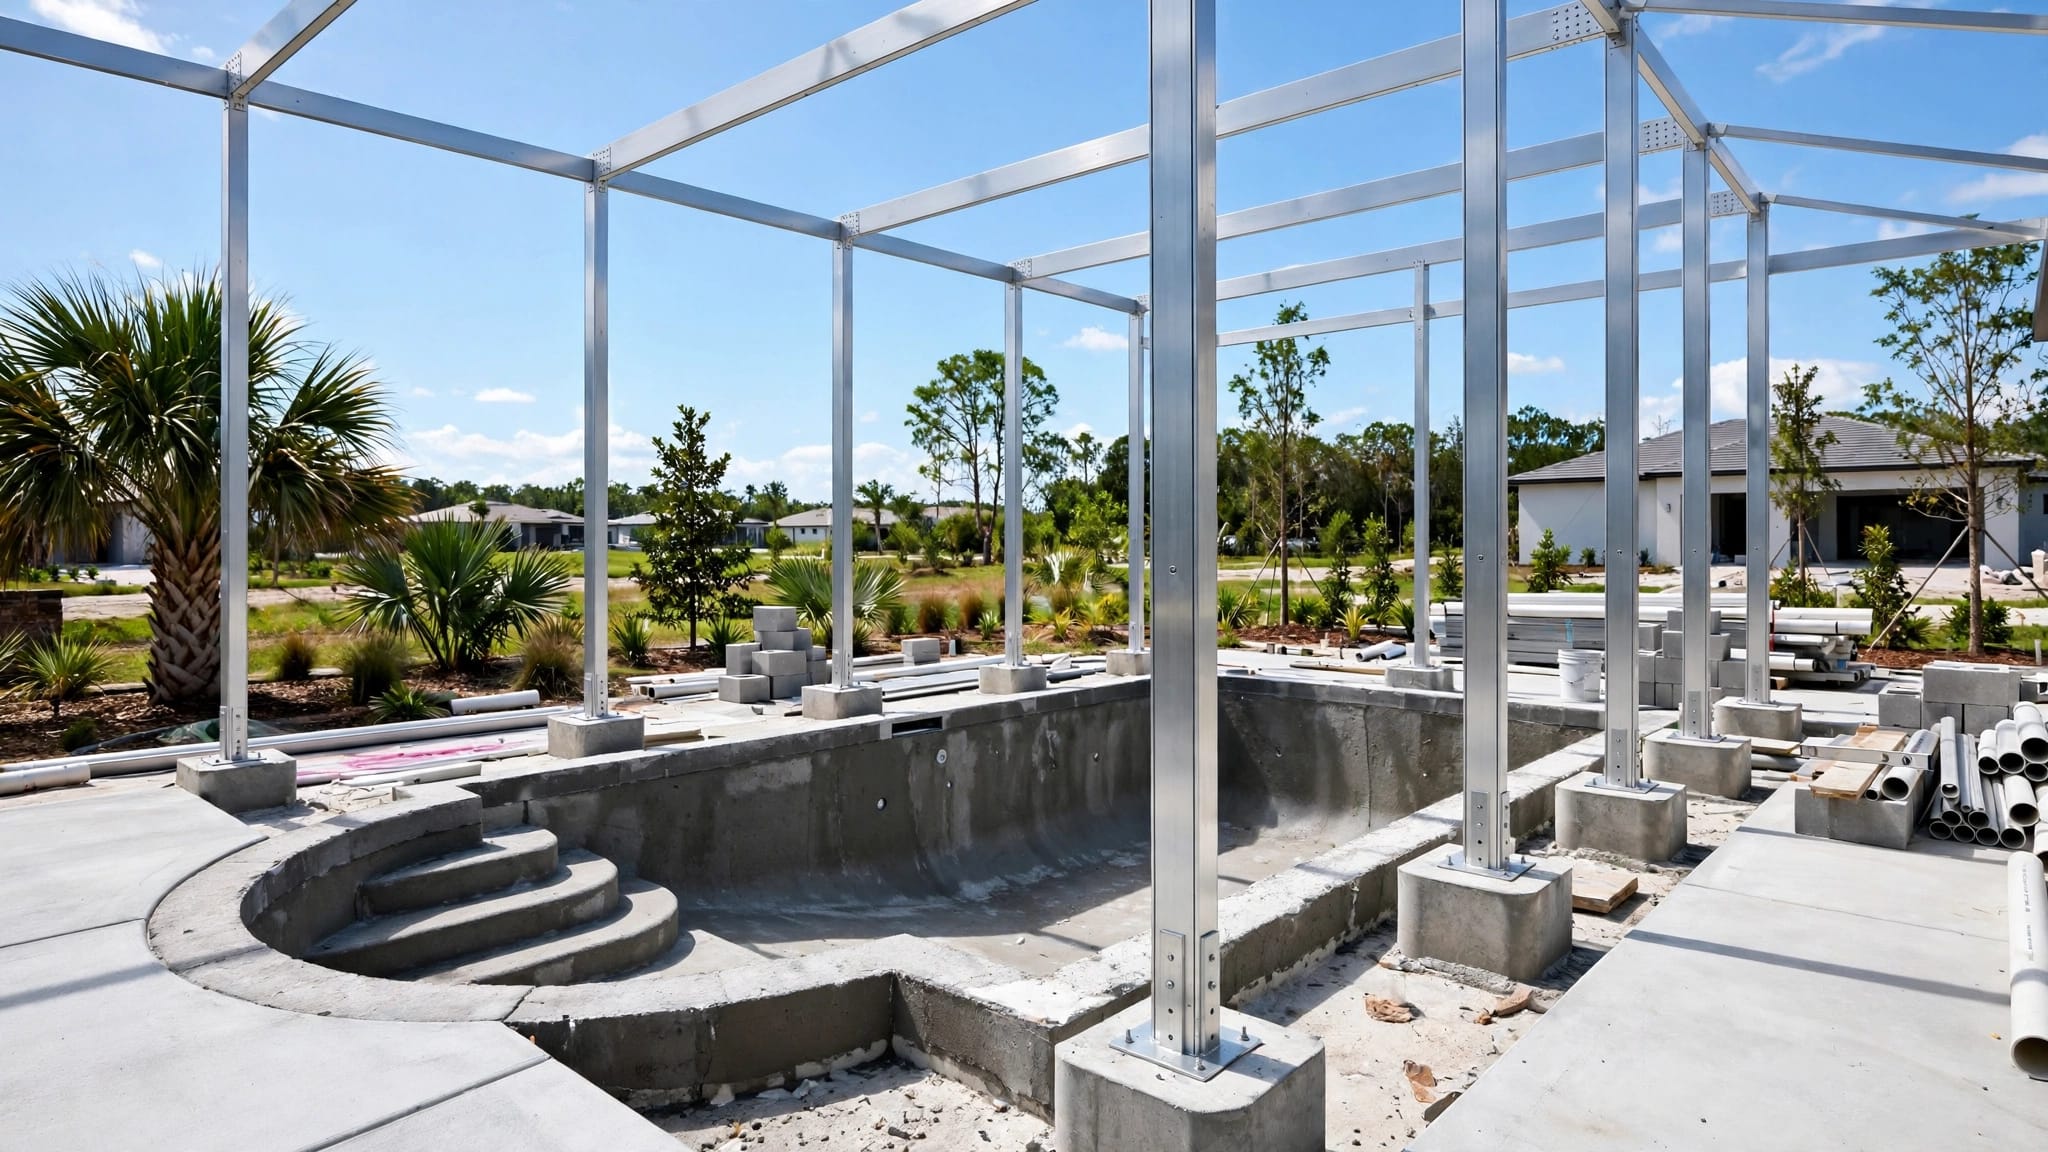
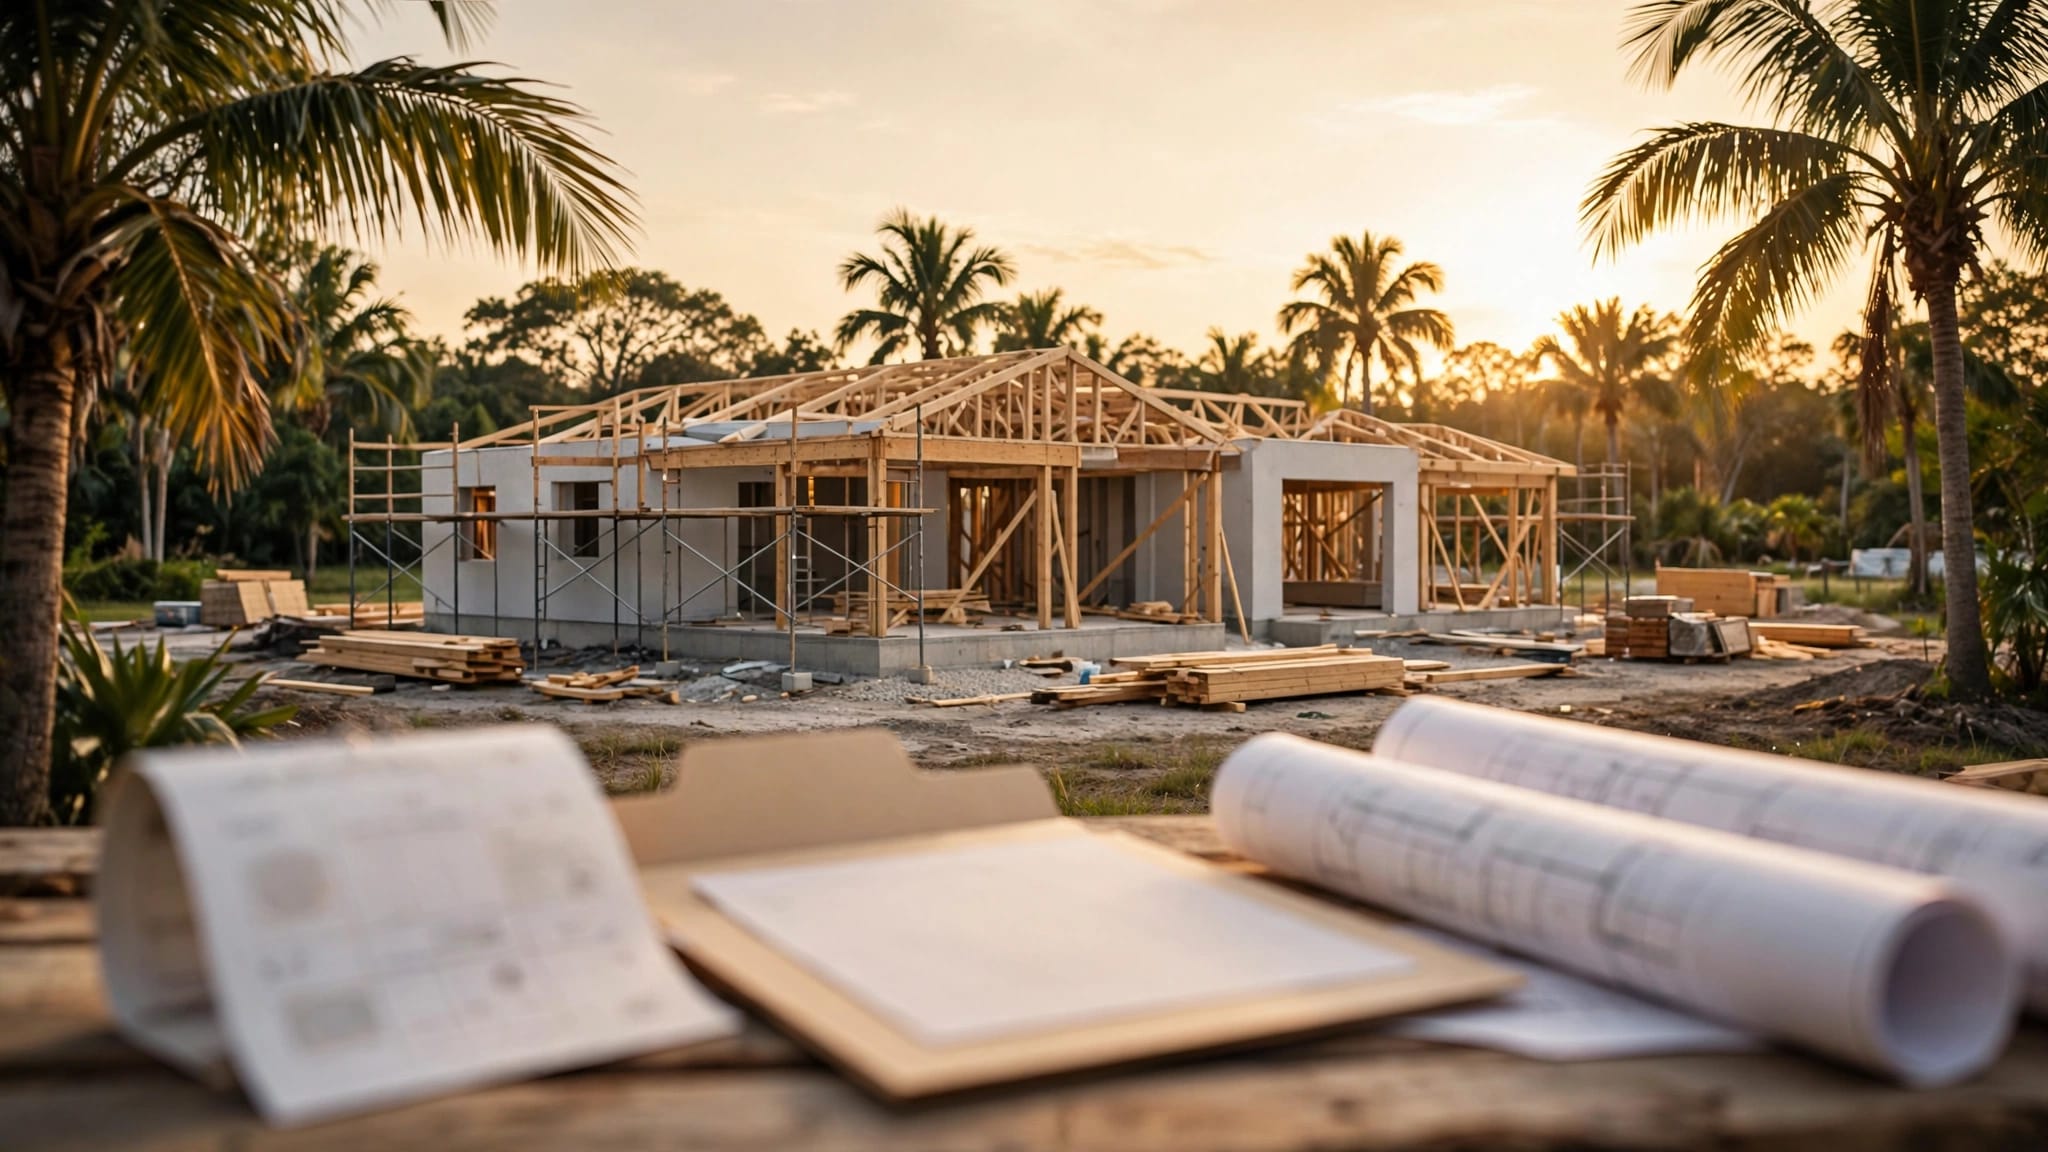
Fort Myers Home Audio Wiring Before Drywall
Explore Our Services
Contact Us Today!
(239) 322-9295
Fort Myers home audio wiring should be planned before drywall, when speaker locations, cable routes, and equipment space are still accessible. The goal is to give each listening area the connections it needs without opening finished walls later.
Start with how you'll use the home, including the lanai and pool area. Then bring those decisions to your builder and electrical team before rough-in begins.
Key Takeaways for Your Audio Plan
Decide where you want music, TV sound, and controls before construction reaches the wiring stage. Give cables a clear path to an accessible equipment location, and coordinate outdoor routes before pool decking and landscaping are complete.
The pre-drywall walkthrough is your chance to review the installation, document hidden routes, and resolve problems while the framing is open.
Start With Your Listening Areas
An audio plan begins with the floor plan, not the equipment catalog. Mark the rooms where you want sound and note whether each area needs independent control. A kitchen playing music during breakfast may need different settings than a bedroom or covered lanai.
Also consider how spaces connect. An open kitchen and living room may feel like one listening area, while a separate dining room may be used at different times. Decide where you want the same source to play and where you want separate control.
Bring the marked plan into your early design meetings. During custom home construction in Fort Myers, we can coordinate those decisions with the room layout and outdoor living spaces before finishes make changes harder.
Plan Speakers and Controls Room by Room
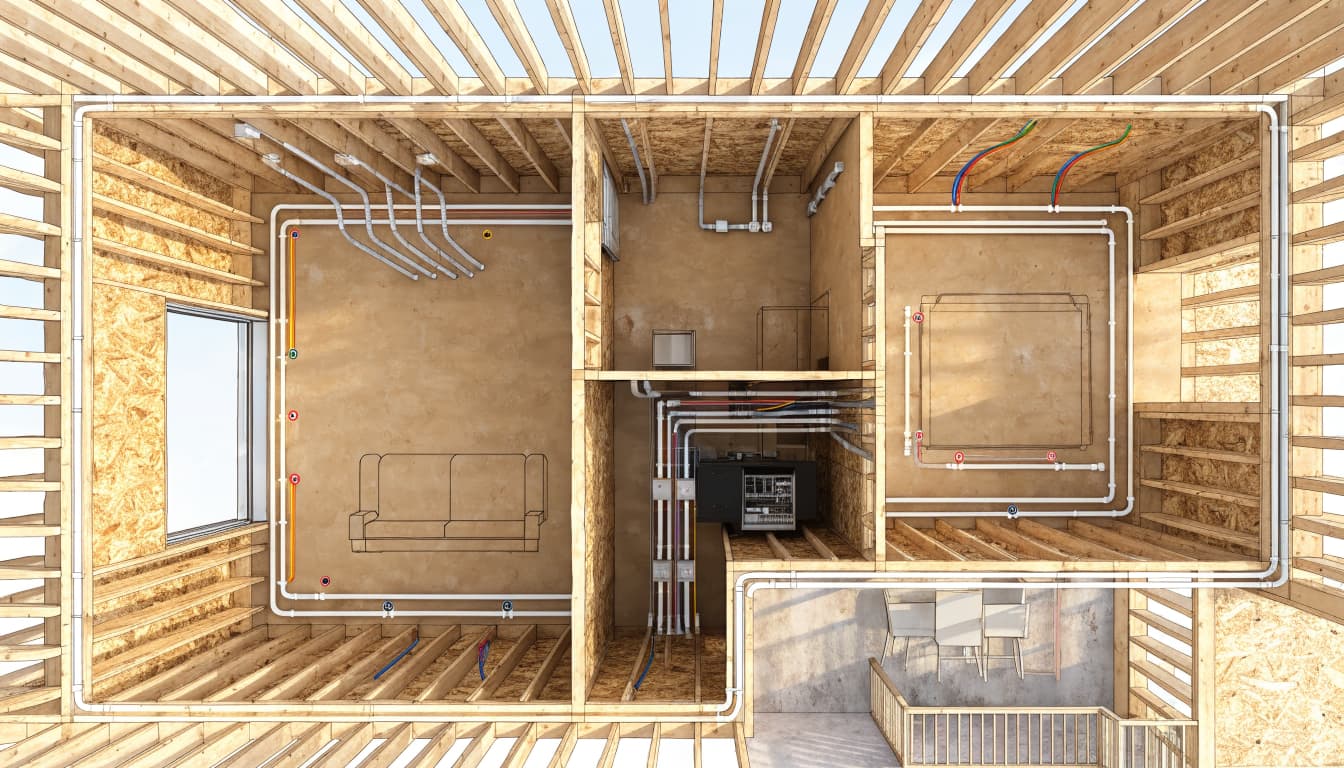
A speaker mark on a drawing should relate to the finished room. Furniture, ceiling details, cabinetry, and windows all affect where sound will be useful and where components can fit.
Living Room and Kitchen
In the living room, identify the main seating area and TV wall first. Ceiling speakers for background music may have different placement needs than speakers intended for TV or movie sound. Share both goals with the audio installer before locations are finalized.
In the kitchen, consider the island, dining area, upper cabinets, and range hood. Ceiling openings also compete with recessed lights, vents, and fans. Mark control locations near a convenient entrance rather than behind a door or cabinet.
Bedrooms and Bathrooms
For a primary bedroom, consider where the bed and any TV will sit. Guest rooms may need a simpler plan, but a cable route can still be useful if you expect to add audio later.
Bathroom conditions deserve attention because moisture and ventilation affect component selection. Discuss the intended locations with the installer while the ceiling layout is open, especially near showers and exhaust fans.
Hallways and Control Locations
Hallways can carry sound between rooms, so decide whether they need their own speakers. A busy passage may benefit more from convenient controls than another listening location.
If you prefer wall controls, mark them alongside light switches and thermostats. If you'll mostly use a phone or tablet, still plan for reliable network coverage and a practical way for guests to control the system.
Map Cable Runs and Labels
A home-run layout sends individual cables back to a central equipment location. That makes it easier to identify which room each cable serves and gives the installer access to connections in one place.
On the plan, show each speaker location, its intended destination, and the route through framing. Leave accessible slack at the equipment end and at speaker or control locations as the installer requires. Cable ends should stay protected until the equipment is ready for connection.
Use durable labels at both ends. A label such as "Lanai seating, left speaker" is more useful than a room name alone. The final cable map should match the labels, including any changes made during rough-in.
The audio installer and electrician should coordinate pathways for low-voltage wiring and electrical power. Keep routes clear of obstructions and protected where they pass through framing. Avoid treating an unmarked coil in a wall as a future-ready connection: its destination and purpose need to be recorded.
Include TV and Network Connections
TV Walls Need More Than a Power Outlet
Mark each TV's intended position and the furniture below it. A wall-mounted TV may need power behind the screen, a path to an equipment cabinet, and access for signal connections. If the cabinet sits across the room, that route belongs in the plan before the ceiling closes.
Also decide how TV sound will reach the audio system. The connection depends on the selected TV and audio setup, so reserve an accessible path between them instead of assuming a speaker wire alone will carry the signal.
Give the Network a Place in the Plan
Streaming audio and app-based controls depend on the home network. Include connections for the main equipment location, TVs, and any planned wireless access points.
A wired path can help connect fixed equipment without relying on wireless coverage through every wall. Coordinate network and audio routes together so both reach the right locations and remain identifiable after construction.
Choose an Accessible Equipment Location
A central closet or equipment area gives audio and network components a common destination. Pick a space you can reach after move-in, with room to connect, service, and eventually replace equipment.
The location also needs suitable power and ventilation. Equipment can produce heat, so avoid treating a tightly packed cabinet as an afterthought. Keep it clear of plumbing and other conditions that could expose components to moisture.
Discuss the electrical load and outlet layout with the electrician during early electrical planning for a new home. That conversation should account for the audio system alongside the home's other planned electrical needs.
An equipment rack doesn't have to be installed during framing. The space, cable paths, and power plan do need to be settled before drywall.
Plan Outdoor and Pool-Area Audio
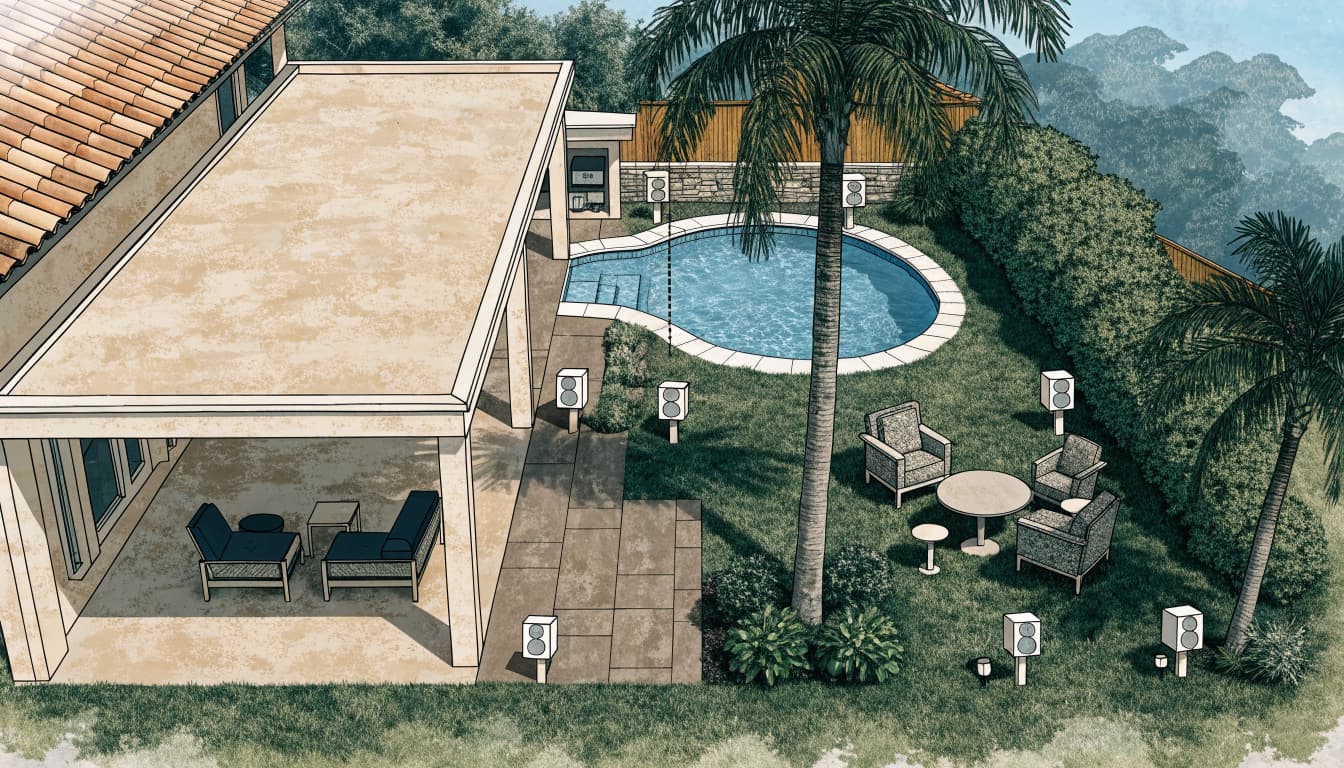
In Southwest Florida, outdoor listening areas often include a covered lanai, dining space, pool deck, or outdoor kitchen. Treat these as part of the home plan rather than an add-on after the pavers go down.
Place Sound Around the Way You Use the Yard
Mark the seating and dining areas first. Then discuss speaker locations that direct sound toward those spaces while considering nearby neighbors. A covered lanai may need a different approach than an open pool deck or landscaped area.
Lanai fans, screen enclosures, lighting, and outdoor kitchen features can all compete for the same mounting space. Show the audio plan alongside those drawings so the trades can resolve conflicts before finishes are installed.
Protect Outdoor Connections
Humidity, rain, and salt air can affect exposed hardware, especially near the coast. Outdoor components, boxes, fittings, and connections need to suit their intended exposure.
The builder, pool contractor, electrician, and audio installer should coordinate routes around pool equipment and finished decking. Pool-area electrical safety requirements depend on the actual installation, so leave that work to qualified professionals.
Add Conduit for Future Changes
Empty conduit creates an accessible route for a future cable without requiring a finished wall or ceiling to be opened. Useful locations may include the path between the equipment area and the main TV wall, or a route toward a planned outdoor living space.
Place both ends where a technician can reach them. Record their locations on the final plan and photograph them before they disappear behind finishes. A pull string can also help with a future installation.
Conduit provides flexibility, but it doesn't guarantee every future product will work with the route. The installer should plan the pathway around the home's structure and the intended use.
Coordinate the Rough-In With Your Builder
Schedule the audio review while framing is visible and before insulation or drywall covers the work. Bring the current floor plan, lighting layout, cabinetry plan, and outdoor drawings to the meeting.
The builder can coordinate access and scheduling. The electrician handles electrical work, while the audio or low-voltage installer plans and installs the system wiring. Each trade needs the same locations for equipment, controls, and pathways.
Review changes in writing before work moves forward. A new TV wall or relocated speaker can affect framing, lighting, and the final cost. The custom home electrical walkthrough checklist offers a useful companion review for outlets and other electrical details.
Test and Photograph Before Drywall
Have the installer identify and test each audio cable run before the walls close. Testing should reveal problems such as an open connection, a short, or a mislabeled destination while the route is still accessible. Record the results with the cable map.
Network runs also need appropriate testing. Where connections are terminated during rough-in, the installer can document their performance before finishes conceal the route.
Take wide photos of each wall and ceiling, followed by closer photos of cable ends, conduit openings, and speaker locations. Include recognizable reference points such as doors and windows. Measurements from fixed framing points can make the photos more useful later.
Keep the images, updated plans, test results, equipment information, and contractor contacts in a digital project folder. Our guide to documenting low-voltage wiring before drywall covers related recordkeeping for security wiring.
Pre-Drywall Audio Planning Checklist
- Mark listening areas, speaker locations, and controls on the floor plan.
- Identify TV connections, network paths, and the equipment location.
- Include the lanai and pool area before exterior finishes begin.
- Label cable ends and record any spare conduit routes.
- Review the rough-in with the builder and relevant trades.
- Save test results, photos, and the updated cable map.
Frequently Asked Questions
Can I install the speakers after construction?
Yes. You can plan and install the wiring during construction, then add compatible speakers later. Keep each cable end protected, labeled, and documented so the installer can locate it after drywall.
Does a wireless audio system still need wiring?
It can. Wireless equipment may still need power, and the network and other fixed components may benefit from planned cable paths. Decide how you expect to use the system before leaving those locations out of the rough-in.
Make the Wiring Plan Part of the Build
A useful audio plan follows the way you'll use your Fort Myers home. Room locations, outdoor spaces, and the equipment area all need attention before the walls close.
With clear labels and a documented walkthrough , the wiring remains easier to understand long after drywall hides it.