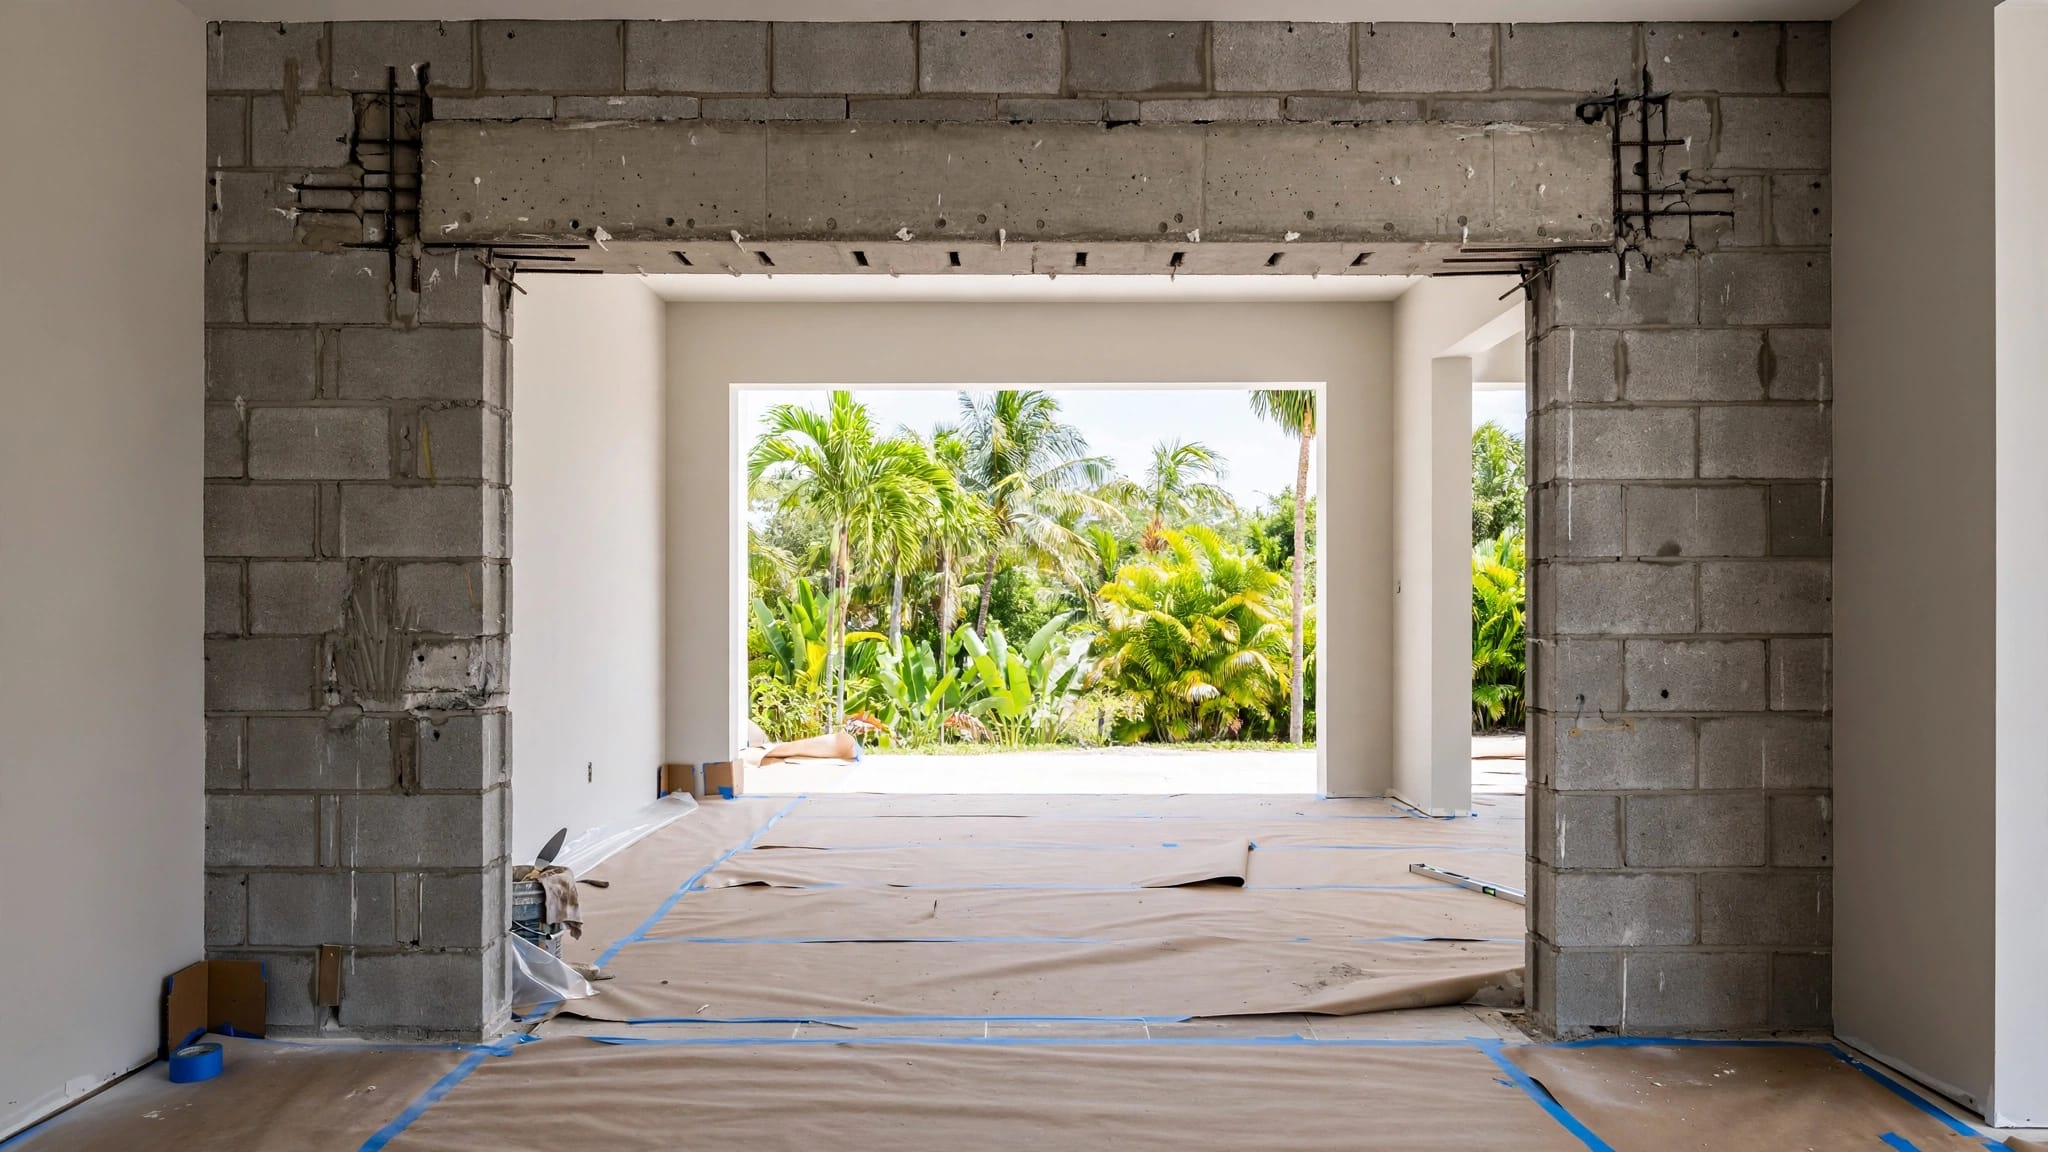
Fort Myers Paver Driveway Preparation Before Installation
Explore Our Services
Contact Us Today!
(239) 322-9295
A durable paver driveway starts with excavation, stable soil, controlled drainage, and a properly compacted aggregate base. For your Fort Myers custom home, paver driveway preparation determines whether the finished surface supports vehicles evenly or develops ruts and low spots.
The most important work becomes invisible once the pavers cover it, so below-grade preparation deserves attention before installation begins. Start by coordinating the driveway with the home's elevations, access, and drainage plan.
Key Takeaways
- Set driveway elevations and drainage routes before excavation, especially at garage openings and street connections.
- Remove unsuitable material and address weak subgrade before placing aggregate. Additional stone won't automatically correct unstable ground.
- Compact the base in manageable layers, prepare an even bedding surface, and provide secure edge restraints.
- Review grades, support, drainage, and construction damage before the first pavers cover the base.
Plan the Driveway Around the Custom Home
Coordinate garage, house, and street elevations
The driveway must connect several fixed points without creating a low area that collects runoff. Garage thresholds, adjacent walkways, and the street approach all influence its finished elevation.
A raised home can make this coordination more demanding. Our guide to finished-floor height and driveway access explains how home elevation affects grading decisions.
Set these relationships before digging. Otherwise, the crew may reach the garage with insufficient room for the base, bedding, and pavers.
Design for the vehicles using it
Passenger cars, delivery trucks, and heavier vehicles place different demands on a driveway. Turning and braking also stress pavers near garage entrances and tight curves.
The base design should reflect those loads and the ground supporting them. A decorative parking area shouldn't automatically receive the same construction detail as a frequently used vehicle route.
Also coordinate utilities and irrigation crossings early. Opening a completed base to install a forgotten line creates another area that needs careful backfilling and compaction.
Excavate for the Entire Driveway Assembly
Excavation must accommodate the complete pavement structure, not merely the visible paver thickness. The planned finish elevation sets the starting point for calculating the required removal.
Crews remove vegetation, roots, organic debris, and unsuitable material within the work area. Buried construction waste or loosely placed fill needs attention rather than being concealed beneath aggregate.
The excavation should also provide room for the support required beneath driveway edges. A base ending directly beneath an unsupported paver border leaves the perimeter vulnerable to movement.
Protect nearby foundations, marked utilities, irrigation, and established drainage routes during digging. Keep excavated soil and material pallets out of swales.
For a new build, driveway limits should agree with the home's established layout. Our discussion of foundation layout and site placement shows why field reference points matter as construction progresses.
Unexpected conditions can change the excavation sequence. Address them while the ground remains exposed.
Assess and Compact the Exposed Subgrade
Identify weak areas before covering them
The subgrade is the soil surface beneath the aggregate base. It must provide consistent support across the driveway, including edges and utility trenches.
Look for yielding areas, loose backfill, buried debris, and abrupt changes in material. Footprints, wheel ruts, or soil that moves under equipment can reveal areas needing further evaluation.
Available geotechnical information can guide these decisions. Our article on soil reports and excavation planning explains how subsurface findings inform site preparation.
When exposed conditions differ from the design assumptions, a qualified geotechnical professional can determine the appropriate correction.
Compact suitable ground at workable moisture
Compaction reduces voids and improves support, but it can't make unsuitable material suitable. Remove or improve weak material according to the project design before proceeding.
Moisture also affects results. Ground that is excessively wet may deform instead of becoming firm, while overly dry material may need conditioning.
Use equipment appropriate to the material and available access. The number of passes alone doesn't establish that the subgrade is ready.
Pay particular attention to trench backfill and confined areas. These locations can behave differently from the open driveway footprint.
Plan Drainage for Construction and Everyday Use
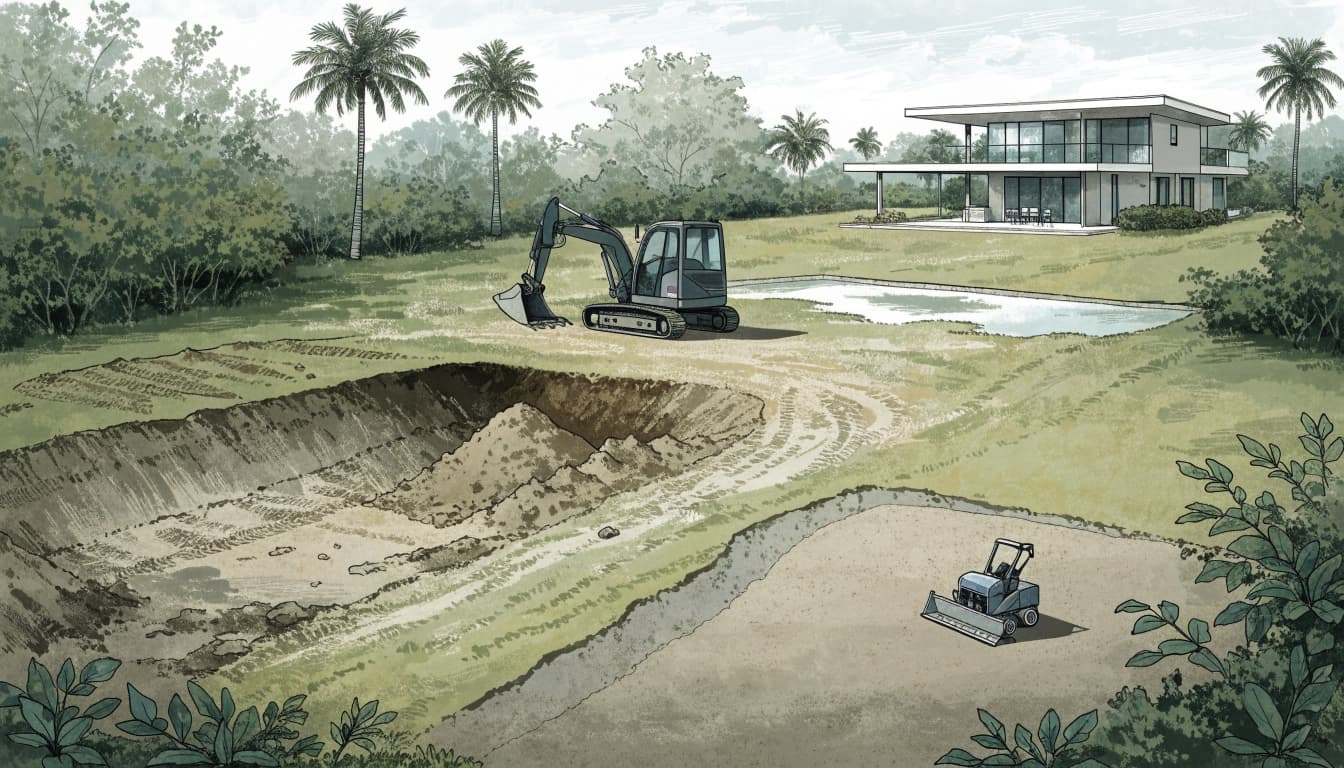
Rain can change an exposed work area before paving begins. Because Fort Myers driveway work must account for Southwest Florida storms, temporary protection and permanent drainage belong in the same planning conversation.
Keep the excavation workable
Temporary water management protects the exposed subgrade and limits erosion. If water enters the excavation, the response should address both removal and the discharge location.
Pumping water toward a neighbor or washing sediment into drainage features creates additional problems. After heavy rain, reassess softened or disturbed areas before covering them.
Give finished runoff a continuous route
The finished driveway needs a deliberate path for rainfall. Coordinate its slope with roof downspouts, yard grades, swales, and any designed collection drains.
Drainage structures need functioning outlets. A channel drain at the garage won't solve a grading problem if its discharge has nowhere to go.
Temporary pumping keeps construction workable. Permanent grading must still carry water away after the equipment leaves.
Conventional paver joints shouldn't be treated as a substitute for a designed drainage route.
Place and Compact the Aggregate Base in Layers
The aggregate base distributes vehicle loads across the prepared subgrade. Its material and depth should follow the driveway design rather than a one-size-fits-all detail.
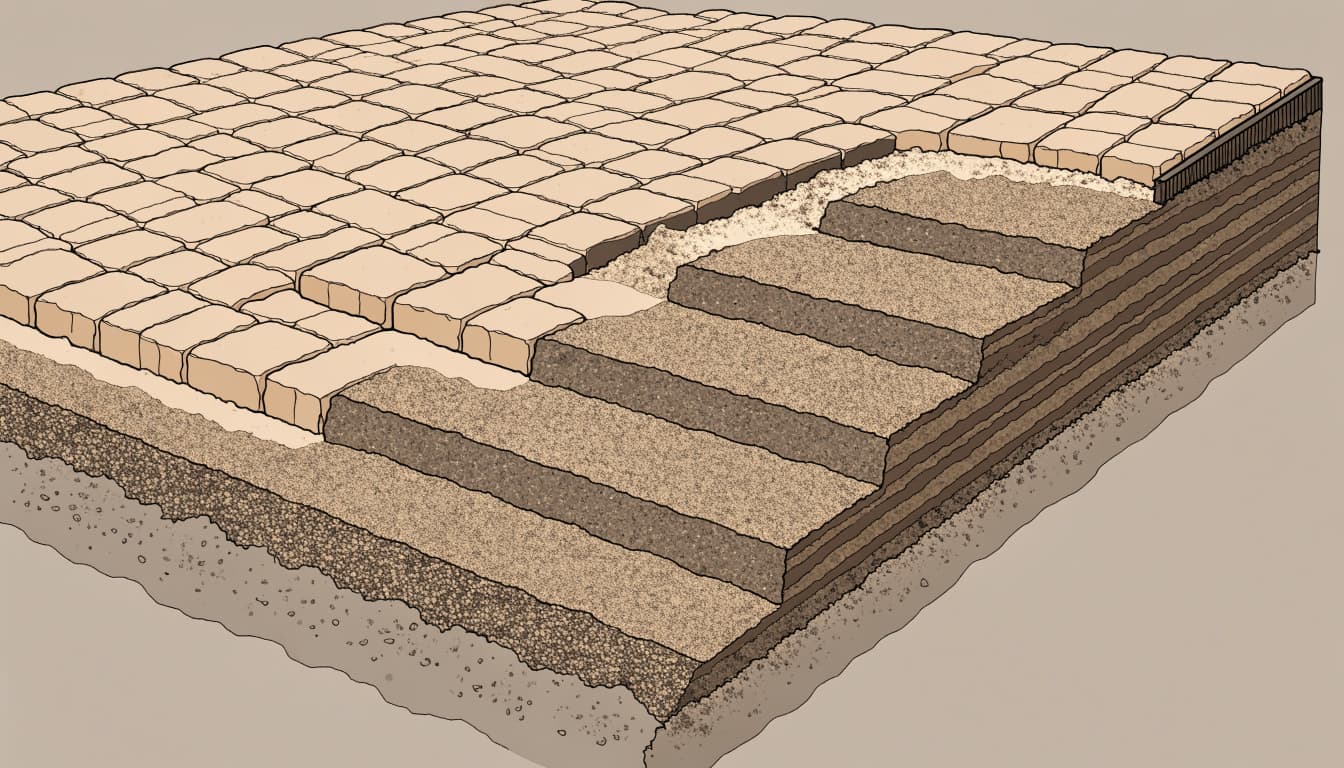
For a conventional interlocking pavement assembly, properly graded crushed aggregate provides particles that interlock under compaction. Clean, suitable material matters because debris and inconsistent material can weaken support.
Place aggregate in separate compacted lifts . Dumping the entire base depth at once can leave poorly consolidated material beneath a firm-looking surface.
Each lift needs moisture conditioning and compaction appropriate to the aggregate and equipment. Maintain the planned slope as the base rises.
Edges, corners, and areas beside drain structures deserve extra attention because equipment access may be restricted there. Also avoid burying an unresolved soft spot beneath successive layers.
Before bedding begins, the base should be firm, evenly graded, and free of ruts. Use elevation measurements and a straightedge to identify irregularities. Correct those defects in the base instead of hiding them with bedding sand.
Prepare the Bedding Layer and Edge Restraints
Screed an even setting surface
The bedding layer provides a uniform setting surface above the finished base. It doesn't replace structural aggregate or repair major elevation errors.
Use bedding material suited to the selected paver system. Screed it evenly over the prepared base without introducing deep pockets.
Keep workers, carts, and equipment off the screeded surface before laying pavers. Disturbance can create uneven support that becomes visible after installation.
If rain or site traffic damages the bedding, restore it before continuing. Covering an uneven area transfers the defect into the finished driveway.
Provide dependable lateral support
Edge restraints keep the paver field from spreading under traffic. Their support and attachment must suit the driveway assembly and anticipated vehicle use.
A nearby lawn or mulch bed doesn't provide dependable restraint. Likewise, a decorative border still needs structural support beneath and beside it.
Coordinate restraints with curves, drain structures, garage transitions, and driveway ends. Install them in the sequence required by the chosen system so the pavement has lateral support during final compaction and use.
Complete a Practical Pre-Installation Review
A final review should happen while corrections remain accessible. A neat surface alone doesn't prove that the layers underneath received proper preparation.
Use these checkpoints before paver placement:
- Measure base elevations at the garage, driveway perimeter, drains, and street transition. Compare them with the planned finished surface.
- Walk the base and observe its response to normal construction activity. Investigate yielding, rutting, loose edges, or disturbed trench backfill.
- Review the runoff route across the driveway and surrounding grades. Identify depressions, blocked swales, and outlets obstructed by construction materials.
- Inspect base continuity, bedding condition, and edge-restraint support. Resolve damaged or incomplete areas before installation advances.
Keep progress photos and preparation records with the project documents. They help document conditions before the work disappears beneath the paving.
Finally, protect the accepted base from heavy deliveries and unnecessary traffic. Any disturbed area needs attention before it becomes part of the finished driveway.
Frequently Asked Questions
Can more bedding sand fix an uneven base?
Excess bedding sand creates inconsistent support and can contribute to settlement. Correct low or high areas in the aggregate base first, then prepare a uniform bedding layer.
Does rain automatically ruin driveway preparation?
Rain doesn't automatically require starting over. However, water can soften exposed soil, move material, and damage grades. The affected area needs reassessment and correction before the next layer conceals it.
Do pavers make a driveway permeable?
A conventional paver driveway isn't automatically a permeable pavement system. Permeable construction requires a coordinated design using suitable pavers, joint material, aggregate layers, and water-management details. Surface appearance alone doesn't establish how the assembly handles rainfall.
Should driveway work wait until other construction ends?
Heavy construction traffic can disturb prepared layers and damage installed pavers. Coordinate driveway work with deliveries and remaining trades, then protect completed areas against the loads they weren't designed to carry.
Build the Support Before the Surface
Reliable paver driveway preparation gives each layer a clear job: support vehicles, maintain the planned elevation, and manage water. Weak ground or poorly compacted aggregate can undermine even carefully installed pavers.
For our custom home construction in Fort Myers, driveway planning belongs alongside house elevations and site drainage. Resolve hidden support issues before installation, while the ground and base remain accessible.