Fort Myers Window and Door Schedule: What to Check Before Ordering
Explore Our Services
Contact Us Today!
(239) 322-9295
A window that fits the opening can still be the wrong window for your home. Its glass, wind rating, operation, or installation detail may differ from the approved plans. For a Fort Myers custom home, the costly moment is discovering that mismatch after the order arrives.
A complete window and door schedule gives your builder, supplier, and installer one record to check before production begins. Start by tying every opening to the plans, then confirm the dimensions and product details that determine what gets delivered.
Give every opening a place on the window and door schedule
The schedule should let anyone on the project locate a unit without guessing. It also needs to distinguish similar-looking openings that have different requirements. That matters on a custom home where a pair of bedroom windows may appear identical but sit in different wall conditions.
Match marks across the drawings
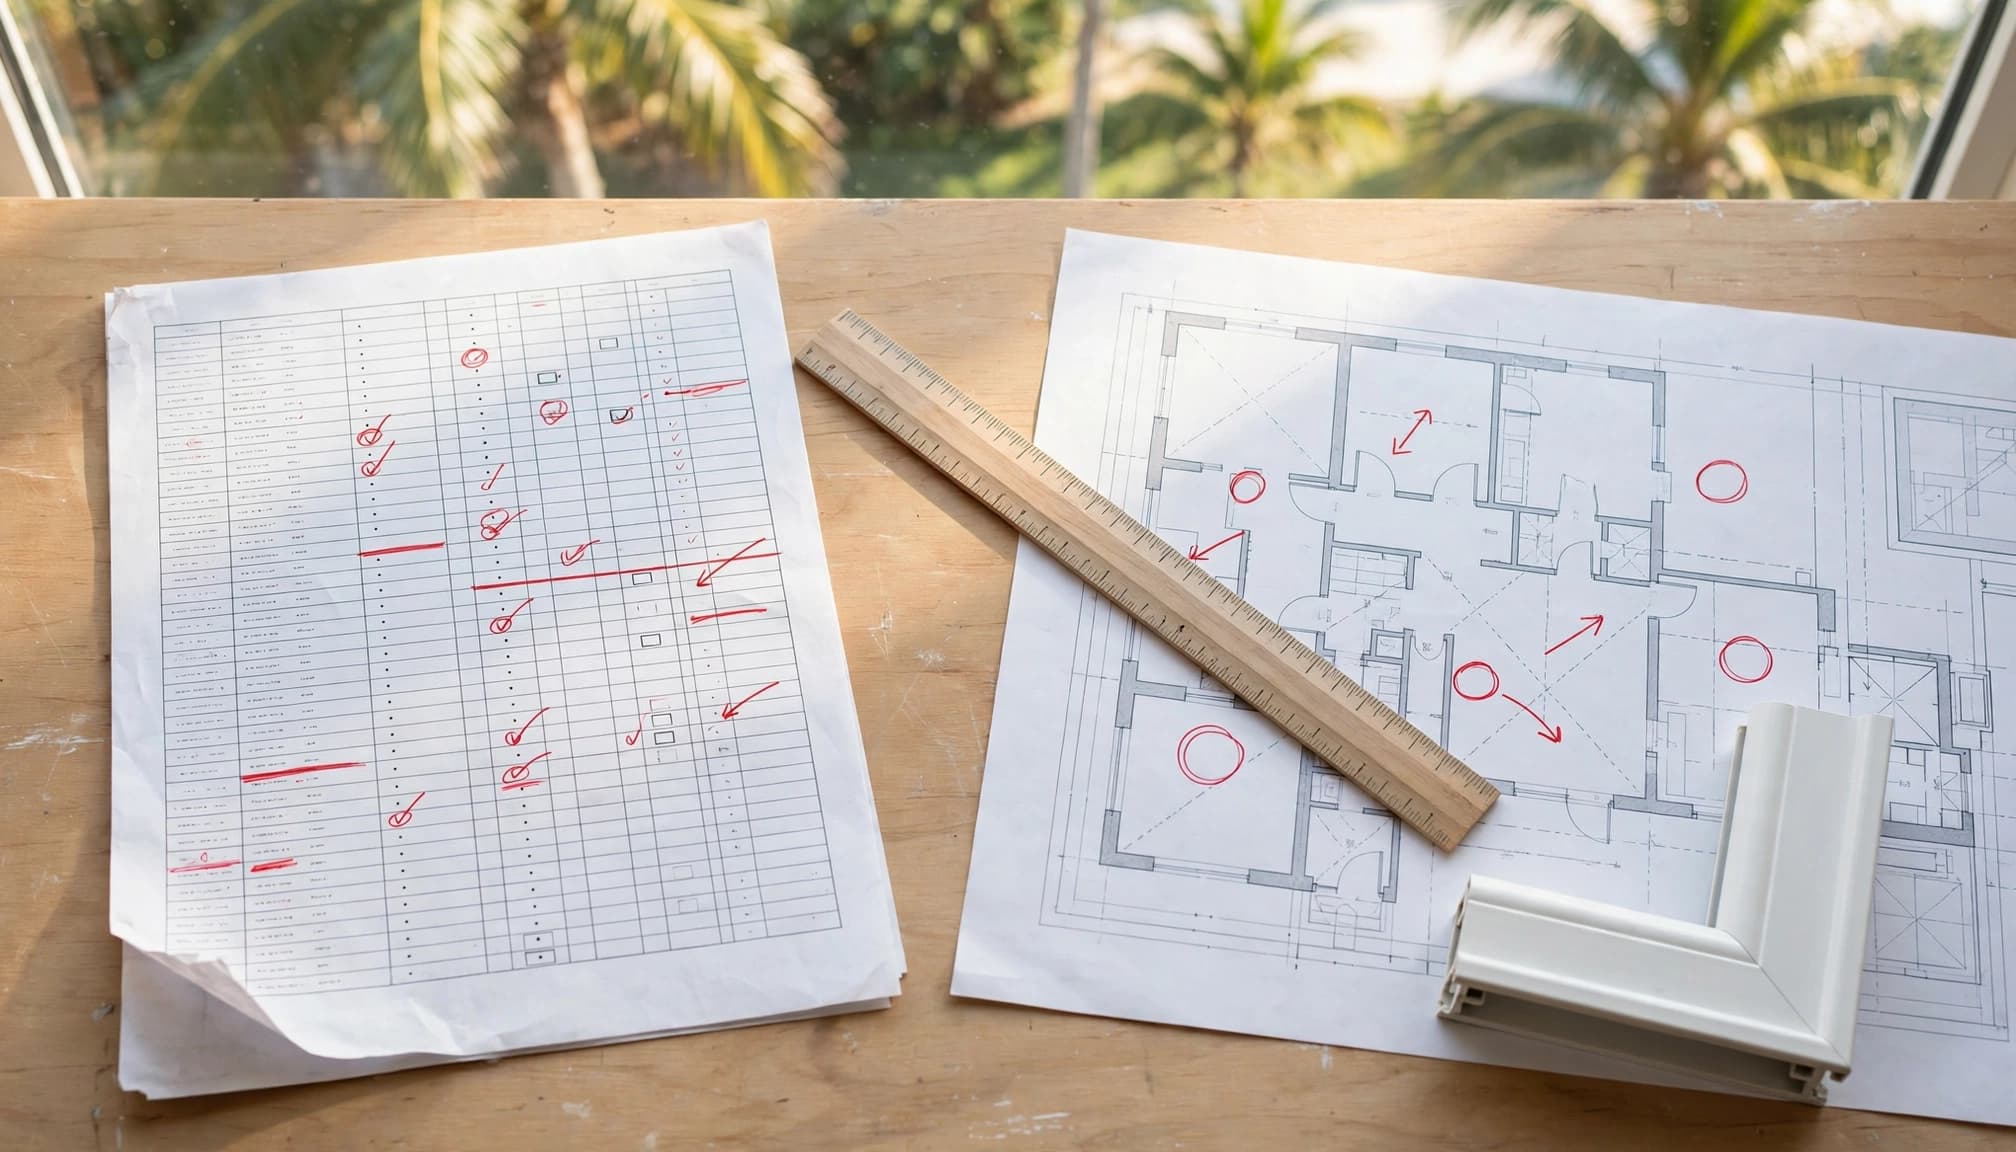
Assign each opening a unique mark, such as W-01 or D-01, and show it on both the schedule and the floor plan. Check the exterior elevations too. They should agree on the opening's position, head height, and appearance.
For each mark, record the room or wall location and the quantity. If a window type repeats, verify that every instance truly has the same size, configuration, glazing, and finish before grouping them under one mark. A separate mark is safer when any of those details differ.
Work from one current plan set
Plan revisions can change an opening after a supplier has priced an earlier version. Put the drawing date and revision beside the schedule, then compare architectural plans with structural drawings and approved permit documents.
For Fort Myers new home construction, this review belongs in the planning process, before production decisions narrow the options. Ask the builder to keep a record of approved changes. An email requesting a larger patio door should not become an order until the affected drawings and schedule agree.
Separate rough-opening dimensions from unit sizes
A rough opening is the space the framing or masonry crew prepares. A unit size describes the ordered product. Those measurements may differ because of bucks, shims, installation clearances, and the selected frame system.
Keep these dimensions separate for each opening:
| Dimension | What to verify before ordering |
|---|---|
| Rough opening | Width and height shown on the construction details |
| Ordered unit | Manufacturer's stated frame or overall size |
| Required clear opening | Usable opening where the approved design calls for one |
The supplier and installer should agree on which measurement the quote uses. A label that says only "36 by 60" leaves too much room for interpretation.
Check the wall assembly before measuring
Compare the schedule with wall sections and structural details. A concrete-block opening with a buck may need a different installation arrangement than a framed wall. The installer should check the approved attachment detail, substrate, fastener locations, and space needed around the frame.
Also confirm head heights against beams, headers, ceilings, and finish floors. If a window sits above a counter or beside a shower, verify the finished dimensions rather than relying on the rough framing alone.
Recheck openings when construction changes
Site measurements are useful, but they don't replace the permitted design. If a field opening differs from the drawings, have the builder and design professional resolve the difference before changing the order.
Record who measured, when they measured, and whether the dimensions reflect finished or unfinished surfaces. This is especially useful for large sliders, where flooring and threshold height affect the final fit. A revised opening can also require a new structural or product-approval review.
Confirm how every window and door will work
A floor plan may show a swing arc, yet leave room for different interpretations at the supplier's desk. Operation and handing belong on the schedule as clearly as width and height.
State operation and handing from a fixed viewpoint
Identify windows as fixed, single-hung, casement, awning, or another selected type. For doors, record the leaf configuration and swing or slide direction. Use the supplier's handing convention and state the viewing side, usually from outside, so the builder and manufacturer read the same instruction.
Walk through the plans as if you were using the house. Check that an entry door doesn't conflict with a nearby wall and that a sliding panel opens on the intended side of the lanai. In rooms with required emergency escape openings, have the design professional confirm that the chosen configuration provides the required clear opening.
Fix material and finish choices early
Record frame material, exterior color, interior color, and finish where the product offers choices. If the plans call for a dark frame, check that the selected product line offers the approved size and configuration in that finish.
Match adjacent units deliberately. A bedroom window and the glazed door beside it may come from different product lines, so samples help reveal differences in color or frame profile. For exposed sites, ask the supplier about finish, hardware, and fastener suitability for the project's conditions.
Specify glass, hardware, and screens by opening
A single note reading "impact glass" can't settle every selection. Glass makeup, performance, hardware, and accessories need to match the design and the product being approved for that opening.
Review glazing against the plans
Record whether each unit uses the selected impact-rated glazing or relies on a separate approved opening-protection approach. Also verify tint, privacy glass, and any insulated-glass option in the order.
The approved energy paperwork may call for particular U-factor and solar heat gain coefficient values. Meanwhile, glass near doors, showers, or other locations may need safety glazing under the applicable plans and code. Have the design professional and supplier check those selections together; a change in glass can affect the available product configuration.
For a room facing a pool or lanai, also consider how much glare and privacy the glass selection provides. Make those choices before requesting the final quote, rather than treating them as field adjustments.
Name the small parts that get missed
List the hardware finish, lockset preparation, multipoint hardware where selected, and any keyed-alike request for doors. For windows, confirm locks, operators, and other hardware that changes with the configuration.
State whether insect screens are included and which operable units receive them. A fixed window won't need a screen, while a patio door may call for a separate screen package. Ask how screens will be stored and installed during construction so they aren't damaged before move-in.
Resolve bucks, sills, and thresholds before delivery
The opening around a unit affects how it performs. In Fort Myers, wind-driven rain makes the connection between the frame, flashing, and wall especially important. The window and door schedule should point to the approved installation details, even when those details live on separate drawings.
Give water a route out at window sills
Confirm the buck material and dimensions, sill condition, and installation method with the builder and installer. A buck that's out of square or poorly attached can prevent the specified unit from fitting and performing as approved.
The waterproofing contractor should know how sill, jamb, and head flashing connect to the wall's water-resistive barrier. Check that the proposed detail drains outward and doesn't bury intended drainage paths behind stucco. Sealant alone can't replace a coordinated flashing detail.
Ask the builder to photograph buck attachment and flashing before finishes hide them. Keep the approved installation instructions available on site for the crew and inspector.
Check door thresholds against finished floors
For entry and patio doors, record the threshold type, sill or pan detail, and intended height relative to interior flooring and exterior paving. A covered lanai still needs a planned water-management detail.
Compare those heights with slab elevations, tile buildup, and any accessibility requirements in the approved design. The door installer, flooring contractor, and builder should settle the transition before ordering a frame with the wrong threshold.
Match Fort Myers wind design to the actual products
Two openings on the same house can face different design pressures. Exposure, building geometry, and the engineer's calculations matter more than a broad description such as "hurricane-rated."

Confirm the project's requirements
The Florida Building Code, 8th Edition (2023), took effect on December 31, 2023. Still, don't assume one wind speed, exposure category, or opening-protection rule applies throughout Fort Myers. The design professional should establish the project's requirements, including positive and negative design pressures where applicable.
Lee County's permitting guidance calls for wind-design information and product approval numbers for windows and doors. Requirements can differ by jurisdiction and permit scope. Confirm the current requirements with the building department handling your property, whether that's Lee County or the appropriate city department. The site's debris-region status and approved protection approach also need a project-specific answer. Southwest Florida hurricane building codes offer useful context for those design conversations.
Check each approval against the order
Put the applicable Florida Product Approval number, or other approval accepted for the project, beside each scheduled product. Then compare its exact model, size range, configuration, glazing, frame, design pressures, and installation method with the proposed order.
A Miami-Dade Notice of Acceptance may be relevant to a proposed product, but it isn't a universal requirement for every Fort Myers home. Have the design professional and permit reviewer confirm what's acceptable. An approval for one configuration doesn't automatically cover a different glass package or installation substrate.
Get a coordinated sign-off before releasing the order
The final check should include the people who design, supply, and install the openings. A signed quote alone won't resolve a conflict between the architectural elevation and a structural detail.
Walk one mark at a time
Have the builder, supplier, and installer review the latest window and door schedule against the plans. Bring in the design professional when a change affects structural openings, wind design, energy documents, or required clearances.
For each mark, confirm the location, quantity, rough and unit sizes, operation, handing, finish, glazing, hardware, screens, sill or threshold, and approval. Then ask the supplier to identify any substitutions in writing. A similar-looking model may need a separate approval check.
Keep the order connected to the permit set
Save the final schedule, approved drawings, product approvals, installation instructions, and supplier acknowledgment together. When units arrive, compare shipping labels and product details with that set before the first unit is installed .
If an opening or product changes after approval, stop and resolve the revision through the builder and applicable permit process. Good records also help document installed features for future Fort Myers wind mitigation inspections.
Key takeaways before you place the order
- Give every opening a mark that matches the plans and elevations.
- Keep rough-opening, ordered-unit, and required clear-opening dimensions distinct.
- Confirm operation, handing, finishes, glazing, hardware, screens, and sill details.
- Match each proposed product and installation method to the project's approved wind design.
- Get the builder, supplier, and installer working from the same current documents.
Order from a schedule everyone can verify
A window that arrives in the right size can still cause a delay if its handing, glazing, or approval is wrong. The strongest pre-order check ties each opening to the current plans, the selected product, and its installation detail.
Before releasing the order, resolve discrepancies while they're still lines on paper. One agreed schedule gives every trade a clearer target when construction reaches the openings.