Room Addition Roof Tie-In Planning in Bonita Springs
Explore Our Services
Contact Us Today!
(239) 322-9295
One poorly planned roof junction can turn a bright new room into a recurring leak path. A room addition roof tie-in has to manage more than appearance in Bonita Springs. It must direct intense rain, resist wind pressure, and join an older roof without creating a weak spot.
Your plans should settle the roof shape, structural connection, drainage path, and material choices before framing starts. That early work protects the addition, the existing home, and your construction budget.
Inspect the Existing Roof Before Designing the Addition
A room addition begins with a close look at the roof already over your home. Its age, framing, roof covering, visible repairs, and current drainage patterns all affect what a new roof can reasonably connect to.
Existing conditions set the design limits
Ask for an assessment of the existing shingles, tile, metal panels, underlayment, decking, flashings, soffits, and attic framing. Loose covering, brittle materials, stained decking, soft wood, or past leak repairs may change the scope.
The contractor should also locate roof vents, plumbing vents, skylights, solar equipment, gutters, and air-conditioning lines. Moving one obstruction can alter the roof layout and cost.
If brittle roof materials break during tie-in work, isolated repairs can leave uneven weather protection around the new connection.
A roof that is near the end of its serviceable life deserves an honest conversation before the addition begins. In some cases, homeowners benefit from professional roof inspections and repairs before approving the final addition design.
Room Addition Roof Tie-In Geometry Starts With the Roof Shape
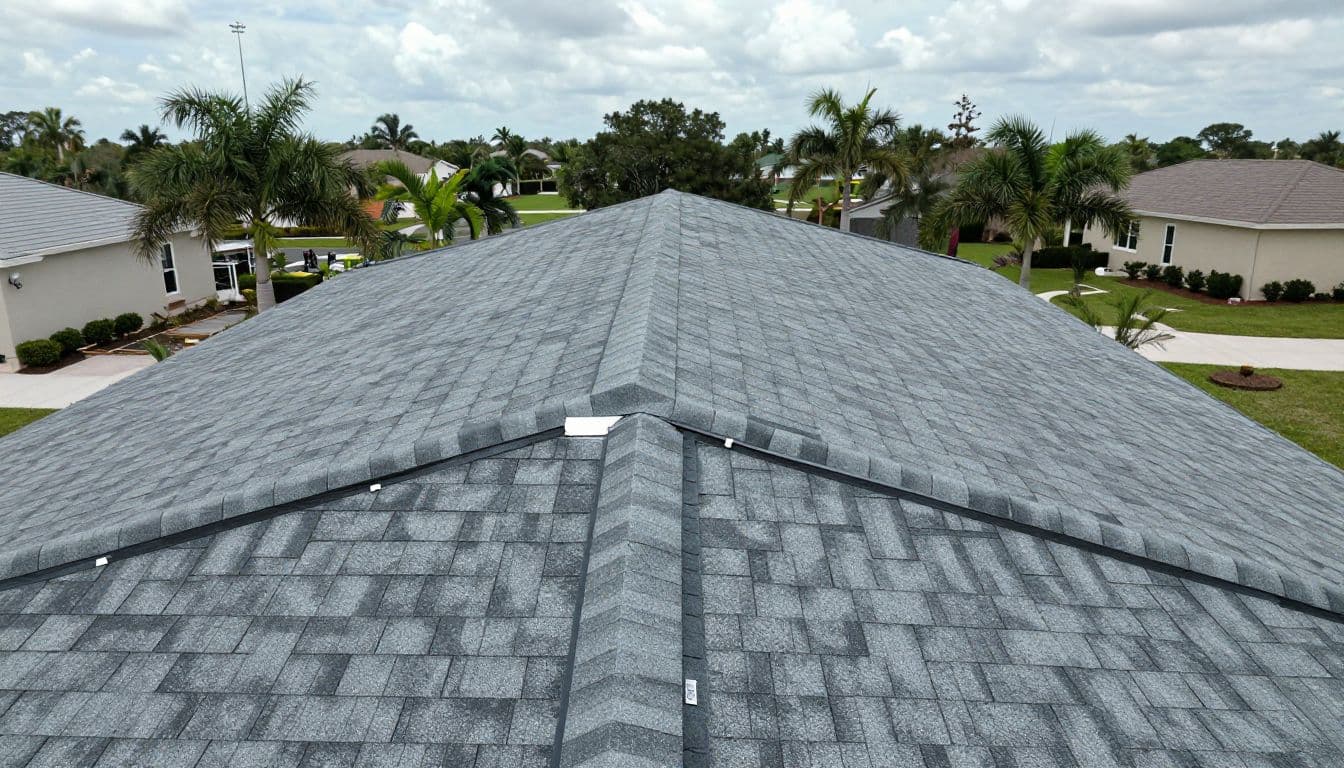
The room addition roof tie-in should look intentional, but visual consistency is only part of the job. The roof shape determines where water goes, how wind moves across the structure, and how the new framing meets the original home.
Choose a roof form that fits the house
A new gable, hip, shed, or low-slope roof can work, depending on the home's layout and the size of the addition. A simple connection usually has fewer places for water to collect.
For example, a rear family-room addition may allow a clean continuation of an existing roof plane. A side addition can require a valley, roof transition, or new wall flashing detail. The right option depends on the home's framing, setbacks, ceiling height, and drainage route.
Match roof pitch with purpose
A new roof plane doesn't always need the same pitch as the existing roof. However, a change in slope needs careful detailing where the two planes meet. It can also affect the roofing material you can use.
The selected roof covering must suit the planned pitch and follow the manufacturer's installation requirements. Shingles, tile, metal, and low-slope membranes each handle water differently. A designer should show the exact slopes and transition details on the construction drawings, not leave those decisions for the jobsite.
Valleys and Roof Intersections Need Extra Attention
A valley is where two sloped roof planes meet and funnel water toward one line. In Southwest Florida rainstorms, that line can carry a large volume of water in a short time.
Keep valley runoff away from vulnerable areas
The new and old roof surfaces may both drain into the same valley. Therefore, the valley's location matters as much as its appearance. Avoid routing concentrated runoff toward a wall opening, low roof edge, doorway, or narrow side yard without a clear drainage plan.
A good layout also gives roofing crews enough room to install the valley assembly correctly. Very short roof planes, tight intersections, and crowded penetrations make this work harder.
Favor clean lines over decorative complexity
Roof lines with many small dormers, abrupt slope changes, and narrow dead valleys create more flashing work. They can look attractive on a rendering, yet every intersection needs a reliable way to shed water.
Where a new wall or roof mass blocks runoff, the plans may call for a cricket to divert water. Its size and framing should come from the approved design. A room addition roof tie-in should never depend on a bead of sealant to compensate for poor roof geometry.
Flashing and Underlayment Create the Water Barrier
Roof covering is the visible layer, but the protection beneath it matters just as much. Wind-driven rain can enter small gaps that look harmless on a dry afternoon.
Build the roof layers to shed water
A proper roof assembly directs water down and out in layers. Roof deck preparation, underlayment, valley protection, flashing, and roof covering must overlap in the right sequence.
At a roof-to-wall connection, step flashing and counterflashing commonly work together to direct water away from the wall. At a roof-plane transition, the detail may need valley flashing, an apron flashing, or another listed system suited to the roof material.
Sealant has a role, but it should support a sound flashing detail. A proposal that simply says "seal roof tie-in" leaves too much unanswered.
Confirm materials before work begins
The plans and contract should identify the roof covering, underlayment type, flashing metal, fasteners, and compatible accessories. Product approvals and installation instructions matter in Florida because the roof system must perform under local wind conditions.
Matching materials also involves more than color. Tile profile, shingle thickness, metal panel shape, ridge details, and vent accessories affect the finished connection. A close visual match can still fail if the materials aren't designed to work together.
Plan for Heavy Rain, Drainage, and Humidity
Summer downpours can expose a bad roof connection quickly. Even a well-built addition can develop trouble if new runoff overwhelms an older valley or drains too close to the foundation.
Route water from the new roof deliberately
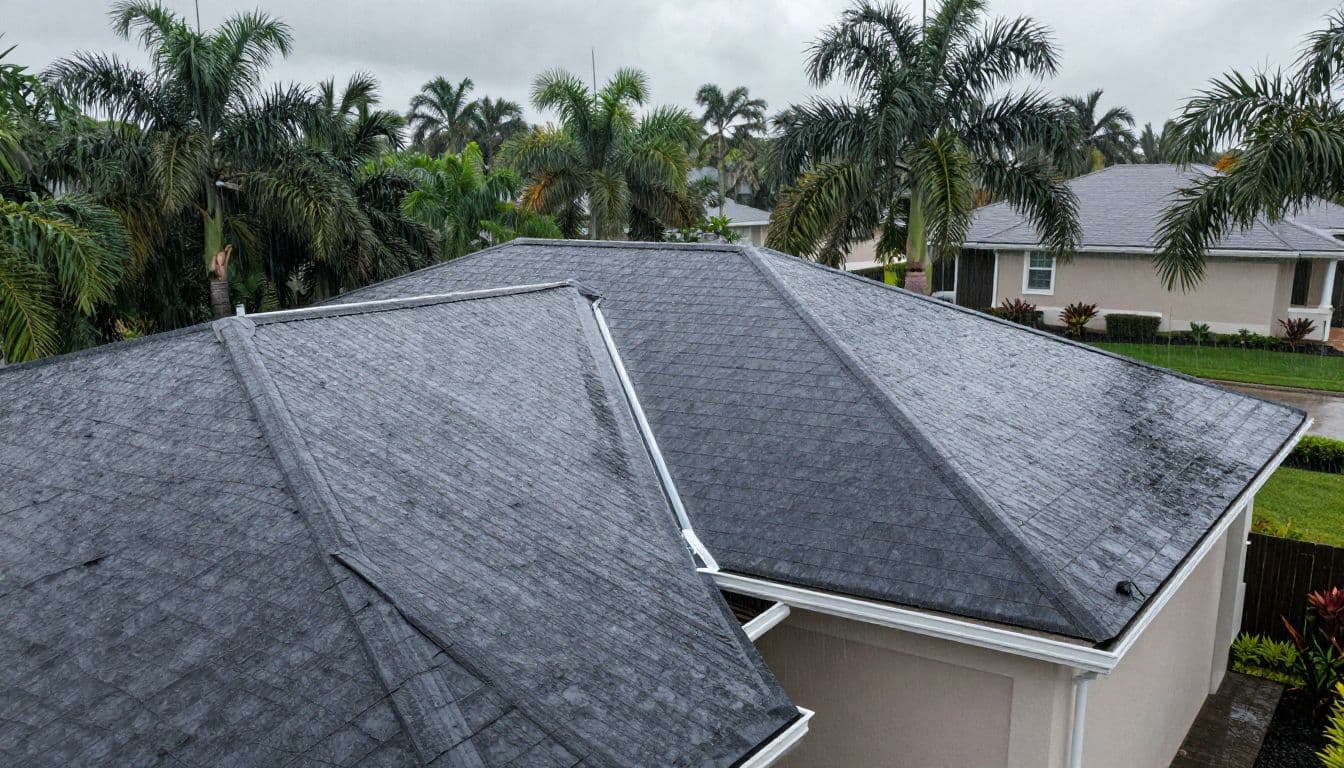
The roof plan should show valleys, gutters, downspouts, roof edges, and discharge points. Check whether water from the addition will fall onto the existing roof, enter a valley, or spill near a walkway.
Gutters and downspouts must have enough capacity for the new roof area. Downspouts should send water to an appropriate location on the property, without dumping it against the home's foundation or toward a neighboring parcel.
The lowest point of a new valley deserves the same planning attention as the roof peak because it receives the most concentrated runoff.
Control moisture inside the roof assembly
Rain comes from outside, while humidity can affect the roof system from within. The new ceiling, insulation, and air barrier should connect properly to the existing home's thermal boundary.
A qualified designer can determine whether the roof assembly will be vented or unvented and detail it accordingly. Mixing ventilation approaches without a plan can trap moisture in framing or insulation. During construction, protect exposed wood and unfinished roof openings from rain, then inspect materials before they are closed in.
Wind Uplift and Structural Load Paths Matter in Bonita Springs
Wind doesn't only push against a roof. It can pull upward on edges, corners, overhangs, and connections. That force travels through the roof framing, walls, and foundation.
Connect the new roof to a continuous load path
Florida Building Code, 8th Edition (2023), took effect on December 31, 2023, and uses ASCE 7-22 for wind-load design. Roofs, roof decks, and roof supports must resist applicable wind loads, while roof sheathing attachment must comply with the code's framing requirements.
For a room addition roof tie-in, the new framing can't simply rest against old framing. The design must show how rafters or trusses connect, how loads transfer into supporting walls, and how those walls connect to the foundation system.
A Florida-licensed engineer or architect may need to design portions of the addition, based on the project's structure and permit requirements.
Use the actual site conditions
Wind design varies by exact location, exposure, roof geometry, and building height. Bonita Springs properties near open water or broad open terrain can have different exposure conditions than homes surrounded by similar structures.
Florida's wind-borne debris criteria also depend on location and design wind speed. The code includes thresholds tied to areas within one mile of the coastal mean high-water line with Exposure D and a 130 mph or greater ultimate wind speed, as well as areas with ultimate wind speeds of 140 mph or greater.
Roof-to-wall retrofit rules include a 15 percent reroof cost threshold in certain situations. That language is not a blanket exception for new addition work. Review hurricane-zone home design requirements with the professionals responsible for your plans.
Decide Whether to Match or Replace an Aging Roof
A roof addition can make an older roof's condition more obvious. It can also expose hidden issues when crews remove materials to create the new connection.
Compare the roof's remaining life to the addition scope
A recent roof in good condition may support a carefully detailed tie-in. On the other hand, a worn roof with faded, discontinued, cracked, or repeatedly repaired materials may be a poor match for a major new addition.
Replacing a larger roof area during the project can reduce visual mismatch and eliminate a future tear-out near the new junction. Still, that decision depends on the roof inspection, budget, material availability, and project schedule.
Match the whole roofing system
Try to match the roof profile, color family, ridge treatment, ventilation details, gutters, and edge metal. If an exact match isn't available, a planned transition can look better than a patchwork repair.
Tile roofs deserve added care because individual tiles, underlayment, and attachment methods must work as a system. Metal roof additions need compatible panel details and flashing. Asphalt shingles also require attention to matching thickness, exposure, and ridge cap style.
Permits, Contractor Questions, and Preconstruction Checks
A new roof connection is structural work, not a simple repair. It needs a clear permit path, approved drawings, inspections, and a contractor who explains the work in plain language.
Confirm the correct permitting jurisdiction
First, verify whether your property is inside the City of Bonita Springs or in unincorporated Lee County. Properties within city limits may follow the City of Bonita Springs Community Development Department's permitting process, while other addresses may go through Lee County.
The permit package may include a site plan, architectural drawings, structural details, product information, and trade documents. Qualified local professionals must verify structural design, permitting, inspection steps, and code compliance for your property.
Ask for details before signing

Ask the contractor these questions before work starts:
- Will the plans show the roof slope, valleys, flashing, drainage, and structural connection?
- Who will evaluate the existing roof decking, framing, and roof-to-wall connections?
- Which roof covering, underlayment, fasteners, and flashing materials are included in the contract?
- Who handles permit submittal, inspections, engineering coordination, and required corrections?
- What happens if demolition reveals rot, damaged sheathing, or incompatible existing materials?
Warning signs include vague tie-in language, no roof inspection, no drainage drawing, and a promise to solve leaks with sealant alone. Reliable room addition planning and construction begins with complete details.
Use this short preconstruction checklist
- Confirm the permit jurisdiction and review the approved plans before demolition.
- Document the existing roof condition with photos and an attic inspection.
- Verify roof slopes, valleys, gutters, downspout locations, and runoff paths.
- Get the roofing, flashing, underlayment, and fastening specifications in writing.
- Set inspection points for framing, sheathing, roof drying-in, and final completion.
- Put a process for concealed damage and change orders in the written contract.
Build the Addition Around a Sound Roof Connection
A well-planned addition should make the new room feel like part of the original home, without leaving a weak point above it. The strongest result comes from treating the connection as a complete roof system , with coordinated framing, drainage, flashing, materials, and wind design.
Careful planning helps prevent the recurring leak path that a rushed roof junction can create. Before construction begins, verify every structural, permitting, inspection, and code detail with qualified local professionals.