Cape Coral final walkthrough checklist before closing
Explore Our Services
Contact Us Today!
(239) 322-9295
A new home can look finished while small defects remain hidden in plain sight. Your Cape Coral final walkthrough is the last practical opportunity to inspect the property, compare it with your selections, and document unfinished work before closing.
Paint, fixtures, appliances, drainage, and air-conditioning performance all deserve attention. Use this checklist with the builder's representative, take clear photos, and record every repair promise in writing. If you arranged earlier inspections, review the Cape Coral new home inspection sequence before your final visit.
Prepare before the walkthrough
Schedule enough time for a slow, room-by-room inspection. Daylight helps you spot uneven paint, scratches, cracked tile, damaged screens, and drainage problems. Ask the builder to have electricity, water, air conditioning, appliances, irrigation, and other installed systems operating.
Bring your purchase agreement, selections sheet, approved change orders, appliance list, and any prior inspection reports. These documents help you compare the finished home with what you ordered. A substitution or missing upgrade is easier to address when you can point to the written selection.
Useful items include:
- A charged phone with enough storage for photos and videos.
- A flashlight for closets, cabinets, the garage, and accessible attic areas.
- A small outlet tester, phone charger, tape measure, and notepad.
- Blue painter's tape, if the builder allows you to mark defects.
- Comfortable closed-toe shoes and clothing that can handle dust.
An independent home inspection can add another set of eyes, even with new construction. If you are considering a pre-drywall review on a future build, compare local pre-drywall inspection costs in Southwest Florida before scheduling.
Cape Coral final walkthrough checklist: start outside
Cape Coral's heat, heavy rain, wind, and salt air make exterior details especially important. Walk the entire property, including areas that may receive less attention after furniture and landscaping arrive.
Check the lot, structure, and finishes
- Confirm the street address, lot, floor plan, exterior color, doors, windows, and other visible selections.
- Look for cracked stucco, open joints, damaged siding, incomplete caulking, and loose trim.
- Open, close, lock, and screen every exterior door and window. Check for damaged glass, torn screens, or difficult operation.
- Inspect the front entry, lanai, screen enclosure, soffits, fascia, and exterior light fixtures.
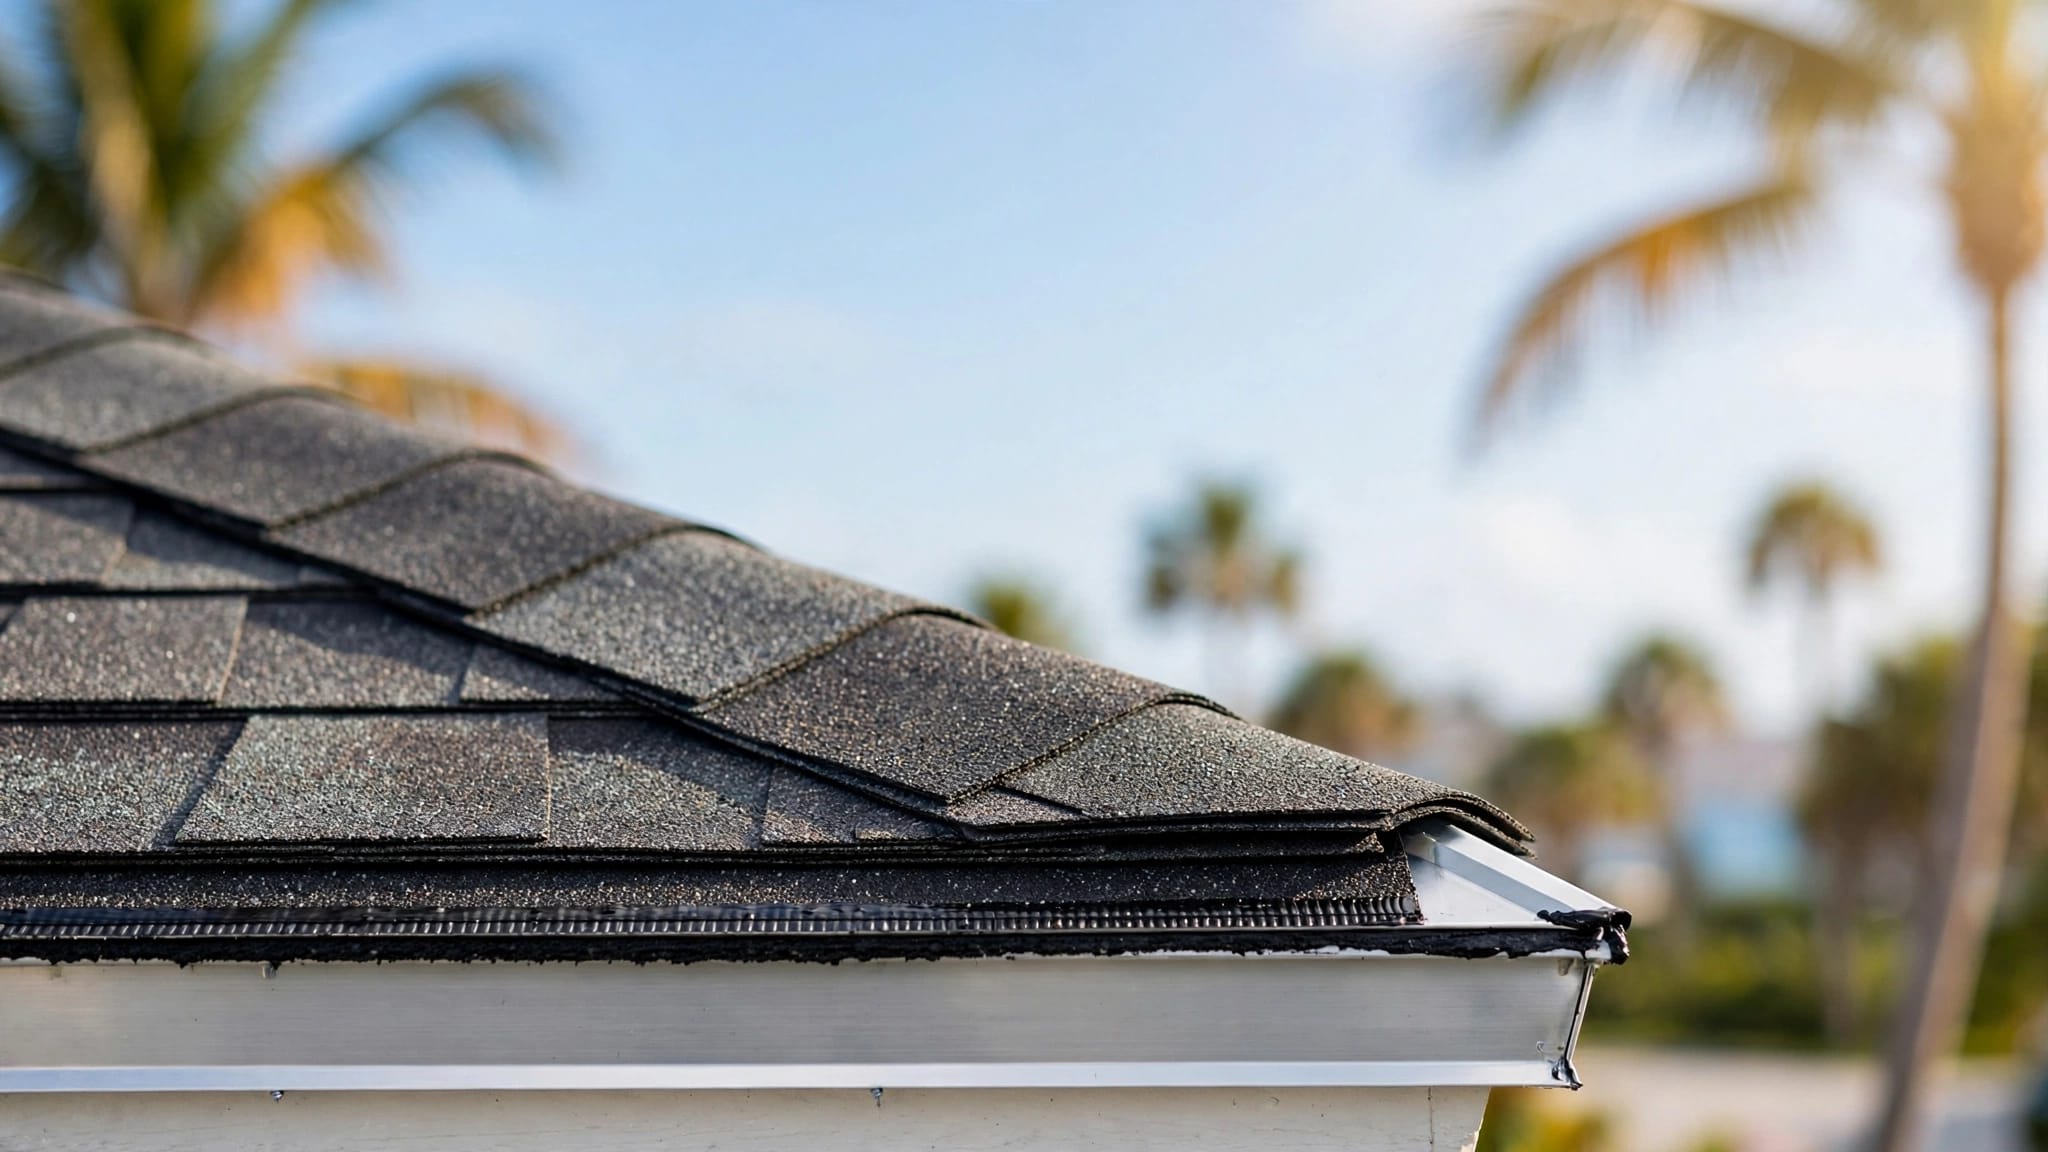
- Look at the roof from the ground for missing, broken, or uneven shingles or tiles. Ask the builder to address visible concerns rather than climbing onto the roof.
- Check driveway, sidewalk, patio, and garage slab surfaces for chips, excessive cracks, stains, or unfinished edges.
- Walk the lot after rain when possible. Look for standing water near the house, low spots, blocked swales, or poor grading.
- Confirm that gutters, downspouts, splash blocks, drainage outlets, and other items shown in your plans are installed correctly.
- Test hose bibs, exterior outlets, landscape lights, irrigation zones, and pool equipment when included.
- Confirm the agreed window and door protection, such as impact-rated units, shutters, or other storm products. Ask the builder to demonstrate operation and storage.
Pay attention to the relationship between the driveway, sidewalk, yard, and home. Water should not collect against the structure or flow into the garage. If landscaping is incomplete, document the current condition and compare it with the builder's written scope.
Inspect every room and installed system
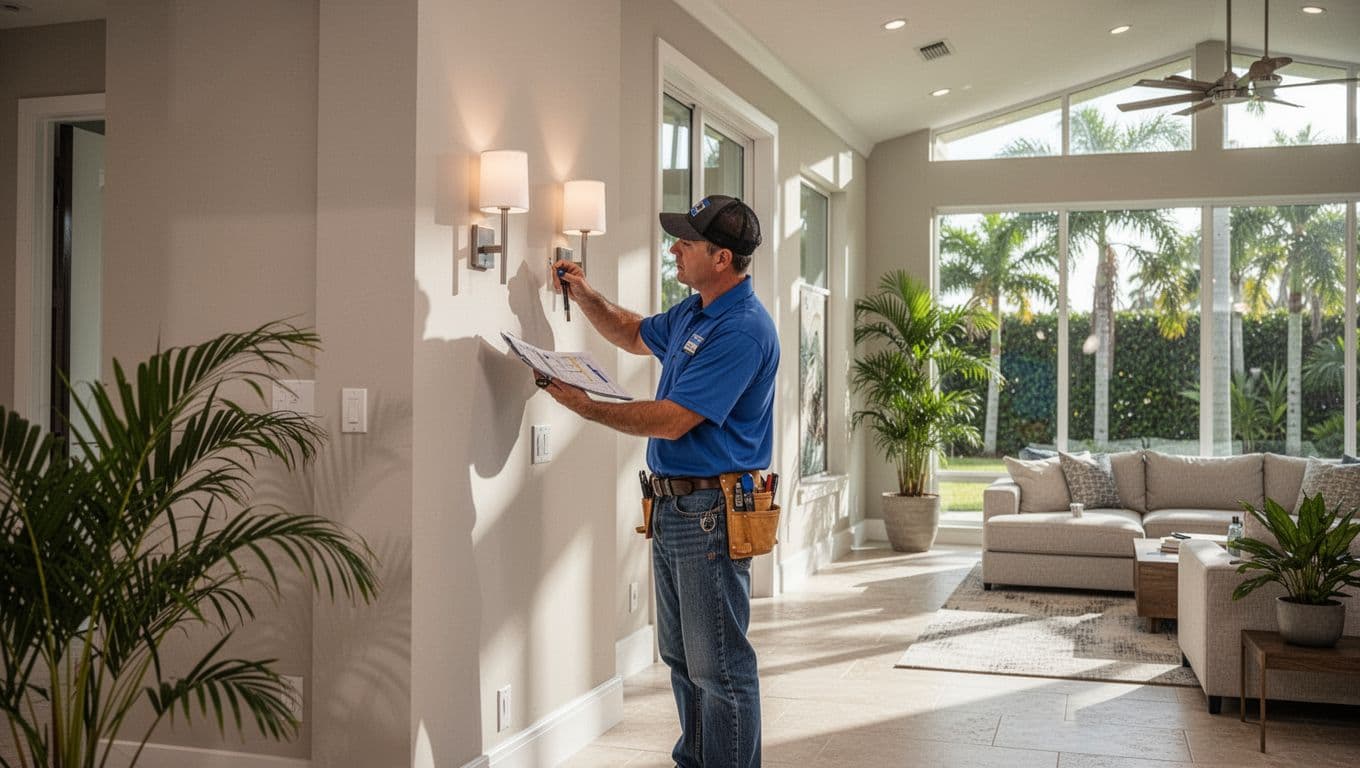
Move through the home in the same direction each time. Many buyers start with the kitchen, become distracted by finishes, and miss a damaged door or nonworking outlet in a bedroom. A consistent route keeps the inspection complete.
Walls, floors, doors, and windows
- Check walls and ceilings for dents, nail pops, visible seams, stains, uneven texture, and incomplete paint.
- Inspect flooring for cracked tile, chipped edges, loose boards, scratches, hollow-sounding spots, or unfinished transitions.
- Open and close interior doors. Check hinges, latches, privacy locks, trim, and the gap beneath each door.
- Test closet doors, shelving, cabinet doors, drawers, and hardware.
- Look closely at countertops, backsplashes, sinks, tubs, shower surrounds, mirrors, and grout.
- Confirm that windows open, close, lock, and include the correct screens.
- Compare lighting fixtures, ceiling fans, plumbing fixtures, cabinet colors, countertops, and flooring with your selections.
Use a flashlight at a low angle along painted walls. This can reveal ridges and patches that overhead lighting hides. Photograph both the broad location and the close-up detail.
Plumbing, electrical, and air conditioning
- Run hot and cold water at each sink, shower, and tub. Check water flow, drainage, faucet leaks, and visible connections beneath sinks.
- Flush every toilet and inspect the base and nearby flooring for moisture.
- Press the test button on installed GFCI outlets, then reset them. Test regular outlets with a charger or outlet tester.
- Turn on lights, fans, switches, exhaust fans, and dimmers.
- Set the thermostat to cooling and check that air comes from each expected supply vent.
- Ask where the HVAC filter, condensate drain, shutoffs, main water valve, and electrical panel are located.
- Check accessible air returns and supply grilles for damage, loose fittings, or excessive construction dust.
- Press the test buttons on smoke and carbon monoxide alarms where installed.
Don't remove electrical panel covers or enter unsafe attic areas during the walkthrough. Ask the builder's representative to demonstrate systems that need special access.
Kitchen, laundry, garage, and attic
Run each appliance according to the builder's instructions. Check that the refrigerator cools, the range and oven operate, the dishwasher fills and drains, the microwave works, and the disposal runs when included. Confirm that the range hood, ice maker connection, washer hookups, dryer outlet, and dryer vent match your selections.
In the garage, inspect the slab, walls, fire-rated door, outlets, lights, water heater area, and automatic door opener. Use the opener's built-in safety test method with the builder present. Check the weather seal around the garage door and confirm that remotes are provided.
Ask to view accessible attic areas from a safe location. Look for visible roof leaks, damaged insulation, disconnected ducts, exposed wiring, or debris. Don't walk across areas without proper decking.
Record defects and repair promises
A verbal promise can be forgotten once the closing meeting ends. Write down every issue while you are standing in the room, then ask the builder's representative to review the list before leaving.
Number each issue and use precise locations. "Paint problem in bedroom" is harder to track than "3-inch unpainted patch on the south wall of bedroom 2, 18 inches above the baseboard."
Use this issue log during your Cape Coral final walkthrough :
| # | Room or location | Defect or missing item | Photo or video number | Builder response and target date |
|---|---|---|---|---|
| 1 | ||||
| 2 | ||||
| 3 | ||||
| 4 | ||||
| 5 |
Photograph each defect in two ways. Take one wide image that shows the room or wall location, then take a close image that shows the actual damage. Include a ruler or familiar object for scale when useful. Keep the original files, and avoid editing images that may later help identify the condition.
A short video can show a sticking door, rattling vent, slow drain, dripping faucet, or malfunctioning appliance. Say the room and issue aloud at the beginning, then save the video with the matching log number.
A walkthrough item is not closed because someone says, "We'll take care of it." Record the location, proposed repair, responsible party, and expected completion date in writing.
Before leaving, request a copy of the completed punch list. An email from the builder or a signed document should identify unresolved work, repair responsibility, timing, and the process for reporting warranty concerns. Keep it with your closing and home documents.
Complete a final check before signing
The builder may repair some items between the first walkthrough and closing. If you return for a second visit, don't inspect only the marked defects. Recheck nearby paint, flooring, cabinets, fixtures, and surfaces for damage caused during repairs.
Use this short closing-day list:
- Confirm every punch-list item has a status, photo, or written update.
- Test water, electricity, air conditioning, lights, appliances, garage doors, and irrigation again.
- Check that construction debris, labels, protective film, and leftover materials are removed as agreed.
- Confirm that keys, garage remotes, access devices, mailbox information, and alarm details are ready.
- Collect appliance manuals, warranty contacts, paint information, HVAC filter details, and equipment instructions.
- Verify that pool, lanai, screen enclosure, irrigation, and backyard items match the agreed scope when included.
- Photograph the home's condition after the final cleaning and before moving furniture inside.
If a significant issue remains unresolved, tell the builder and your closing professionals before signing. Ask for the next step in writing, and keep your records organized.
Protect your closing with a careful final walk
A new home walkthrough should feel methodical, not rushed. Check the exterior water path, test every installed system, compare finishes with your selections, and document defects with numbered photos.
The strongest record combines a detailed issue log with written builder commitments. When the Cape Coral final walkthrough is complete, you should know what is finished, what remains, who is responsible, and when the remaining work should be addressed. That clarity gives you a better handoff and fewer surprises after moving day.