
Kitchen Flooring Transitions Without Awkward Height Changes
Explore Our Services
Contact Us Today!
(239) 322-9295
Smooth kitchen flooring transitions start with measuring the complete floor assembly on both sides of the opening. That includes the flooring, underlayment, adhesive or mortar, and any subfloor repairs that change the final elevation.
A trim piece can't compensate for every mismatch, especially when appliance openings and door clearances already limit your options. Start with the finished heights, then plan the preparation and connection before installation begins.
Key Takeaways
- Measure both finished-floor elevations from the same reference, including layers that haven't been installed yet.
- Choose transition trim after the floor assembly and doorway dimensions are established, rather than buying it by appearance alone.
- Coordinate subfloor preparation, cabinetry, appliances, and flooring installation so the doorway connection doesn't become a last-minute compromise.
The goal is a supported, firmly attached connection with finished edges and enough room for the flooring system's required movement.
Measure Finished-Floor Heights Before Choosing Trim
The visible flooring is only one part of the height calculation. Comparing a tile sample with a plank sample won't tell you where the installed surfaces will finish.
Establish a shared reference
For existing floors, place a rigid straightedge across the opening and measure the difference between the finished surfaces. Keep it supported and account for the straightedge's own thickness when taking measurements.
Measure at both ends of the opening and through the middle. A doorway can have a changing height difference because the slab slopes, the subfloor dips, or previous flooring work varies.
For floors that haven't been installed, a laser level provides a common reference across adjoining rooms. Record the substrate elevation on each side, then add the planned installation layers.
Keep those measurements on the project drawing rather than relying on a verbal description of which floor is higher.
Include every installation layer
The planned buildup may include patching compound, leveling material, a membrane, underlayment, adhesive, mortar, and the finish flooring.
Use the installed assembly height , including the intended setting-material thickness. An uncompressed adhesive ridge or a loose stack of samples doesn't reproduce the final installation.
Also account for flooring that will remain underneath the new material. An overlay changes more than the doorway connection; it can affect doors and appliance access.
Record the measurements before ordering transition trim, then update them if preparation changes the substrate.
Prepare the Slab or Subfloor Before Installation
Transition planning starts beneath the finish flooring. A decorative strip won't correct an unsupported edge, unstable substrate, or poorly prepared doorway.
In Southwest Florida, concrete moisture also belongs in the preparation plan. A slab can look dry while moisture continues moving through it.
Correct the base without creating another problem
Inspect exposed concrete for cracks, high areas, adhesive residue, and depressions. Preparation may involve grinding, approved patching, or leveling material, depending on the flooring system.
Flatness and level describe different conditions. A floor can slope while remaining flat, so the preparation plan should address the installation's actual requirements.
On wood subfloors, loose fasteners, damaged panels, and excessive movement need attention before covering them.
Avoid adding extra cushioning or unrelated underlayment layers simply to gain height. The flooring system needs the support and materials its manufacturer permits.
Treat moisture and cracks as separate issues
Moisture testing may involve relative humidity probes or calcium chloride testing, depending on the installation requirements. Surface appearance alone doesn't establish suitability.
Our guidance on how slab moisture affects flooring selection explains why the concrete, adhesive, underlayment, and flooring must work together.
Tile assemblies may also need crack-isolation treatment. However, a membrane doesn't replace an assessment of substantial cracking or movement.
Complete this work before cabinets restrict access. Then update the finished-height plan to reflect the prepared surface.
Understand Kitchen Flooring Transitions Before Buying
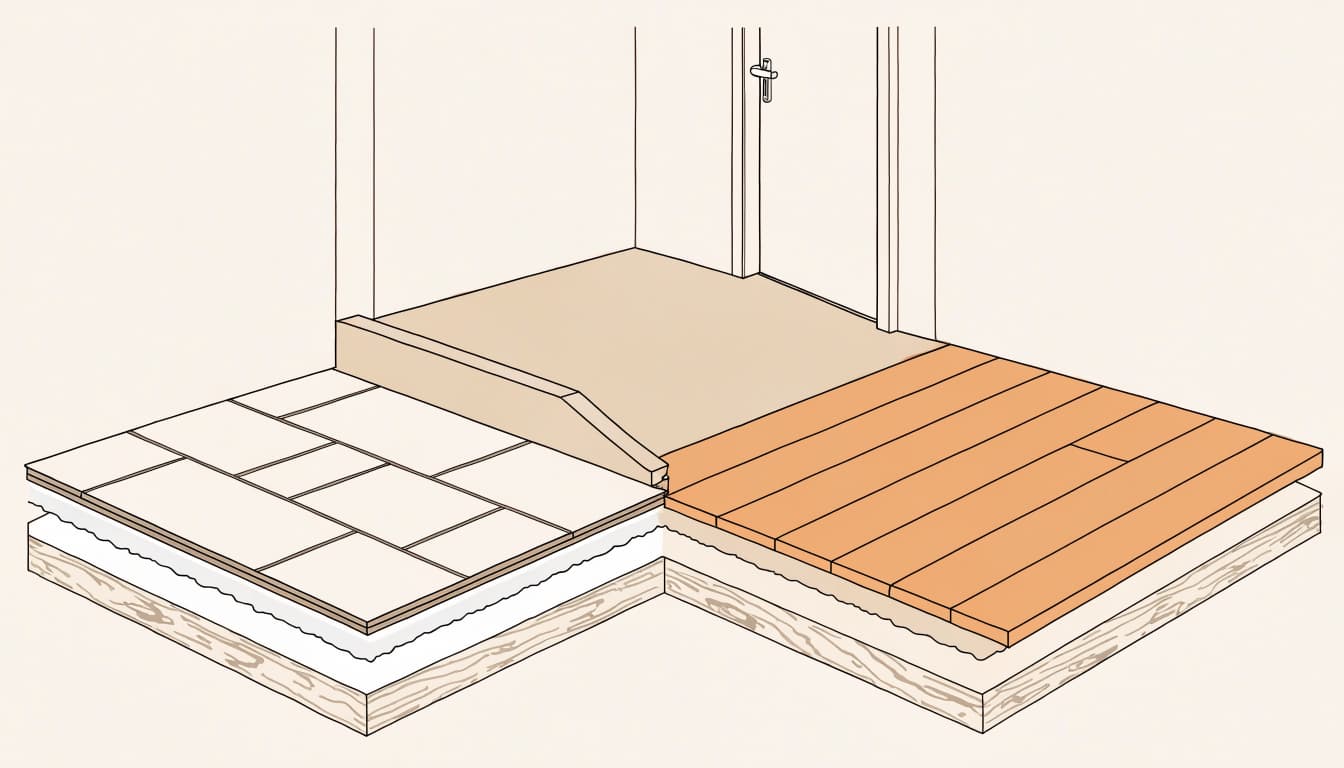
Reducers, T-moldings, and thresholds have different shapes and attachment details. The name alone doesn't establish whether a piece will fit your doorway.
Selection depends on measured elevations, seam width, flooring movement requirements, and the profile's stated installation range.
Compare reducer and T-molding construction
A reducer has a sloping upper face. A T-molding has a cap with a central stem that sits within the joint.
Look beyond the visible finish. The underside, supporting surfaces, and fastening arrangement determine how the profile sits within the assembly.
Some profiles attach through a separate track; others use an approved adhesive or fastening detail. Those installation methods aren't interchangeable.
Dry-fit the selected piece across the full opening. Both edges should sit as intended, without rocking, unsupported sections, or a cap forced into position. A color match doesn't compensate for a poor mechanical fit.
Consider thresholds as part of the opening
A threshold spans an opening and may form part of a door assembly. Its shape and installation need to work with the flooring and surrounding construction.
Before adding one, account for the door swing, clearance beneath the door, and the way trim ends meet the jambs.
A kitchen connection to a lanai needs additional attention. Exterior door details involve drainage, waterproofing, and protection against wind-driven rain.
Changing that connection calls for coordinated construction details. An interior trim choice alone can't resolve an exterior doorway problem.
Coordinate Flooring With Cabinets and Appliances
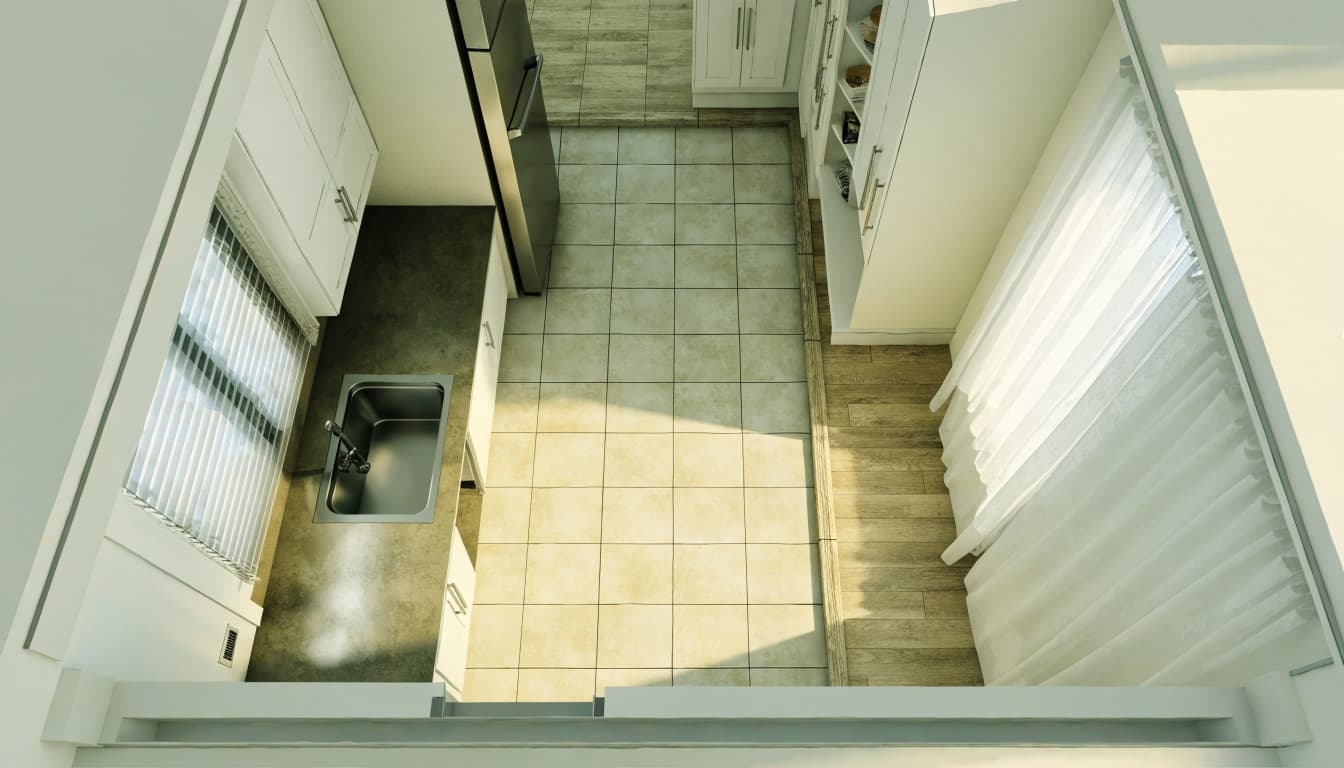
A well-planned doorway can still leave problems inside the kitchen if the new floor changes appliance clearances.
The flooring product, installation method, cabinet layout, appliance dimensions, and transition locations belong in one project plan. That plan should identify who prepares the substrate and which finished elevation each trade will use.
Keep appliances removable
A dishwasher can become trapped when a new floor rises in front of it after the countertop is installed. Its opening needs enough clearance for removal after the flooring is complete.
Plan a suitable finished surface or supported platform within the appliance bay, coordinated with the selected flooring system. Avoid leaving an abrupt obstruction at the front of the opening.
Refrigerators and slide-in ranges also need an appropriate supporting surface and a workable removal path.
Use the selected appliances' dimensions when planning openings. Cabinet dimensions alone don't establish whether everything will remain serviceable.
Put the installation sequence in writing
Plan the kitchen flooring and cabinet installation sequence alongside appliance access and the adjoining-room connection.
The written scope should identify the flooring installation method, preparation responsibilities, finished elevations, and transition locations.
Tile and other permanently bonded materials can often precede cabinetry. However, the exact flooring system controls the installation detail.
Keep required movement spaces clear at fixed objects. Rigid grout, mortar, or an improperly positioned trim piece can interfere with those spaces.
Any change in flooring selection should trigger a review of the height plan before installation continues.
Place and Secure the Connection Deliberately
In a doorway with a door, locate the flooring seam beneath the closed door where the layout permits. This keeps the material change associated with the opening rather than extending awkwardly into either room.
For an open kitchen, align the connection with a clear architectural boundary. A wall return or consistent room edge usually provides a more deliberate location than an arbitrary line through the walkway.
Before fastening, make sure the profile fits the entire opening. The prepared base should support it as required, including at the ends.
Fasteners and adhesive must follow the selected system's attachment detail. Where flooring needs movement, the connection must preserve it.
After installation, inspect the joint under normal walking pressure. Rocking, lifted corners, exposed fasteners, and sharp edges need correction before the work is complete.
Also test nearby doors and appliance movement. Finish by removing debris from tracks and joints, since leftover material can interfere with the intended fit.
Frequently Asked Questions
Can transition trim fix a substantial height difference?
Transition trim has a defined installation range. A substantial mismatch may require changes to the floor assembly, substrate preparation, or doorway design.
A flooring professional should assess situations involving pronounced elevation changes, damaged substrates, uncertain support, or conflicting installation requirements. Covering the joint shouldn't be the only consideration.
The professional's scope should address both finished elevations and the construction beneath them, rather than treating the visible trim as an isolated repair.
Can adjoining rooms share one continuous floor?
A continuous finish can reduce the number of visible material changes, but it still needs a suitable substrate and the flooring system's required joints.
Using the same flooring in both rooms doesn't automatically eliminate elevation differences. Existing substrates, preparation needs, and installation layers can still vary.
Plan the connection before assuming the flooring can run uninterrupted.
When should transition trim be ordered?
Choose its appearance during material selection, but establish the actual assembly dimensions before finalizing the profile.
Order the appropriate attachment components with the trim so installation doesn't depend on an improvised substitute.
If substrate preparation changes the planned elevation, resolve the fit before installing the adjoining floor edges. That preserves more options than trying to adapt a finished opening.
Make the Height Plan Part of the Kitchen Plan
The strongest kitchen flooring transitions begin with finished-height planning . Measure the complete assemblies, prepare the substrate, and coordinate the connection with cabinetry, doors, and appliance access.
For a Southwest Florida kitchen renovation, we can include those decisions in the broader remodeling plan. A supported, secure connection should feel like part of the finished room, with no unresolved edge left for the final day.