Custom Home Water Leak Sensors: Fort Myers Location Plan
Explore Our Services
Contact Us Today!
(239) 322-9295
A slow leak behind a refrigerator can go unnoticed long after your new home's finishes are complete. Planning custom home water leak sensors before construction helps you address those hidden areas while plumbing routes, equipment locations, and access points are still easy to change.
The strongest plan combines early detection with sound plumbing, proper waterproofing, and reachable shutoffs. Start with the floor plan, then coordinate each proposed sensor location with your builder, plumber, and electrician.
Key Takeaways
- Mark likely leak locations before slab work and plumbing rough-in, then verify placement against finished cabinetry and appliances.
- Include sinks, toilets, water-using appliances, the water heater, and concealed equipment areas.
- Confirm sensor requirements and any automatic shutoff integration for the selected system.
- Keep sensors accessible for testing and maintenance, and preserve all required waterproofing, drainage, and inspections.
Plan Custom Home Water Leak Sensors Before Rough-In
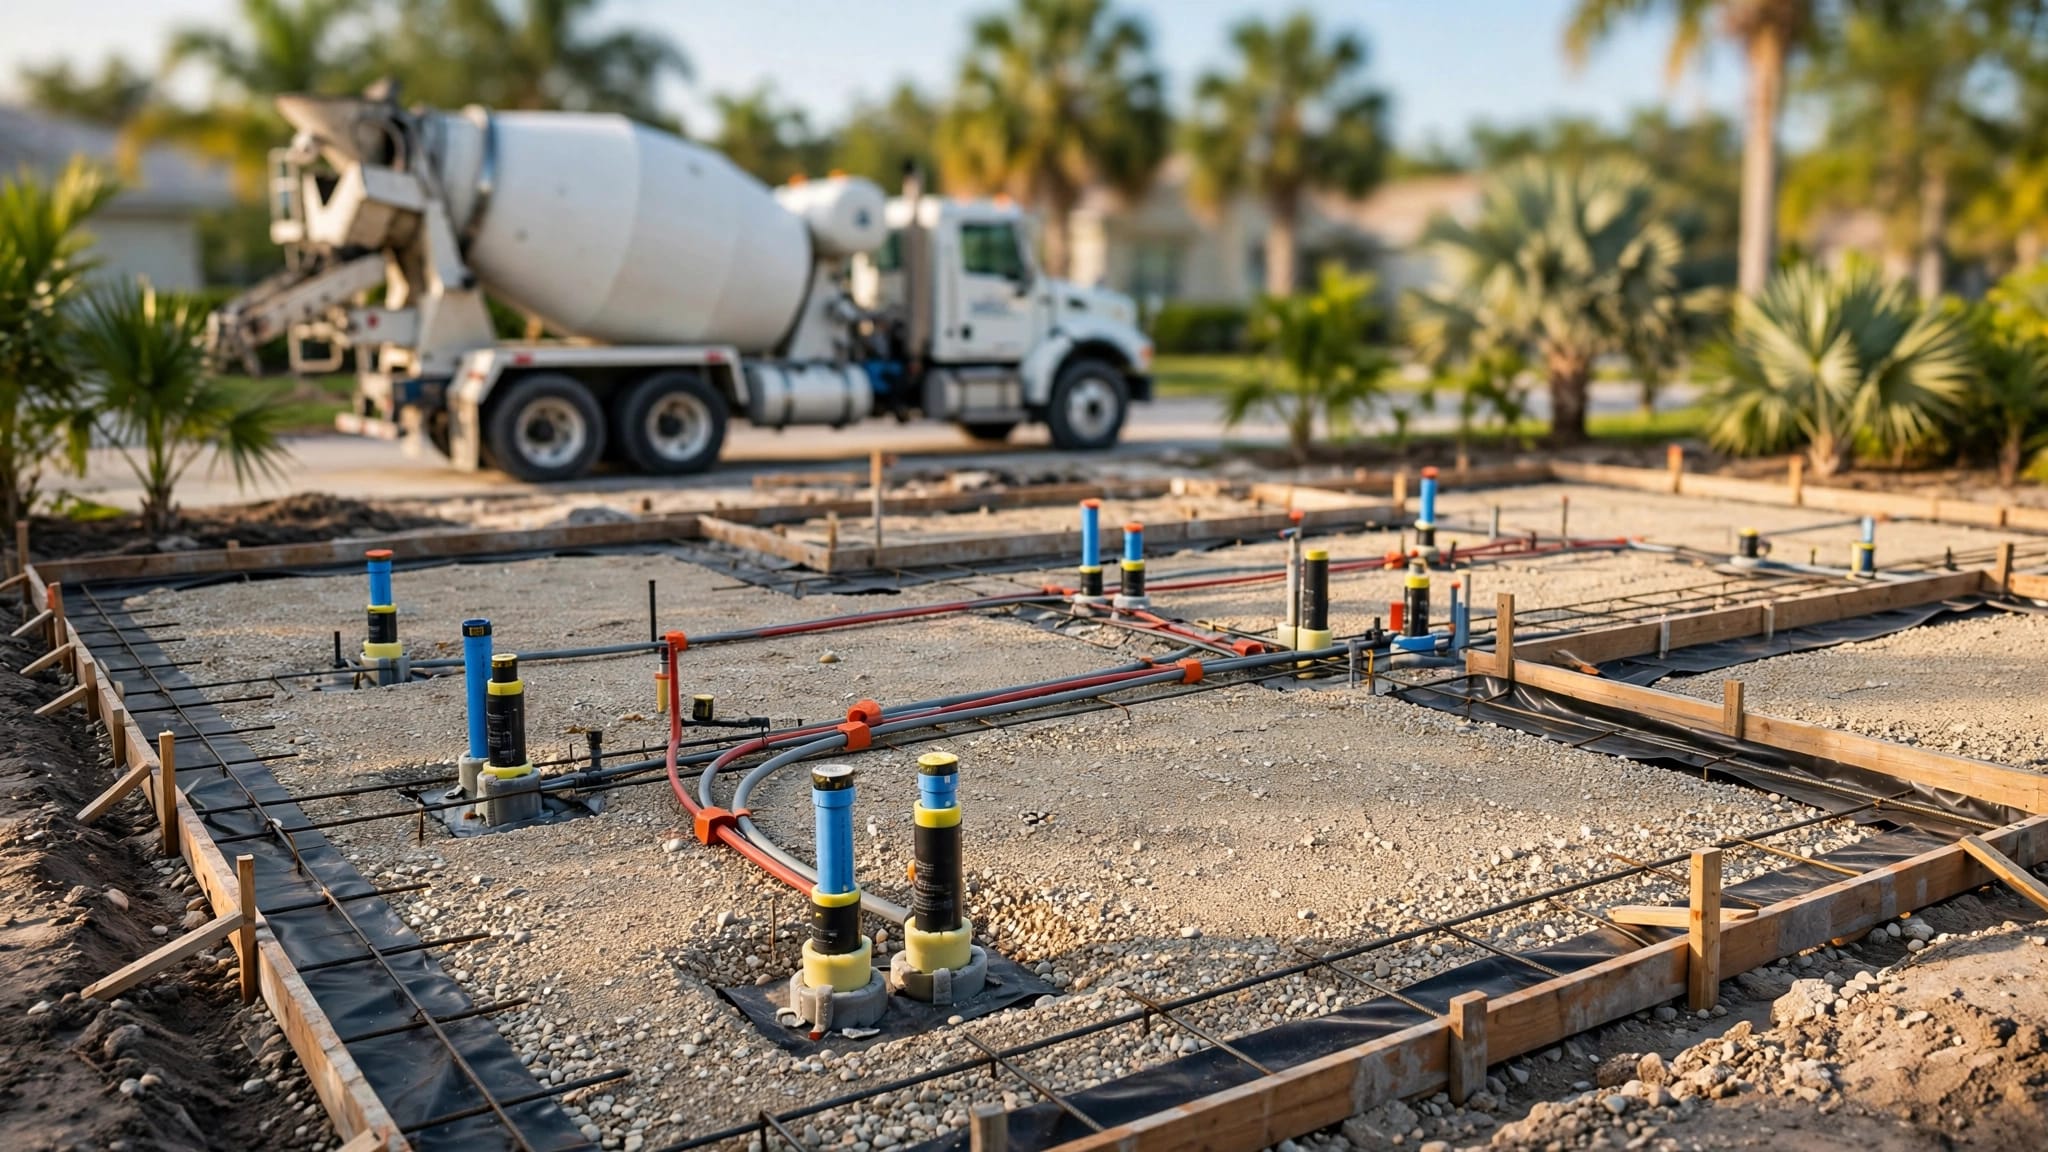
Most Fort Myers new homes use slab-on-grade construction. Plumbing routes therefore need coordination before concrete work, when drains, sleeves, electrical conduits, and structural details compete for space.
Begin with new-home plumbing layout planning, then add proposed sensor locations to the same drawings. Review those locations against finished walls, cabinets, appliance dimensions, and service access.
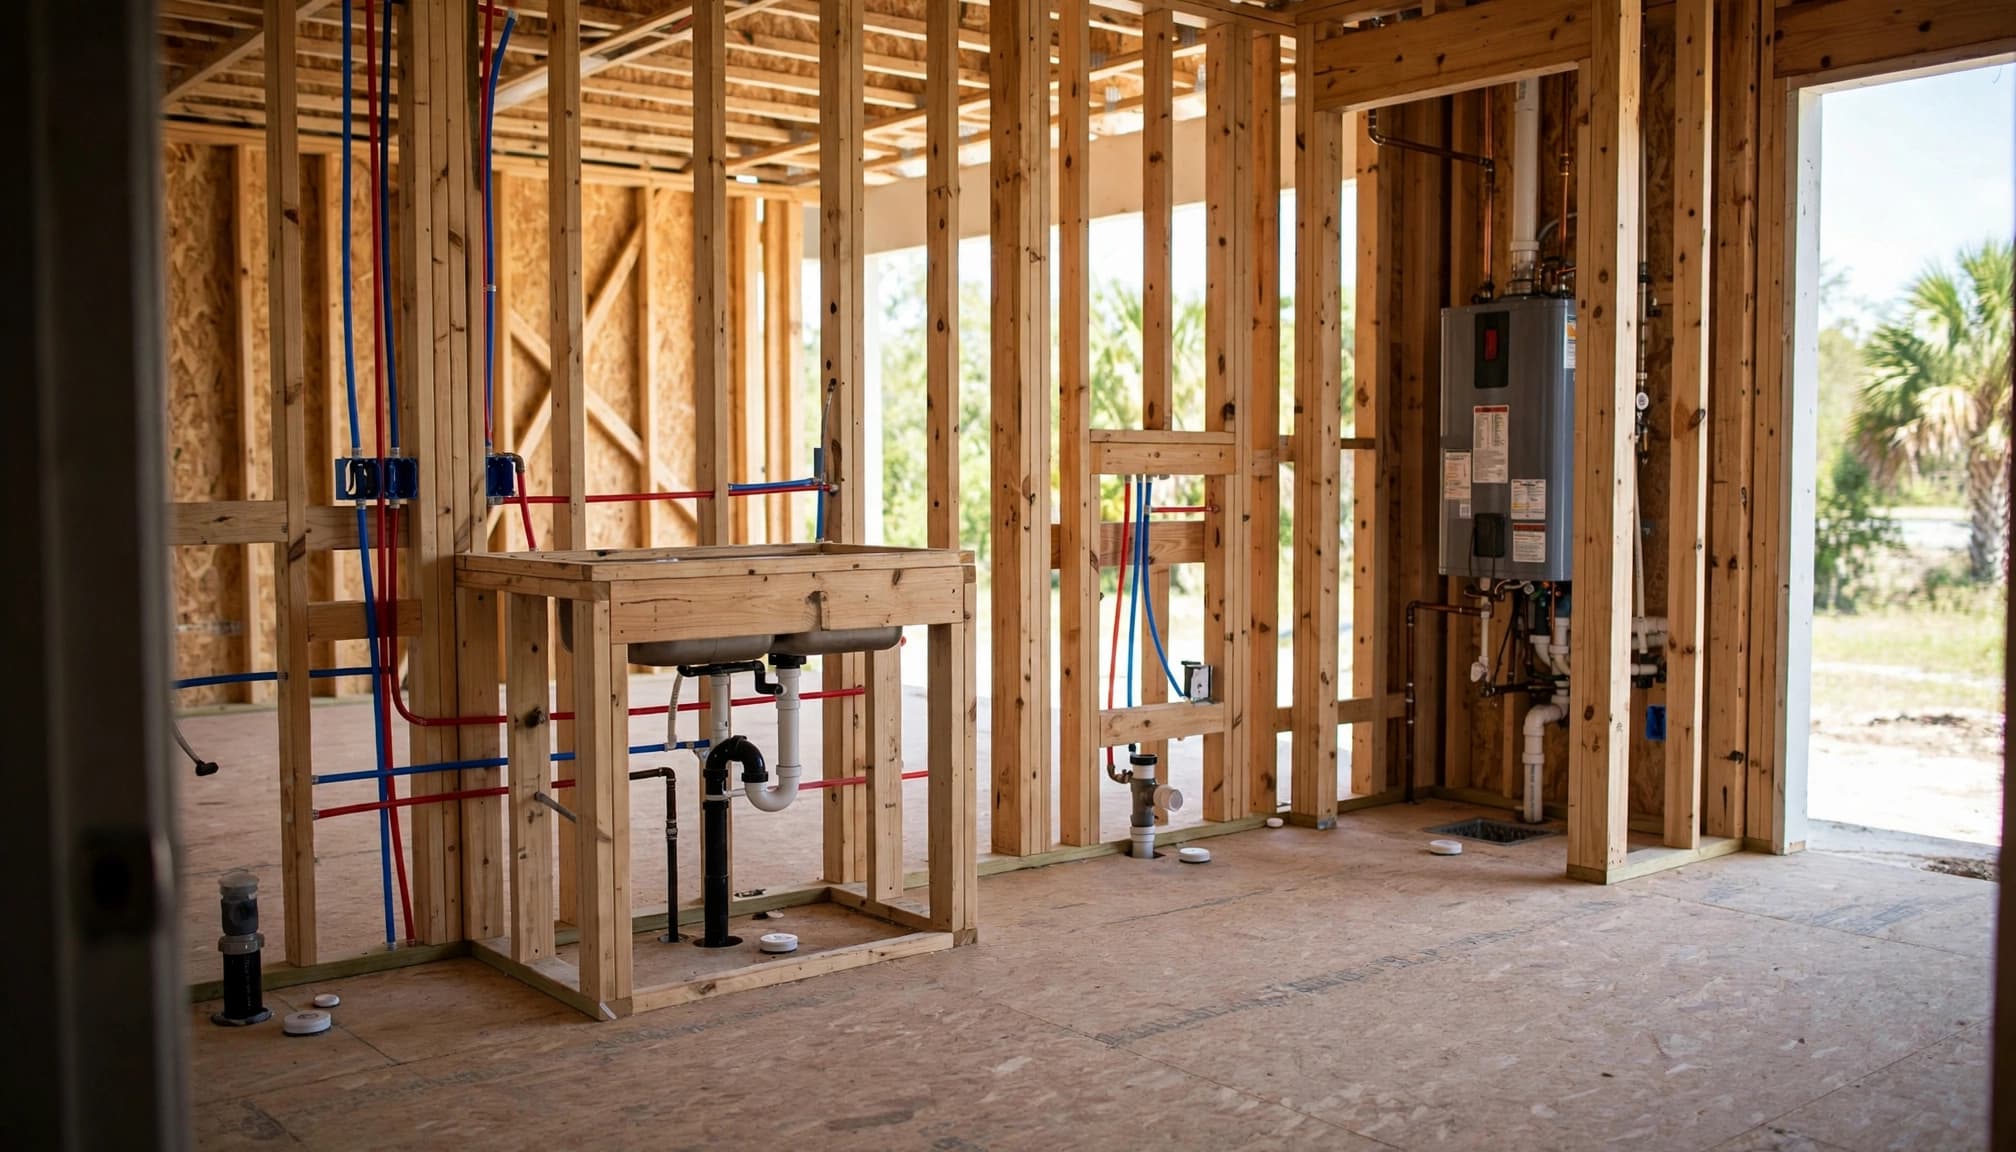
Use room names and equipment descriptions rather than vague notes such as "sensor in kitchen." A location marked "inside island sink cabinet" gives the team something concrete to review.
Also distinguish between planning and installation. The drawings can identify locations early, while the actual equipment installation follows the manufacturer's instructions and construction schedule.
Before approving the plan, consider where escaped water would travel. A cabinet divider, appliance platform, or floor slope may keep water away from a sensor placed nearby. Review these details again when finishes establish the actual collection points.
Cover Kitchen and Bathroom Plumbing Fixtures
Kitchen sinks and connected equipment
Review the sink cabinet for supply connections, the drain trap, garbage disposal connections, and any filtration equipment. Place the proposed sensor where escaped water could reach it, subject to the selected product's installation requirements.
Storage matters too. Cleaning supplies shouldn't conceal the sensor or prevent access. Coordinate its location with cabinet organizers and pullout hardware before ordering cabinetry.
Treat the dishwasher and refrigerator water connection as separate review points. Their leaks may collect behind appliances rather than inside the sink cabinet.
Finalizing these locations early follows the same sequencing used for sink and dishwasher plumbing changes: settle appliances and cabinets before plumbing work begins.
Bathroom vanities, toilets, and tubs
Include each vanity cabinet, especially when separate sinks have separate compartments. Examine toilet supply connections and accessible plumbing behind freestanding or built-in tubs.
Choose locations that distinguish an unintended leak from ordinary splashes or cleaning water. Avoid planning a sensor in a routinely wet shower area without confirming that application with the manufacturer.
For concealed tub plumbing, preserve an appropriate service opening rather than sealing equipment behind permanent finishes.
Meanwhile, bathroom waterproofing before tile remains a separate construction responsibility. Sensors don't replace shower membranes, correctly connected drains, or required testing.
Give Laundry Equipment and Water Heaters Their Own Review
Laundry rooms and secondary appliances
At the washing machine, review supply hoses, shutoff connections, the drain connection, and any specified appliance pan. Coordinate the sensor location with the finished appliance position so servicing the washer doesn't require disturbing the detection equipment.
A laundry sink deserves its own review because a leak there may follow a different path. Also include plumbed beverage stations, bar sinks, standalone ice makers, and other water-connected appliances shown on the plans.
Keep future access practical. A sensor hidden beneath fixed cabinetry or trapped behind stacked equipment may be difficult to inspect.
The builder should confirm that installation and replacement remain possible after countertops, trim, and appliances are complete.
Water heaters and water treatment
Review the water heater's connections, surrounding floor, and any required drain pan and discharge arrangement. Ask the plumber where a leak could collect and whether the proposed sensor location suits the selected product.
Don't obstruct drainage, service clearances, or access to controls.
Municipal water, a private well, filtration equipment, and a water softener can change the utility layout. Consequently, the sensor plan should follow the actual equipment schedule rather than a standard room checklist.
Include accessible treatment connections where appropriate. However, planned discharge and drainage still need correct installation; a sensor provides additional monitoring, not a replacement drainage system.
Look Beyond the Obvious Wet Rooms
Some useful review points sit outside kitchens and bathrooms. Plumbing manifolds, accessible pipe chases, and equipment closets can contain connections you rarely see during daily use.
Compare manifold and trunk-line plumbing layouts with the proposed monitoring plan. Individual fixture shutoffs and a central equipment area affect service access, but they don't remove the need to inspect appliance connections.
Air-conditioning condensate drainage also deserves attention in Southwest Florida's humid climate. Coordinate any supplemental monitoring around air handlers with the HVAC contractor. Preserve required condensate drainage and overflow protection.
A household water shutoff won't stop an air conditioner from producing condensate. Likewise, floor sensors shouldn't be presented as dependable detection for every concealed or under-slab leak.
An inaccessible leak can remain undetected if water never reaches the planned sensing location.
Finally, review outdoor kitchens separately. Confirm that any proposed equipment suits its exposure, and keep irrigation and pool plumbing coordination distinct from household monitoring.
Decide Whether Automatic Shutoff Fits the Plan
A notification system and a system that can close a water valve require different coordination. Before selecting custom home water leak sensors, decide what response you want and have the installer verify that the chosen equipment supports it.
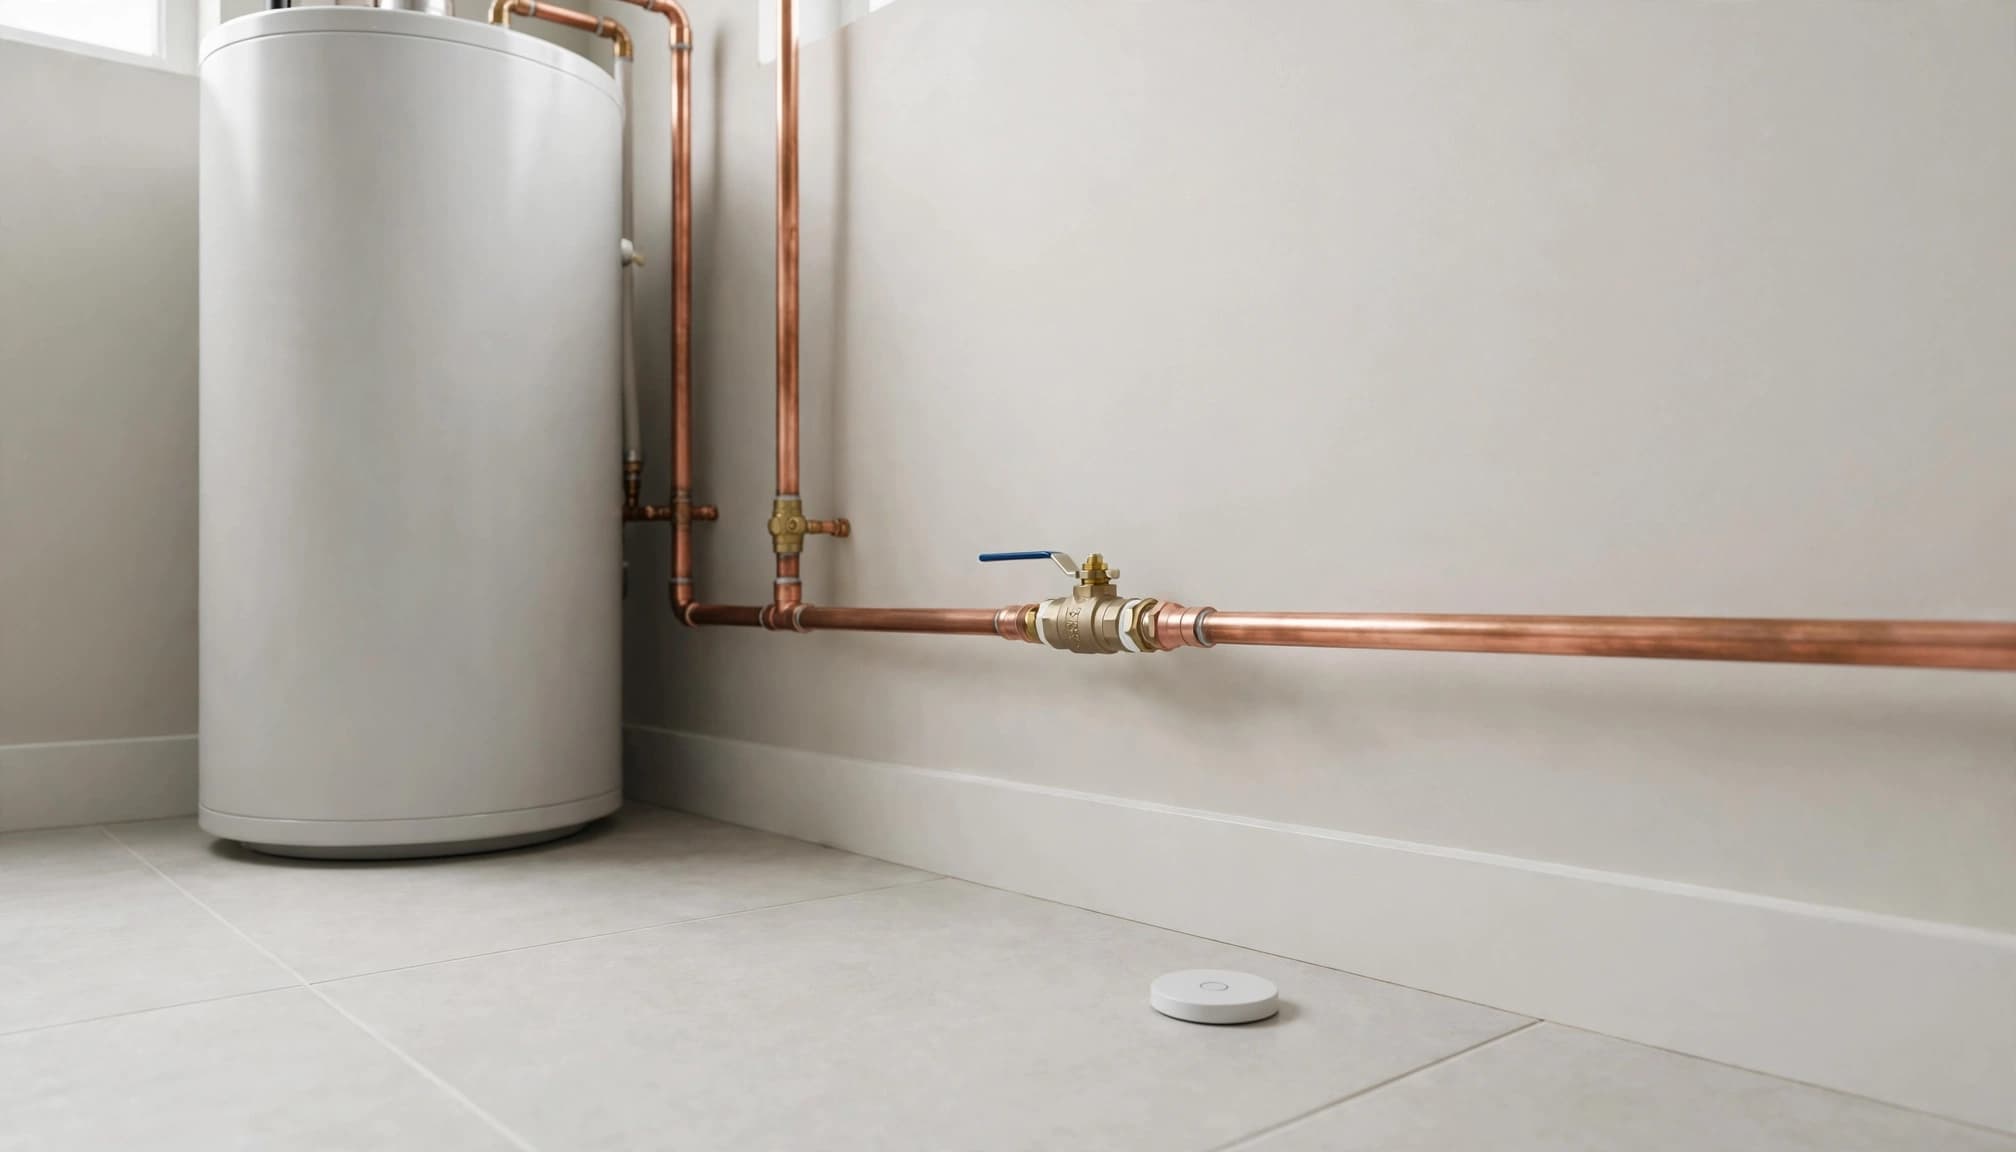
The plumber should identify the proposed valve location and explain which branches it would control. Irrigation, pool fill lines, water treatment, and any fire sprinkler supply need explicit review rather than assumptions.
For homes with private wells, discuss the arrangement with the well-system professional too.
Keep the valve reachable for service and manual operation. Don't hide it behind permanent cabinetry or equipment that blocks access.
Also confirm how the selected system behaves during power or communication interruptions. Establish who receives alerts and who can respond when you're away.
Closing a household supply valve can limit continued flow from the piping it controls. It won't stop roof leaks, stormwater entry, or every other source of water.
Assign Responsibilities to the Construction Team
The builder should maintain one coordinated plan and written scope. Identify who supplies the sensors, installs related equipment, completes setup, tests the system, and teaches you how to use it.
The plumber confirms water-side details
Have the licensed plumber review fixture connections, sensor access, valve placement, and the relationship between the shutoff and other water systems.
The plumber should apply the Florida Building Code and applicable local inspection requirements to the property's actual design. Planning advice doesn't establish whether a particular installation needs additional approvals.
If you change a fixture or appliance after rough-in, revise the monitoring plan too. A relocated refrigerator or redesigned vanity can leave the original sensor location ineffective.
Ask for written confirmation of the change's installation cost and schedule effect before work proceeds.
The electrician coordinates supporting infrastructure
Bring the selected product documentation into custom-home electrical planning. The electrician should confirm any required power provisions and coordinate wiring with the builder and system installer.
Verify communication requirements and equipment locations before drywall. Don't assume that a planned network arrangement will work at every final sensor position.
Keep electrical work clear of required plumbing access, and avoid routing that conflicts with cabinets or appliance installation.
The proposal should identify applicable equipment, valve installation, electrical work, setup, and testing. This makes competing quotes easier to compare without relying on a device-only price.
Verify Placement Before Closing Walls and Before Move-In
Use the pre-drywall walkthrough to compare drawings with installed plumbing and electrical work. Check access openings, valve locations, equipment clearances, and any infrastructure required by the chosen system.
Photograph concealed piping and relevant rough-in details before insulation and drywall cover them. Keep those images with the final plans, equipment instructions, and warranty records.
Then review sensor placement again after cabinetry and appliances are installed. Finished conditions may change where water collects or how easily you can reach the equipment.
Before handover, follow this sequence with the installer:
- Confirm each final location and identify it clearly in the system.
- Test detection and notifications using the manufacturer's approved procedure.
- Test any integrated shutoff and demonstrate manual operation and restoration.
- Record maintenance requirements and the contact responsible for troubleshooting.
Routine care still matters after move-in. Follow the product's maintenance instructions and continue inspecting hoses, valves, drains, and waterproofed areas.
Frequently Asked Questions
How many leak sensors should a custom home have?
Base the quantity on the actual floor plan, equipment list, and likely water paths. A single room may contain several separate leak locations.
Start with concealed appliance connections and seldom-visited equipment areas, then review fixtures throughout the house. Have the installer confirm the final quantity and locations for the selected system. There's no universal room-by-room count that fits every custom home.
Can sensors be added after construction?
Some installations are possible after move-in, but the selected equipment determines what's involved. Adding valve integration, power provisions, or concealed wiring later may require more work.
Planning early preserves options and service access. It also lets the builder coordinate monitoring with cabinets, appliances, and plumbing rather than adapting the system around completed finishes.
Build Detection Into the Plan, Keep Prevention First
An unnoticed appliance leak is easier to address when monitoring and access were considered before construction. Plan around actual fixtures, equipment, and water paths, then verify the installation with the responsible trades.
Keep proper construction and maintenance at the center of the project. Leak sensors add a useful layer of monitoring, while dependable plumbing, waterproofing, drainage, and service access provide the foundation.