Fort Myers New Home Masonry Reinforcement Checklist Before Block Installation
Explore Our Services
Contact Us Today!
(239) 322-9295
Once block covers a footing, you can't see whether every starter dowel landed in the right cell. For a Fort Myers new home, early verification gives the crew time to correct masonry reinforcement before the wall hides the work.
The approved structural plans set the requirements for each wall. Use this checklist before block placement, then repeat the relevant checks as bars, grout, and connections become accessible.
Start with the approved plans and the right jurisdiction
A familiar block detail isn't enough to build from. Wall height, openings, roof connections, and site conditions can change the reinforcement design. Keep the current approved permit set at the site and confirm that everyone is working from the same revision.
Confirm which office handles the permit
A home inside City of Fort Myers limits follows the city's Building, Permitting & Inspections process. An unincorporated Lee County property follows county procedures. A Fort Myers mailing address alone doesn't settle the question.
As of September 2026, the statewide baseline is the Florida Building Code, 8th Edition (2023), effective December 31, 2023. The 9th Edition is scheduled to take effect December 31, 2026. Confirm the code and approved documents applicable to your permit rather than assuming a future edition already governs it. These Florida Building Code requirements for new homes provide broader context for Southwest Florida construction.
Put the structural details in one working set
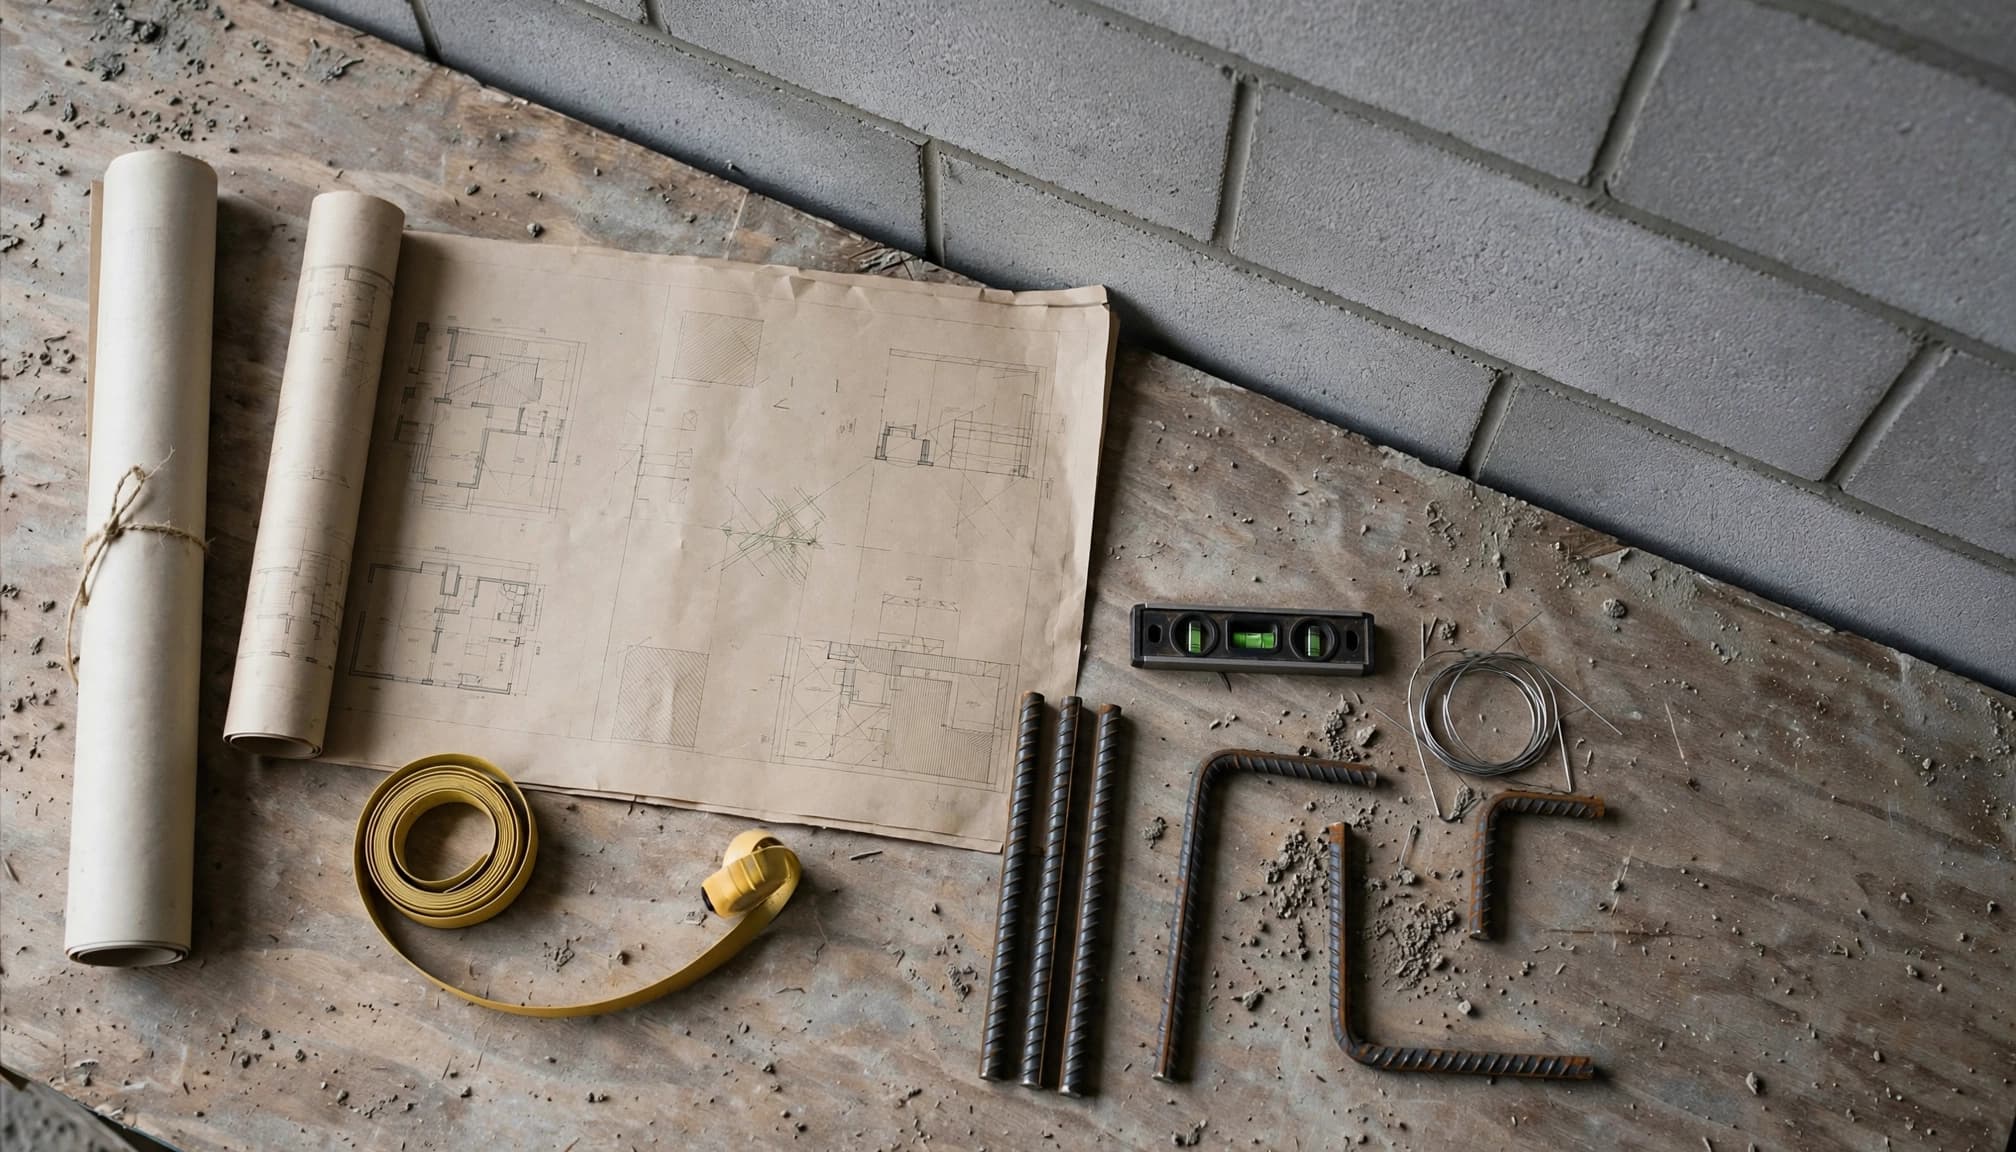
Locate the foundation plan, masonry wall details, reinforcing schedules, opening details, and roof-to-wall connections. Include approved revisions and written engineering clarifications. If an architectural drawing conflicts with a structural detail, stop and ask the design professional to resolve it.
Why the inspection starts before the first course
The first block course fixes the relationship between the footing dowels and the wall cells. A bar outside its intended cell may become harder to assess or correct as the wall rises. Later, grout can conceal whether steel and embedded connections match the design.
Before laying block, walk the entire wall line with the mason and the approved plan. Mark corners, intersections, openings, and reinforced cells that need closer attention. Then establish a second check while vertical and horizontal steel remains visible, before grout or subsequent construction hides it.
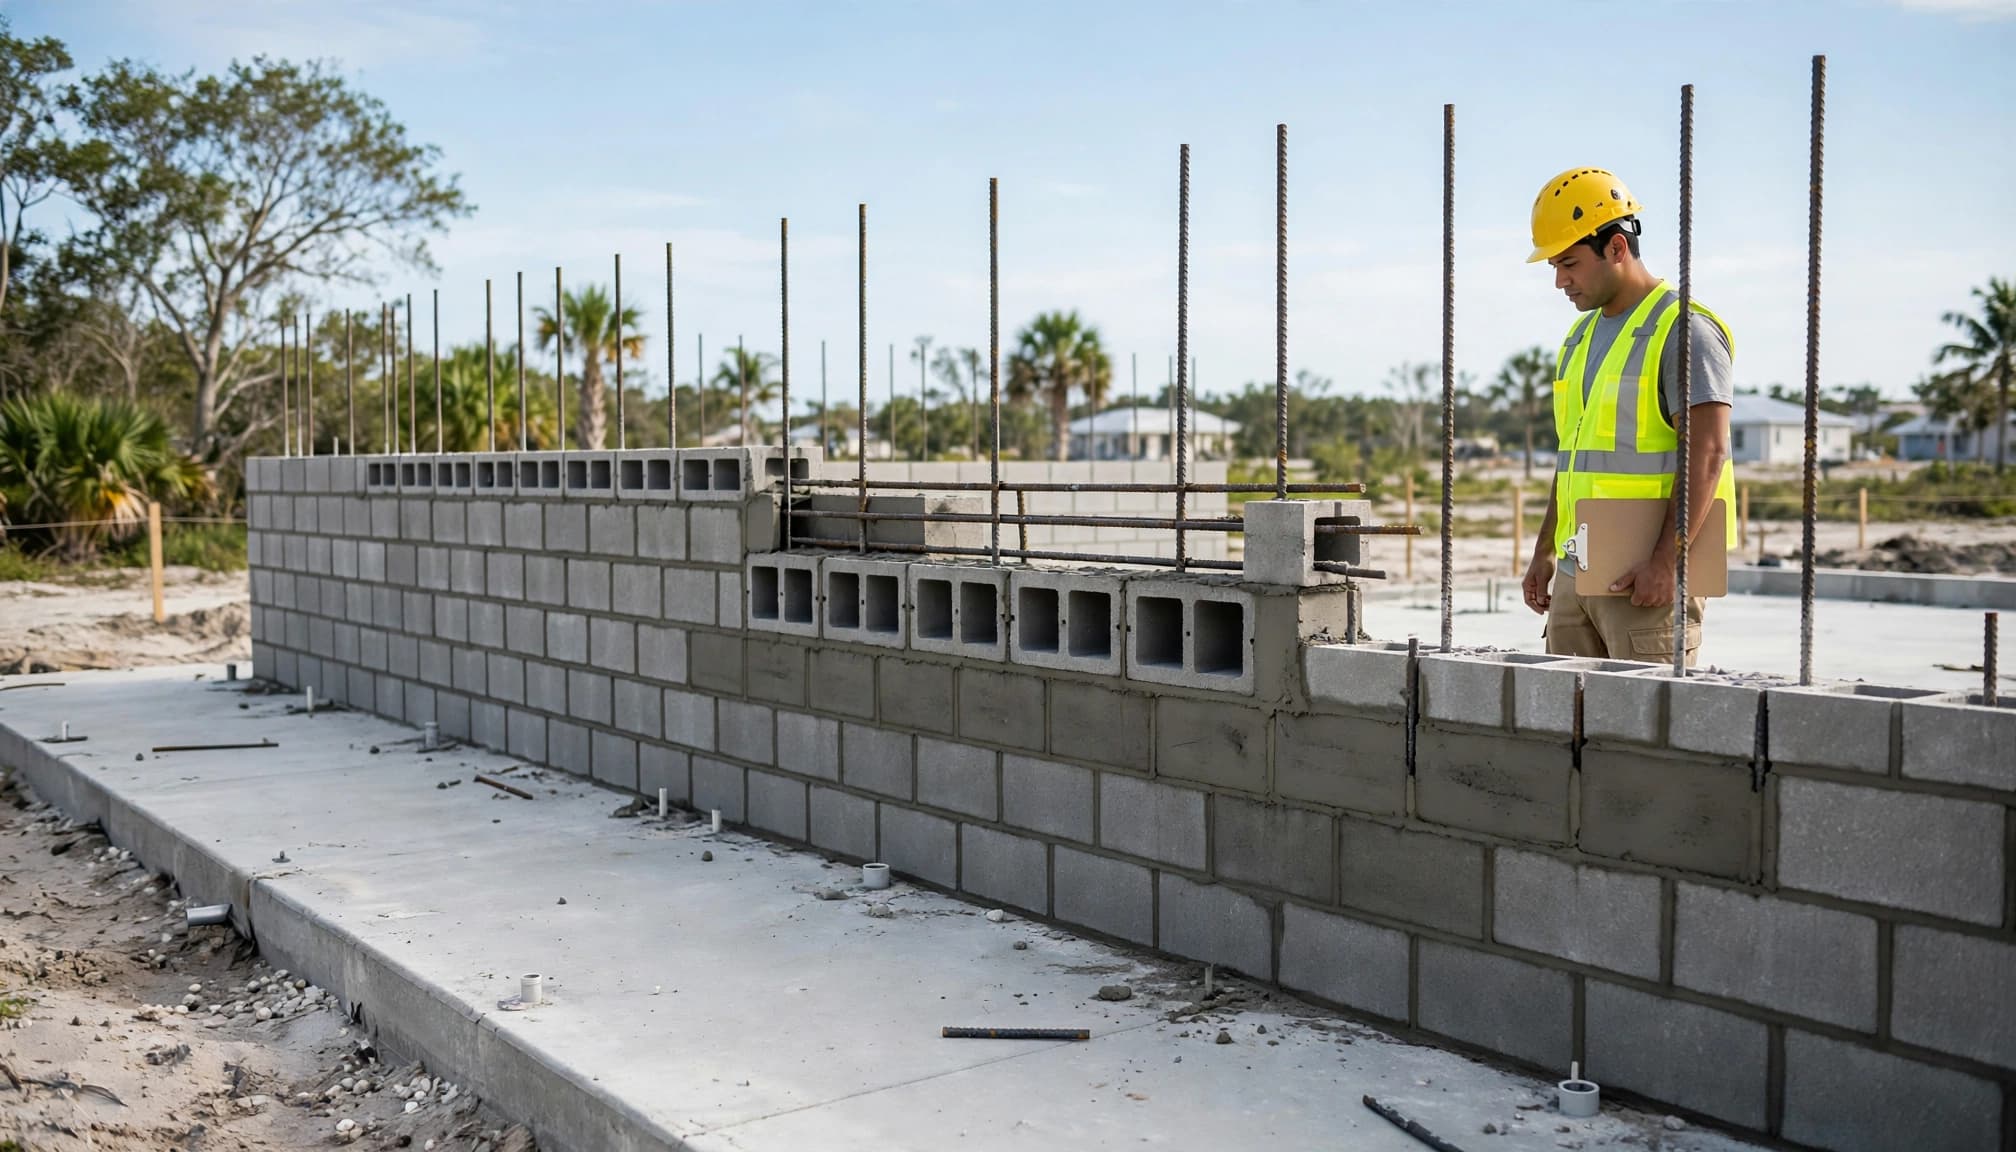
A photo of a finished block wall can't prove that a footing dowel aligned with the intended grouted cell.
Check the foundation and starter dowels
Begin where the masonry meets the concrete. If the footing is already poured, use its inspection records and approved drawings to verify work that can no longer be seen.
Match each dowel to a planned wall cell
Compare visible starter dowels with the structural layout. Check their location at corners, wall intersections, opening jambs, and any other designated reinforced cells. Verify bar size, spacing, projection, and alignment against the approved details, not a standard the crew remembers from another job.
Look along the wall line before block arrives. A dowel may be present but too far off line to fit the specified cell. Don't cut, bend, drill, or substitute a connection to make the block fit without an approved correction from the design professional.
Resolve hidden footing details through records
The required embedment or anchorage inside a poured footing isn't visible from above. Ask for the applicable pre-pour inspection record and dated photos if that detail needs confirmation. If records are missing or the exposed work conflicts with the plans, have the contractor raise it with the building official or design professional.
A change in foundation conditions can also affect the wall detail. The approved engineering plans for foundations and load paths should govern, including any authorized field revisions.
Confirm cell layout and vertical reinforcement
Once dowel locations are known, check that the proposed block layout gives each required bar a continuous path. This takes coordination before the crew commits to corners, returns, and openings.
Map reinforced cells before laying block
Identify every cell called out for reinforcement on the approved wall plan. Pay attention to narrow piers between openings, garage-door jambs, and wall ends. Compare the mason's layout with the structural sheets before the first course fixes those positions.
Check that the selected block units and corner details permit the planned steel and grout placement. A small shift made to suit a doorway or window can move a reinforced cell away from its intended location. Refer discrepancies to the design professional rather than assuming a nearby cell will do.
Recheck bars as the wall rises
Not all vertical steel is installed before the first block. At the stage specified by the plans and construction sequence, verify each bar's size, location, continuity, and position within its cell. Keep required grout spaces clear of mortar droppings and other obstructions.
Ask the crew to show how the bars will stay in the specified position during grouting. If a bar is missing, displaced, or impossible to verify, pause that area while the work remains accessible.
Verify laps, horizontal steel, and opening details
A count of visible bars doesn't establish that they form the wall the engineer designed. Connections between bars, reinforced courses, and openings deserve their own check.
Measure laps and review any proposed splice
Where bars overlap, compare the actual lap with the approved structural detail and applicable code requirement. Check the bar size, splice location, and required arrangement. No single lap length fits every Fort Myers home.
If the specified lap can't be achieved, don't assume extra wire ties or a different splice will fix it. Ask the design professional for a documented solution. This matters at footing-to-wall transitions and at any change in bar length as the wall rises.
Check bond beams, lintels, and wall intersections
Review the approved locations for reinforced bond beams, lintels, and horizontal bars. Confirm that reinforcement runs through or connects at corners and intersections as detailed. At openings, compare jamb steel and lintel bearing or connection details with the drawings.
Separate these structural requirements from any masonry joint reinforcement shown elsewhere in the documents. They may have different purposes and placement rules. Properly reinforced and grouted walls help carry loads through the home, as this comparison of concrete block and wood-frame storm performance explains.
Plan grouting and embedded connections before concealment
Grouting happens after block placement, but its requirements affect decisions made at the first course. Before work starts, confirm which cells and courses the plans require the crew to fill.
Identify the grout path
Review cleanout, lift, and placement details where the approved design calls for them. Check that required cells can receive grout and that mortar or debris won't block the path. The crew should know which cells remain unfilled under the design and which must be grouted.
Don't use a grout pattern borrowed from another house. Verify the grout material and installation approach against the approved documents and applicable code. If access becomes restricted before a required check, ask the building official how to proceed before placing grout.
Locate anchors and other embeds
Mark planned roof connectors, anchors, straps, and other embedded items on the wall layout. Check the specified position, orientation, and connection to reinforced or grouted masonry. Coordinate with the roof-framing and window-opening details before the mason closes a course that affects an embed.
A connector placed in the wrong cell can interrupt the intended load path. If the plans don't show how two components meet, request clarification rather than moving an anchor by eye.
Set inspection hold points and keep a clear record
The contractor should confirm the required inspection sequence with the authority handling the permit. Don't assume a pre-grout or pre-concealment inspection trigger applies to every Fort Myers project without checking the permit conditions and local instructions.
Make concealed work available for review
Schedule the planned checks while dowels, bars, laps, and embeds can still be seen. Keep access clear and have the approved plans ready. Block placement shouldn't outrun a required inspection or make an unresolved condition difficult to verify.
The same principle applies later in the build: arrange the appropriate review before grout, finishes, or adjacent work hide a detail that needs inspection. A permit approval doesn't replace construction-stage checks; Fort Myers new-home permit timelines account for inspections after issuance.
Record corrections against the plans
Photograph each wall before concealment, with views that show the wall location and the detail being checked. Keep inspection results, approved revisions, and written engineering responses together in the permit file.
When a mismatch appears, identify its location and the drawing detail at issue. Get the required correction approved, complete it, and document the result before that portion of the wall moves forward. A verbal assurance is difficult to verify once the steel disappears.
Key takeaways for the jobsite walk
Use these checks with the approved structural sheets in hand:
- Confirm the permitting jurisdiction, applicable code, current plan revision, and inspection sequence.
- Match footing dowels to reinforced cells before the first block course fixes the layout.
- Check bar size, spacing, position, laps, and horizontal reinforcement at the stages when they're visible.
- Locate grouted cells and embedded connections before the wall rises around them.
- Stop for clarification when field work differs from the plans; record the approved correction before concealment.
The measurements and locations come from your home's approved design , not a general-purpose checklist.
Frequently asked questions
Can I check all masonry reinforcement before block installation?
No. Starter dowels and the proposed cell layout can be checked before the first course. Other vertical bars, bond beams, lintels, and embeds become visible as masonry work progresses. Plan more than one field check so later work is reviewed before grout or construction hides it.
Is there a standard rebar spacing or lap length for Fort Myers homes?
A single dimension won't suit every design. Use the approved structural drawings and applicable Florida code requirements for the wall being built. If a detail is absent, unclear, or impossible to install, ask the design professional and building official for direction before improvising.
Does the city inspect reinforcement before grout?
Don't assume an inspection stage or timing without checking your permit. Confirm the sequence with City of Fort Myers Building, Permitting & Inspections for a city project, or Lee County Building & Permitting Services for an unincorporated county project. The contractor should schedule any required inspection while the relevant work remains visible.
Keep the steel visible until questions are settled
The cheapest time to correct a misplaced dowel is before block locks in the layout. After that, each course and grout placement makes verification harder.
Use the approved plans to guide every check, confirm inspection timing locally, and document corrections before the work disappears. Visible, plan-matched reinforcement gives your new home a sounder start than assumptions made after the wall is complete.