Custom Home Photo Log: What to Capture Before Drywall
Explore Our Services
Contact Us Today!
(239) 322-9295
Once drywall goes up, the pipe behind your bathroom mirror becomes much harder to locate. A custom home photo log preserves those hidden details for future repairs, maintenance, and renovation planning.
The most useful record combines clear locations , dated images, and documented changes. It complements required inspections and contractor records; it never replaces them.
Start by coordinating with your builder so you can photograph exposed work safely, before insulation and finishes cover it.
Key Takeaways
- Photograph whole rooms first, then individual walls and concealed systems with recognizable reference points.
- Record approved changes and completed corrections, keeping earlier photos rather than overwriting them.
- Organize original images by date, room, and construction phase, with backups stored separately.
Schedule Photos Around Safe Construction Milestones
Arrange access before visiting
Ask your superintendent when photography is permitted and which areas you can enter. Bring the current plans, approved revisions, and questions organized by room. Wear closed-toe footwear and any protective equipment the builder requires.
Stay on designated walking routes. Don't enter excavations, climb ladders, cross barriers, or walk beneath overhead work. Never move temporary bracing, wiring, tools, or building materials to improve a picture.
If a detail is inaccessible, request a contractor photo. The same rule applies to roofs, unfinished attic areas, and open pool shells.
Coordinate with inspections and covering work
Ask which installations will disappear next. Useful checkpoints include before slab placement, after rough-in inspections and corrections, and before insulation or drywall.
For electrical rough-in, coordinate the visit after inspection approval and before insulation. If work changes afterward, let the contractor determine whether another inspection is needed.
Don't interrupt an inspector, reposition components, or ask crews to pause hazardous work. Instead, arrange a separate walkthrough. In Southwest Florida, weather can shift the schedule, so confirm access before driving to the site.
What to Capture Inside Open Walls
Electrical wiring and low-voltage pathways
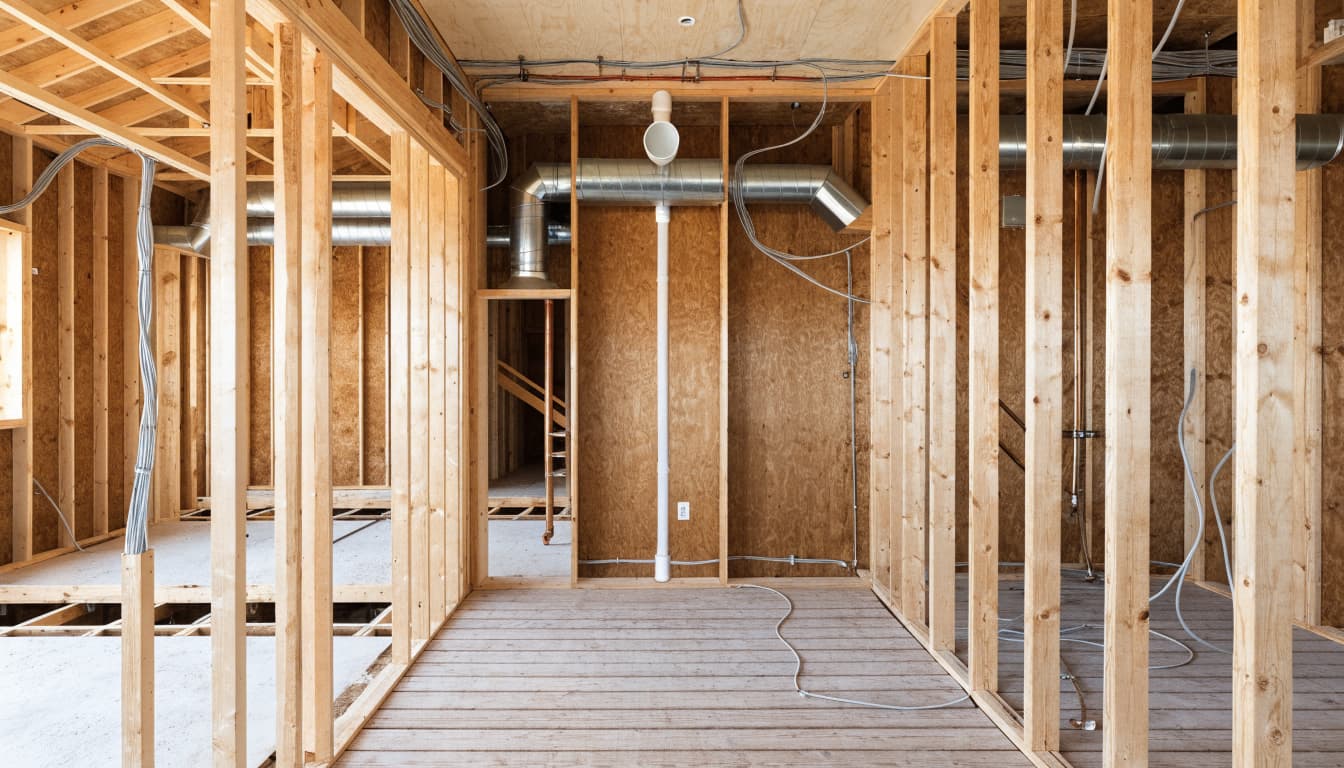
Photograph every wall containing outlets, switches, lighting connections, or appliance circuits. Include cable routes above and below boxes, especially where wiring crosses framing or changes direction.
Record panel locations from the permitted viewing area, but don't remove covers or touch electrical equipment. Also capture network cabling, security-camera wiring, speaker runs, and empty conduits intended for future use.
The electrical rough-in walkthrough checklist offers room-by-room guidance for comparing installed locations with your plans.
Pay attention to walls behind televisions, kitchen cabinetry, and bathroom mirrors. These are common places for later mounting work, although photos alone never establish a safe drilling location.
Plumbing and mechanical routes
Capture water supplies, drains, vents, shower valves, laundry connections, and refrigerator water lines. Record shutoffs, cleanouts, and planned access panels so future service points remain identifiable.
Compare locations with cabinet elevations, appliance specifications, door swings, and finished wall thickness. A pipe can match the room outline yet conflict with the selected cabinet or fixture.
For HVAC, photograph visible ducts, register boots, return-air chases, refrigerant lines, and condensate drains. Include routes crossing ceilings or passing through walls.
Ask the builder to identify uncertain components. Guessing whether a line carries water, refrigerant, or drainage can create a misleading record.
Record Framing, Blocking, and Sealed Openings
Some of the most useful photographs show ordinary framing details. Capture blocking intended for grab bars, towel bars, cabinets, wall-mounted televisions, and other agreed fixtures.
Ask the builder to confirm each location and its intended use. A photo of wood inside a wall doesn't establish its fastening capacity.
Where safely visible, record structural connectors, framing around openings, and roof-to-wall connections. Leave questions about adequacy or compliance to qualified professionals.
Before insulation, photograph completed sealing around utility penetrations and transitions at windows, doors, and ceiling assemblies. If an opening requires fireblocking or another specified treatment, the contractor must use the material required for that assembly.
Capture both the surrounding area and the finished treatment. Don't apply foam, sealant, or tape yourself.
For whole-home remodeling, also document conditions revealed during demolition. Keep those discovery photos separate from images showing completed repairs.
Make Every Photo Easy to Locate Later
Start wide, then move closer
Use a consistent sequence: photograph the room from its entrance, record each wall, then capture individual details. Include a doorway, window, or corner so close-ups have a clear location.
Keep the camera square to the wall when possible. Use the phone's standard lens rather than an ultrawide setting for dimensional references, because wide-angle distortion can mislead.
Clean the lens, check focus, and review photos before leaving. Use approved lighting without moving cords or equipment. A slow video walkthrough can add context, but still photos are easier to inspect and label.
Tie measurements to permanent features
When access is safe and the builder permits it, include a tape measure or record dimensions separately. Measure from a clearly identified corner, doorway, or other permanent reference.
Specify whether a distance starts at rough framing, the slab, or a finished surface. Those reference points aren't interchangeable.
A pipe photo without a room, wall, and reference point may be impossible to interpret after finishes hide the framing.
Before drilling or cutting later, have a qualified professional verify concealed conditions. Photos can guide the search, but they don't show every hazard.
Extend the Log to Pools, Roofs, and Buried Utilities
Pool plumbing and underground work
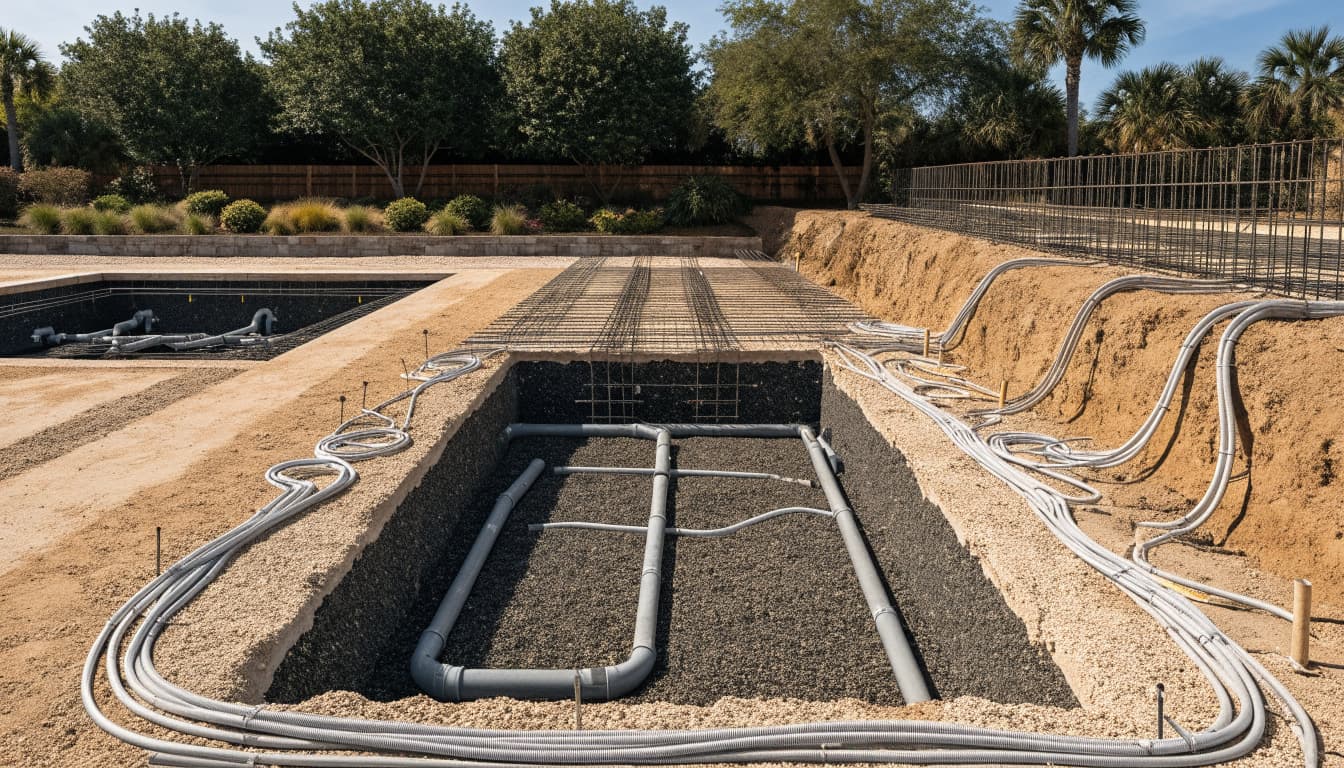
A house-wall photo log should also cover infrastructure outside the home. Request photos before under-slab pipes, buried conduits, or drainage runs are covered.
For pool construction, capture visible pipe routes, equipment-pad connections, and fittings at each pool wall. Photograph only from approved areas outside the excavation.
The guide to pool plumbing before shotcrete explains this checkpoint for Cape Coral projects. Keep these images with the plumbing layout, contract, and written changes.
When buried locations matter, ask for contractor measurements and updated as-built drawings. Perspective alone won't provide reliable depth or distance.
Roof decking and weather-exposed details
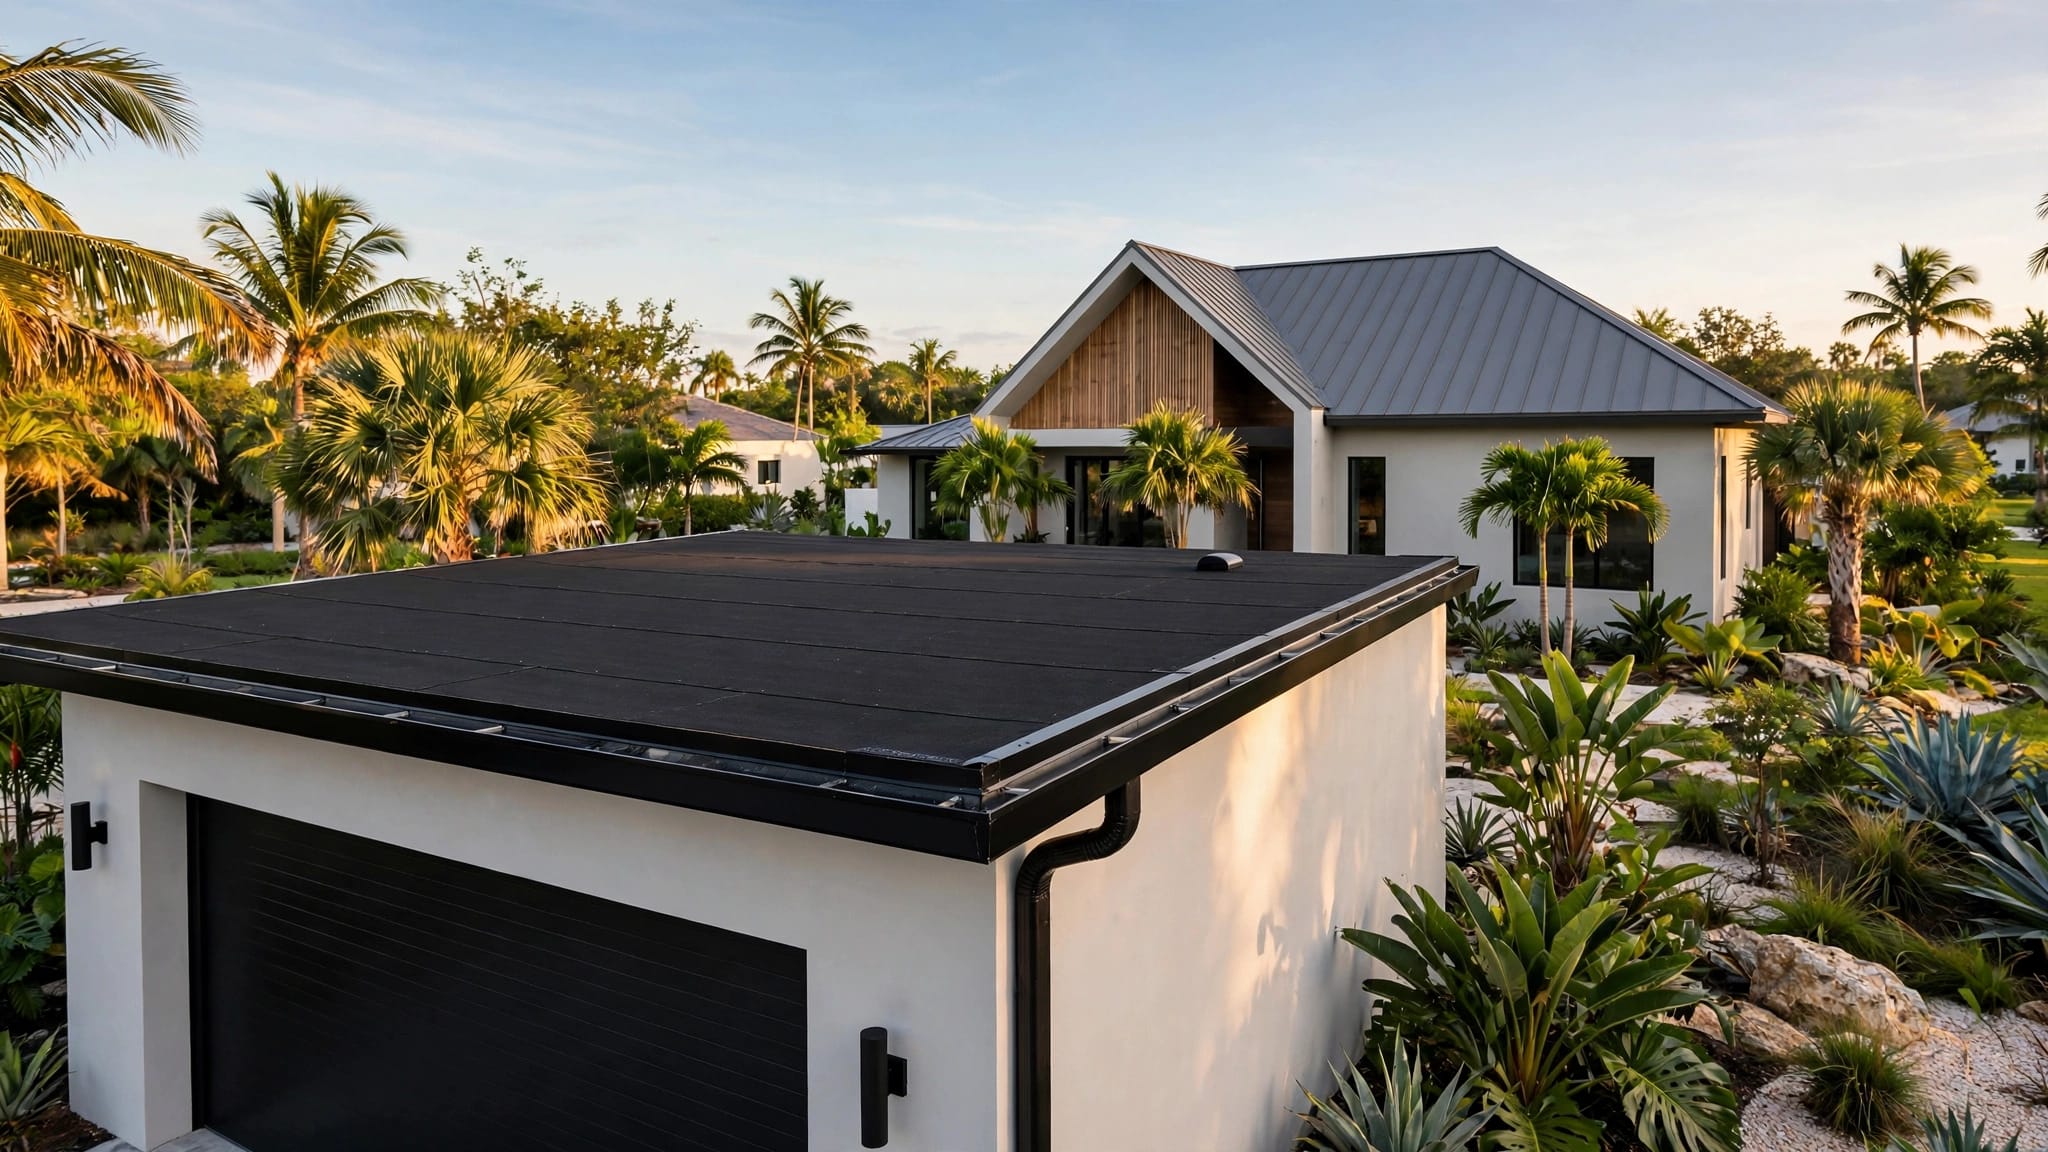
During roof replacement, request contractor photos after tear-off exposes the deck. Record discovered damage, approved repairs, and the repaired condition before roofing covers it.
The roof replacement timeline outlines why decking review matters during Punta Gorda projects.
Don't climb onto the roof for documentation. Ground-level photos or contractor images are the safer options.
For Southwest Florida homes, retain available photos of flashing, roof edges, and penetrations alongside product approvals and installation records. Images supplement that paperwork; they don't establish wind resistance.
Keep Changes, Dates, and Backups Together
Document decisions and completed corrections
Treat each requested change as a written project decision. Identify the room, exact location, requested work, price impact, schedule impact, and approval responsibility through the builder's change-order process.
Link the relevant photo to that record. A marked-up image can clarify a request, but it doesn't replace written approval.
After completion, photograph the same location again from a similar angle. Preserve the earlier image so the sequence remains clear. Ask the builder to confirm corrections before insulation and whether the revised work matches the current approved plans.
If cabinets, fixtures, or appliances change after rough-in, request another coordination review. Several trades may need to respond to one selection change.
Preserve originals and separate backups
Create folders by construction phase and capture date, then organize by room or exterior area. Use descriptive filenames that identify the wall and subject.
Check your phone's date settings before visits. Preserve original files and their metadata, and save annotations as separate copies. Messaging apps may compress images, so transfer full-resolution files when available.
Google Drive or Microsoft OneDrive can hold a shared project folder. Also keep a separate backup on an external drive or another independent storage location. Cloud synchronization alone can copy an accidental deletion.
After uploads, open several files to confirm they transferred correctly. Keep revised plans, inspection reports, change orders, and contractor photos beside the corresponding image folders.
Frequently Asked Questions
Are photos enough to confirm construction quality?
No. Photos record visible conditions at one moment. They don't verify concealed fastening, pressure-test results, structural capacity, or code compliance. Inspectors and qualified contractors must perform their required reviews and testing.
What if insulation is already installed?
Don't remove insulation or finishes yourself. Ask the builder for earlier construction photos, trade records, and available as-built information. Document what remains safely visible and note gaps in the record rather than guessing.
Should the log continue after drywall?
Yes. Add photos of completed work, resolved punch-list items, and the home's condition after final cleaning, before furniture arrives. The Cape Coral final walkthrough checklist helps connect those final images with system checks and closeout documents.
Keep a Record You Can Use Years Later
A useful custom home photo log connects each hidden detail to a known location, construction stage, and written record. Organization matters more than volume .
Coordinate safe access with your builder, capture approved changes, and preserve dated originals with separate backups. When a future repair raises questions about that bathroom wall, you'll have a clearer starting point for the professionals doing the work.