Custom Home Truss Submittal: Pre-Fabrication Checks
Explore Our Services
Contact Us Today!
(239) 322-9295
A roof truss package can look ready for production while still conflicting with the home's approved plans. Reviewing your custom home truss submittal before fabrication helps catch mismatched dimensions, missing load assumptions, and unresolved connections.
For Southwest Florida homes, that review also needs to account for site-specific wind requirements and the roof's structural load path. Treat written release authorization as a separate milestone after required reviews and approvals, beginning with the construction documents.
Start your custom home truss submittal review with current plans
Gather the approved architectural and structural drawings, specifications, and accepted revisions before comparing the truss package. Your project requirements determine the review scope; a coordination checklist doesn't replace engineering or local approval.
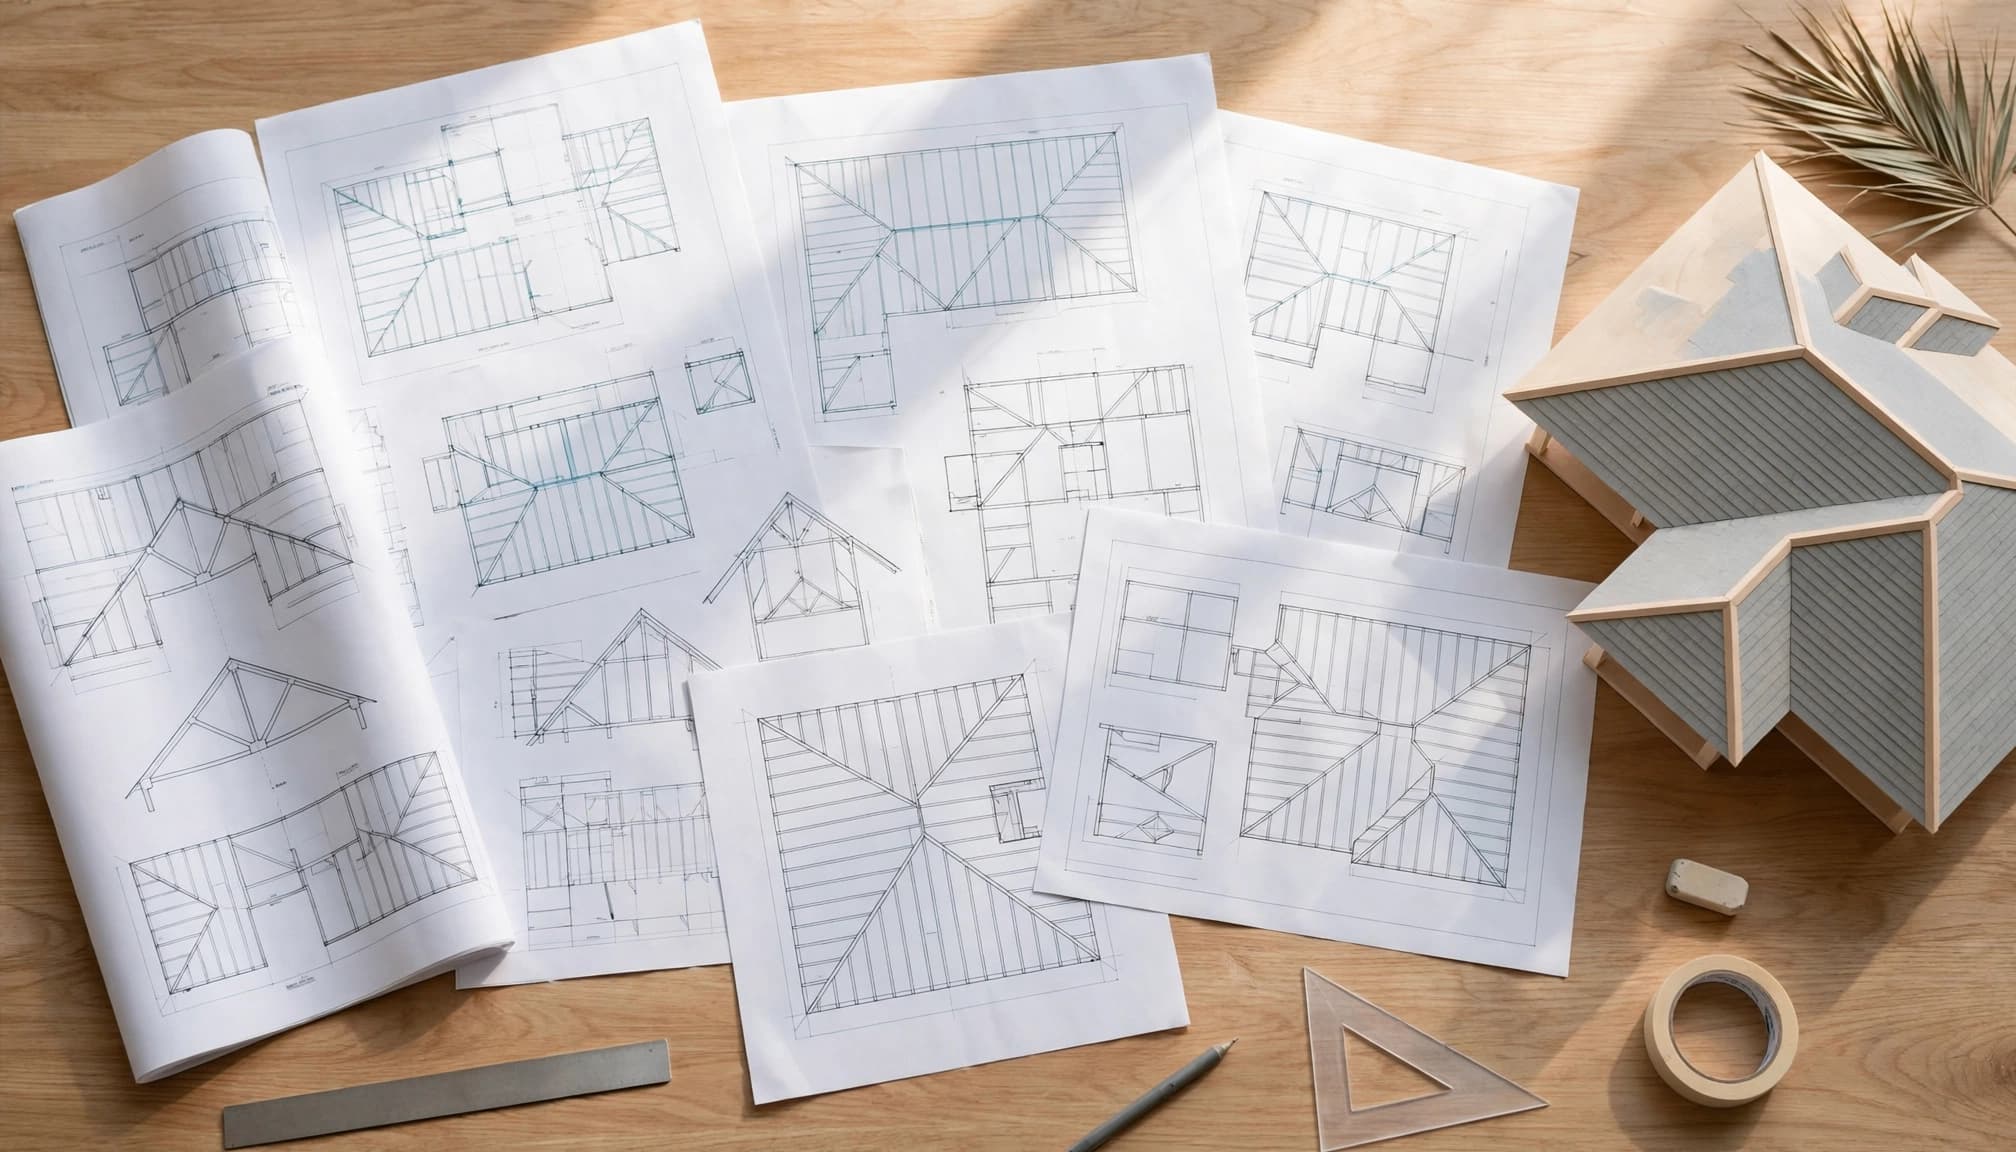
First, verify the project address, drawing dates, and revision references. Then compare the package against the roof plan, floor plan, elevations, wall sections, and structural details.
A ceiling change can affect truss profiles even when the exterior roof stays unchanged. Likewise, moving a wall or widening a garage opening can change the supporting structure.
The builder can identify those differences and document them. However, the truss designer and responsible licensed design professional must resolve changes affecting structural performance.
Confirm the applicable Florida Building Code edition and local submission requirements for your permit. For Cape Coral projects, the new-home permit checklist helps organize related paperwork, but other jurisdictions may follow different procedures.
Avoid reviewing against an older bid set when an approved revision changes the roof.
Match dimensions and the truss layout
Check roof geometry and truss identifiers
Compare spans, roof pitches, heel heights, overhangs, and ceiling profiles with the approved documents. Also check hips, valleys, dropped areas, and vaulted or tray ceilings.
Review dimensions against their stated reference points. An overall building width isn't necessarily the same measurement as the distance between truss bearings.
Match layout identifiers to the individual truss drawings available in the package. Confirm orientation and placement, especially where similar-looking trusses have different support conditions or loads. Flag missing or inconsistent references rather than assuming two trusses are interchangeable.
Coordinate spacing with roof decking
Compare truss spacing with the roof-deck specification and framing plan. Spacing affects panel spans, edge support, and the roof assembly.
Plywood and OSB can both work when their ratings and installation match the engineered design. However, a wind mitigation form's 7/16-inch decking category isn't permission to use that thickness everywhere.
Verify that the plans and specifications agree on sheathing, panel support, and attachment. If they don't, request clarification from the responsible designer rather than choosing a panel thickness or fastening pattern yourself.
Compare loads and design criteria
Verify the site's wind assumptions
Southwest Florida wind design depends on the property's location and exposure, along with building geometry and other project criteria. A nearby home's truss package isn't a reliable template.
Compare the submittal's stated wind criteria with the approved structural documents. Where provided, check design wind speed, exposure category, building height, and enclosure classification for consistency.
The builder can spot conflicting values, but a licensed design professional must resolve the correct criteria. The Southwest Florida hurricane-zone building codes also address related opening protection and product-approval considerations.
Confirm actual roof and ceiling loads
Review the roof covering and ceiling assemblies against the loads used for truss design. A change between shingles, metal, and tile can affect the assumptions.
Also identify attic equipment, storage areas, suspended items, and concentrated loads shown elsewhere in the construction documents. Mechanical equipment needs coordinated support details, not an assumption that any truss can carry it.
Compare stated serviceability criteria with project requirements where applicable. Deflection can affect ceiling finishes and connections to adjacent construction.
If loads or criteria are missing or inconsistent, send the discrepancy to the truss designer and building designer. Reviewers shouldn't calculate substitute loads or approve member sizes without the appropriate engineering responsibility.
Verify bearing conditions and reactions
Trace each intended bearing location to the supporting wall, beam, column, or other structural element. Check bearing elevations and available support widths against the truss details and structural plans.
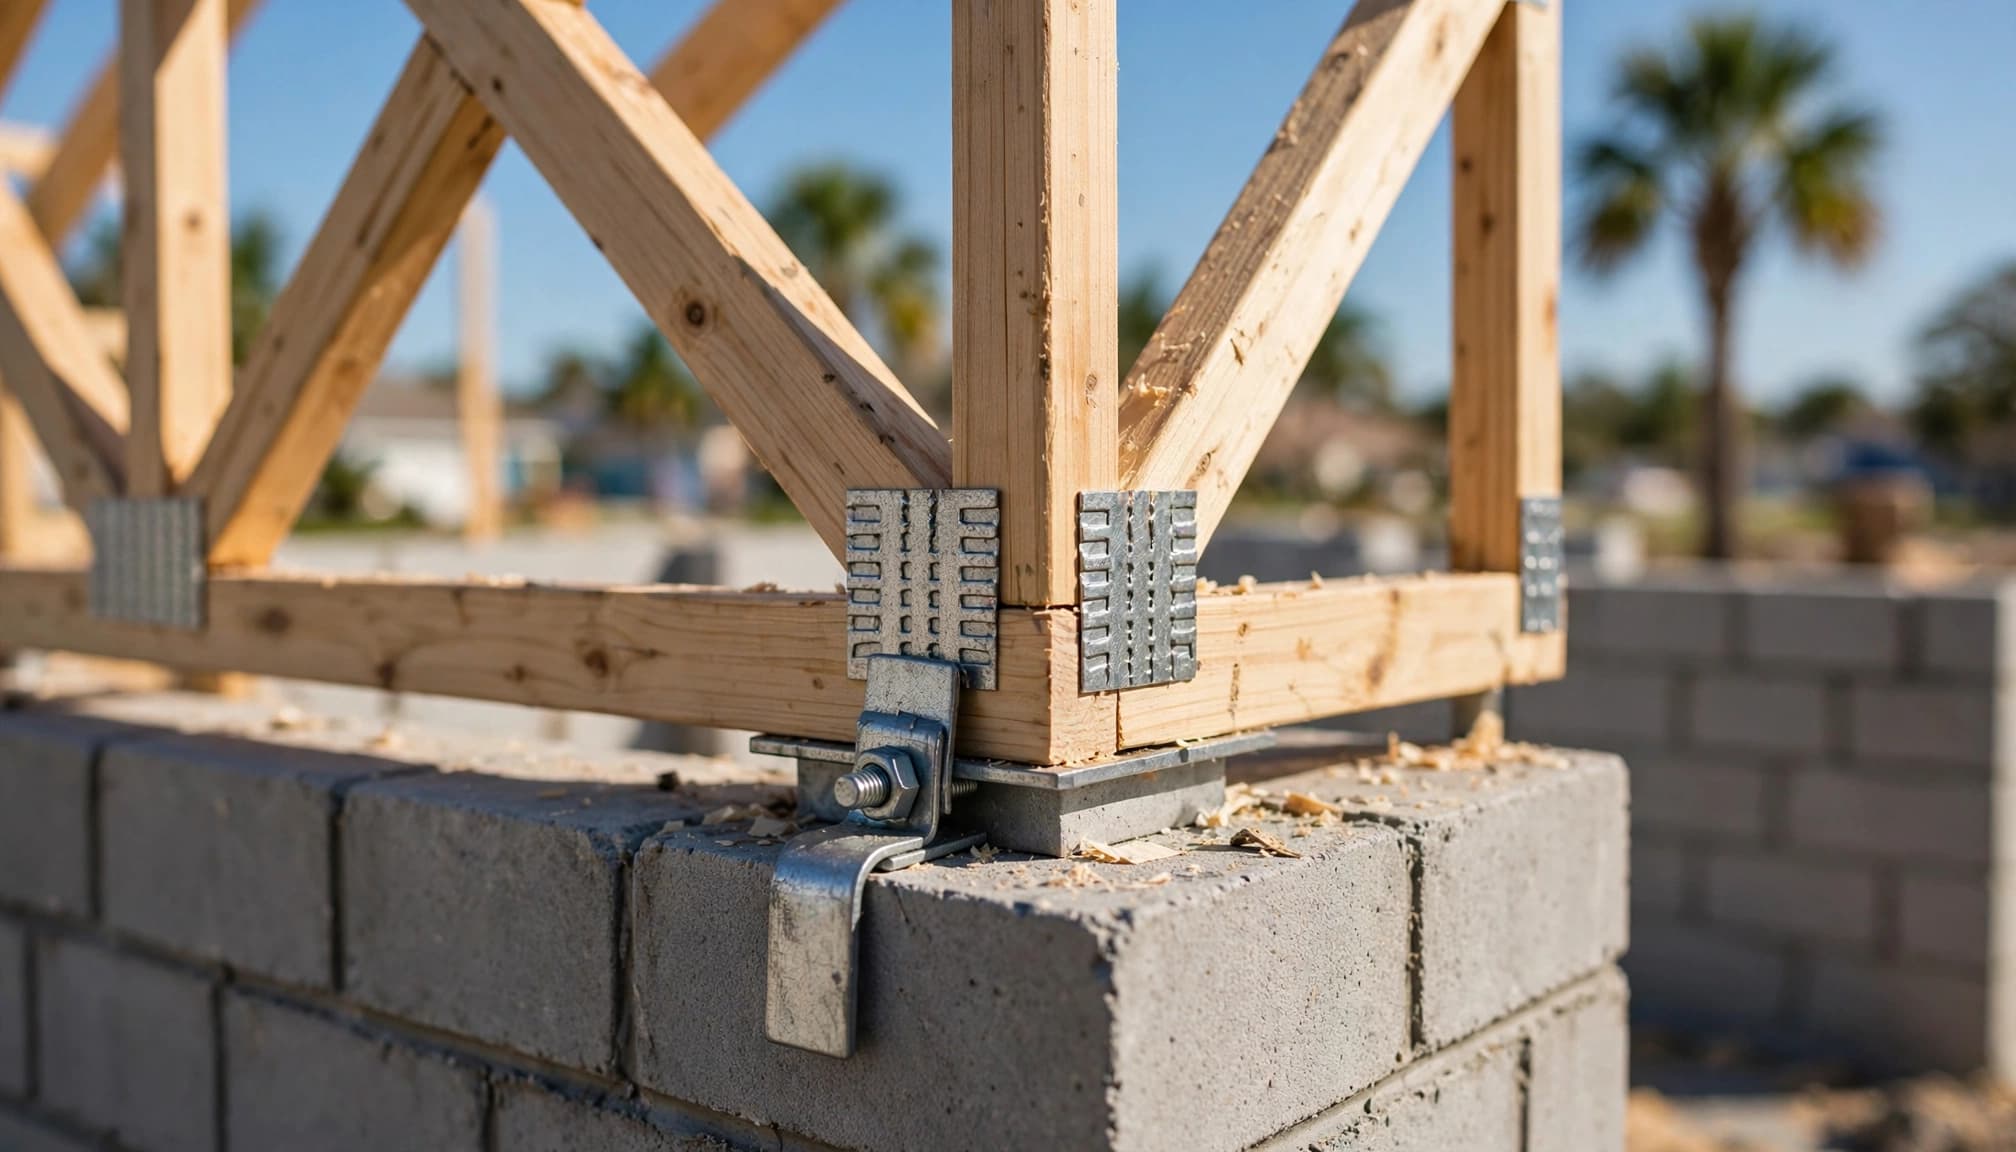
Pay close attention to girders and concentrated reactions. These forces need a coordinated load path through the supporting construction.
An interior wall drawn beneath a truss isn't automatically an intended bearing wall. Likewise, a beam's presence doesn't prove it can carry the truss reactions.
The builder should flag misplaced supports, elevation conflicts, and dimensional discrepancies. The responsible structural designer must verify support capacity and the transfer of gravity, uplift, and lateral forces.
Review changes in bearing locations before release because they can affect both the truss design and the supporting structure. The same issue matters when comparing the storm performance of block and wood-frame homes: either system needs coordinated connections throughout the structure.
Coordinate connections and hardware
Compare the connection details across the truss drawings, structural plans, and hardware schedules. Truss-to-wall attachments, girder hangers, and truss-to-truss connections need compatible details.
Check that the specified connection suits the actual supporting material. Wood framing, concrete, and masonry require different attachment considerations.
Where hardware is identified, compare model references, fasteners, installation requirements, and applicable product approvals. Also confirm that specified materials suit the site's exposure.
For multi-ply girders, establish which fastening occurs in the factory and which occurs in the field. Unclear responsibility can leave a connection unfinished.
The builder can verify coordination and procurement information. However, connector capacity, fastener design, edge distances, and substitutions need resolution by the responsible designer.
Don't accept a generic "hurricane-rated" description as a substitute for the project's connection details. If two drawings specify different hardware, document the conflict and obtain a coordinated response before release.
Resolve truss-to-truss bracing requirements
Distinguish restraint from the complete bracing system
Individual truss drawings may identify members needing permanent lateral restraint. Those indications don't necessarily describe the complete building bracing system.
Restraint members also need a way to transfer forces into stable parts of the structure. Simply connecting several trusses together doesn't establish that load path.
Compare the truss notes with the project's permanent bracing details. Identify who is responsible for resolving missing details or conflicts between documents.
The builder can verify that instructions are coordinated. Engineering judgments about bracing forces, attachment, and stability belong to the assigned design professional.
Address erection and installation responsibilities
Temporary erection bracing and permanent bracing have different purposes. The construction team needs an installation approach that addresses stability while trusses are being placed.
Before fabrication release, clarify who provides the applicable handling and installation information, and who resolves special bracing conditions. Long spans, unusual profiles, and complex roof intersections deserve early attention.
Avoid treating a standard reference sheet as proof that every project-specific condition has been addressed. If engineering is required for a condition, assign it and obtain the necessary resolution before proceeding.
Clear openings and special roof conditions
Coordinate skylights, attic access, chimneys, and mechanical routes with the roof framing layout. Also review roof-mounted equipment and supports for suspended equipment where included in the project.
A planned opening may need a framed arrangement rather than a cut through an ordinary truss. Therefore, compare opening locations and sizes across architectural, structural, and mechanical documents.
Valley framing and other framing supported above trusses also need coordinated details. Confirm that the intended configuration matches the design assumptions.
The builder should flag clashes, inaccessible service routes, and missing support references. The truss designer or responsible licensed professional must resolve structural changes.
Do not assume crews can cut, drill, or relocate truss members to solve a field conflict. Obtain the responsible designer's written direction.
For additions and remodeling, compare documented existing conditions with the proposed framing. If a support or connection point differs from the plans, resolve the discrepancy before ordering affected trusses.
Track notes, revisions, and approval responsibilities
Read the general notes as closely as the truss profiles. They may describe design assumptions, installation limitations, bearing conditions, and responsibilities.
Keep a discrepancy log that identifies the affected sheet, truss designation, conflicting information, assigned responder, and final resolution. Attach marked-up drawings where they make the issue clearer.
After revisions arrive, compare them with the earlier comments. A new drawing date alone doesn't prove every issue was resolved. Remove superseded sheets from the release package and distribute the coordinated set to affected trades.
Responsibility should follow the project's actual agreements and applicable requirements.
| Participant | Review focus |
|---|---|
| Builder or coordinator | Dimensions, field conditions, trade coordination, and document control |
| Truss designer | Individual truss engineering within the assigned scope |
| Building designer or responsible licensed professional | Overall structural coordination, supports, connections, and assigned bracing design |
| Building department | Permit review and approvals required by the jurisdiction |
Confirm scope early because truss review and engineering costs may be separate from truss-manufacturer engineering.
A manufacturer's engineering seal doesn't, by itself, resolve conflicts with the building plans. Similarly, a builder's dimensional review doesn't establish structural adequacy. Clarify what each review status authorizes before treating it as permission to fabricate.
Use a written fabrication release checklist
Before authorizing fabrication, make one final comparison of the coordinated custom home truss submittal with the approved construction documents. Use this practical release checklist alongside the project's specific requirements:
- Verify that the release package uses the accepted drawing revisions and that affected participants received them.
- Confirm that dimensional conflicts, opening locations, loads, and support discrepancies have documented resolutions.
- Check that assigned connection and bracing questions have been answered by the responsible parties.
- Obtain the reviews, signatures, seals, and building-department approvals required for the project and release stage.
- Record who authorized fabrication and identify the exact package covered by that authorization.
If a required review remains open, hold fabrication . A supplier's production deadline doesn't resolve a design conflict.
Keep the released package, correspondence, and approval records with the project documents. These records help the installation team identify the intended design and prevent superseded instructions from reaching the field.
Release only a coordinated, approved package
A useful custom home truss submittal review connects the roof design to the actual walls, equipment, openings, and installation requirements. The builder verifies coordination while the responsible designers resolve engineering judgments.
Document discrepancies and close them against the approved construction documents. Authorize fabrication only after the required reviews and approvals are complete.
That written decision helps keep unresolved roof-framing questions out of production and off the jobsite.